
You can delete a CSV file you uploaded to a campaign. This removes the file and the leads it added to that campaign.
For safety, the account owner has to approve the deletion by email first. Nothing is deleted until they do.
Before you start
You need write access to the campaign.
Upload History only shows on draft campaigns.
Deletion can't be undone. If you might need the file later, export it first.
Step 1: Find the CSV
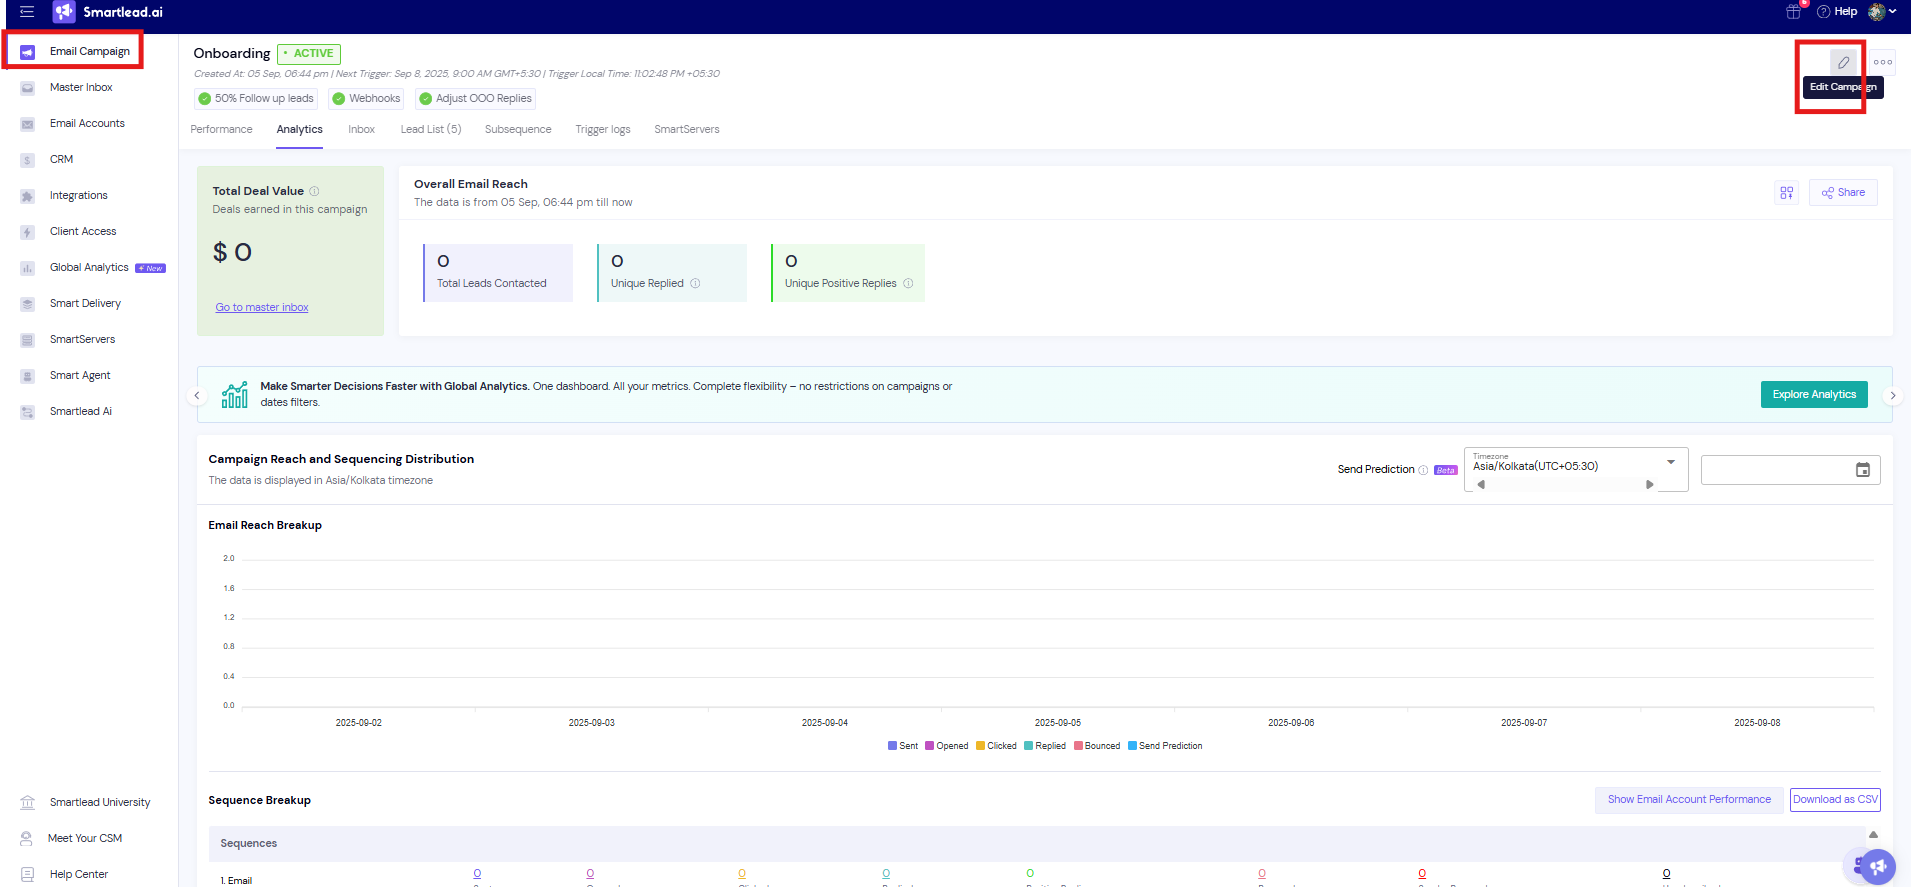
Go to Email Campaigns and open the campaign.
Open the Lead List tab.
Click Upload History.
Step 2: Send the deletion request
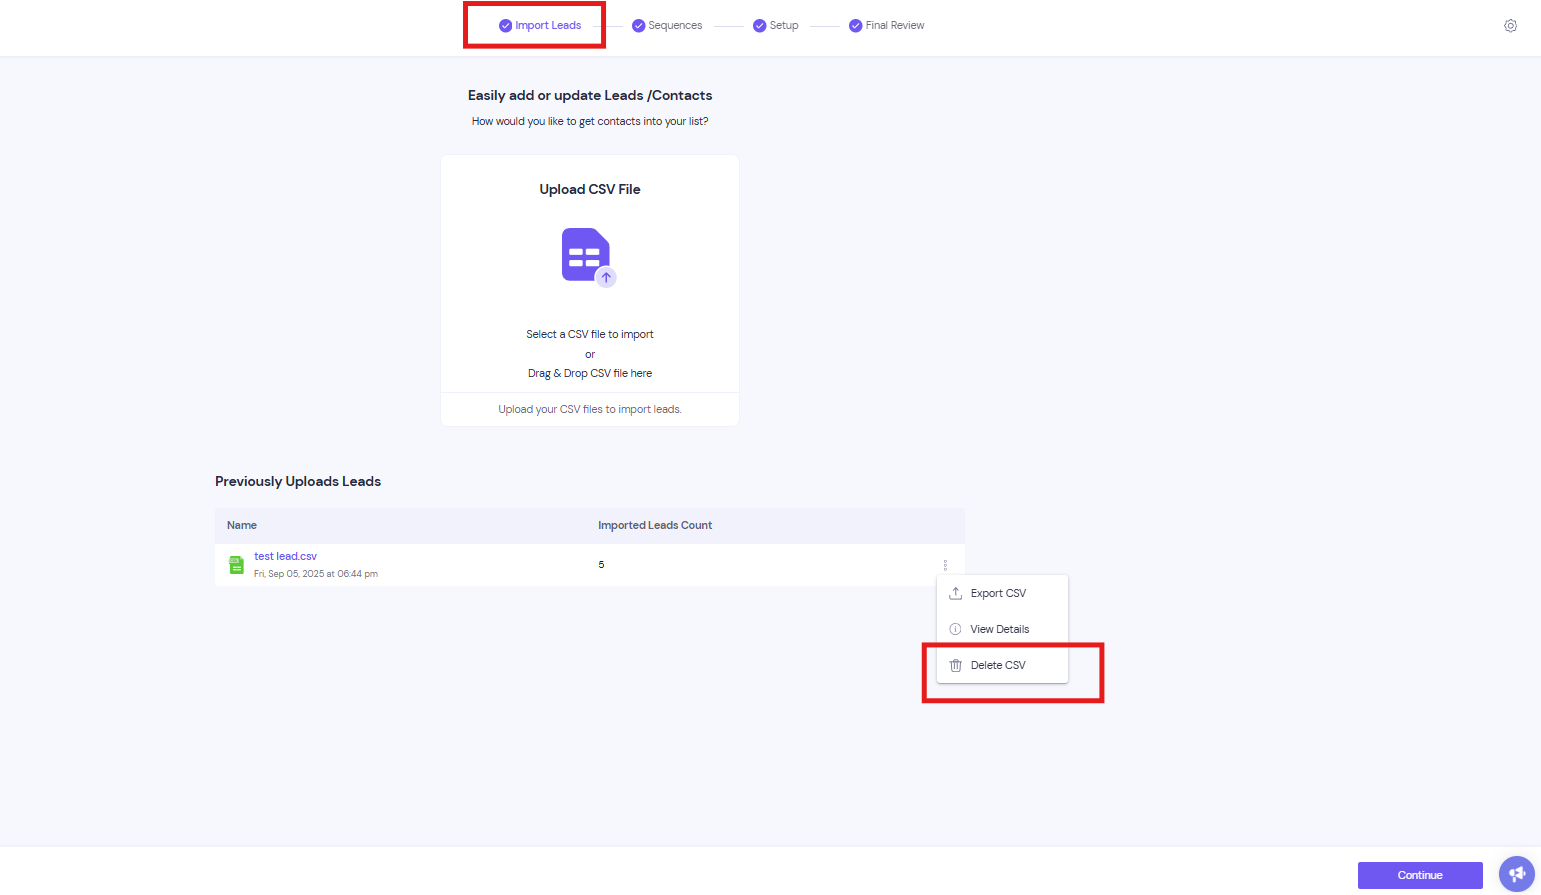
On the CSV's row, click the delete icon. You can also open the row's more menu and click Delete CSV.
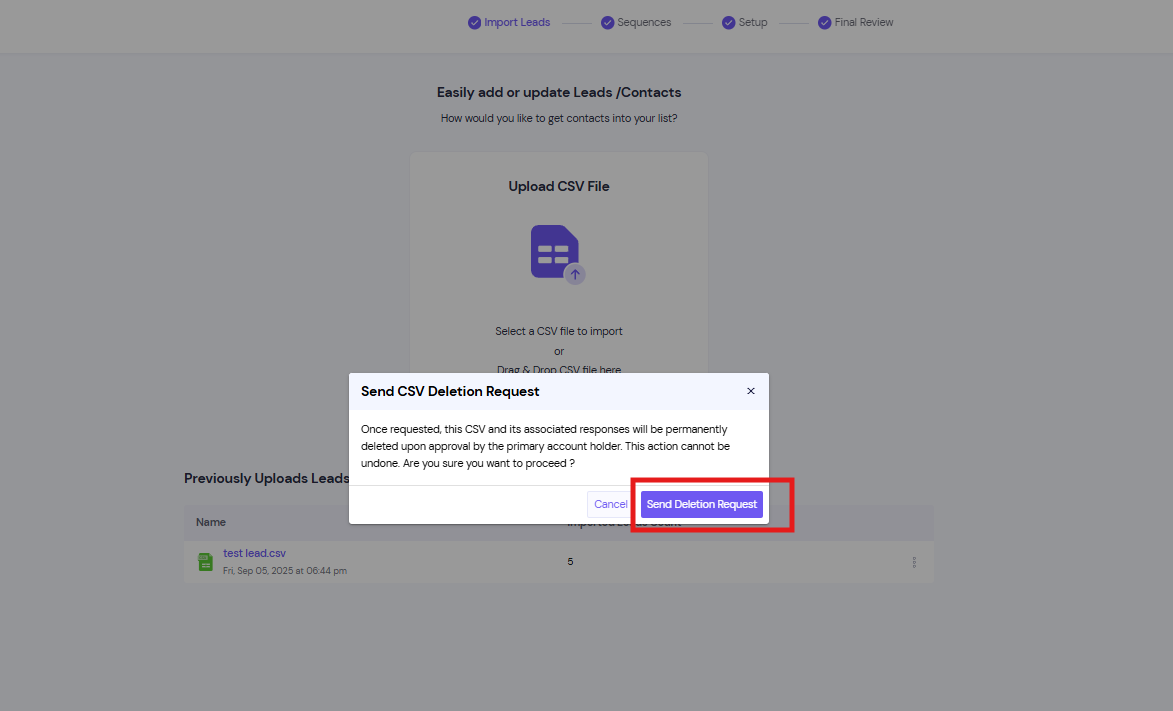
In the Send CSV Deletion Request pop-up, click Send Deletion Request.
Step 3: Approve the request
The account owner gets an email with a confirmation link. It goes to the owner's login email, even when a team member sent the request.
The owner opens the link within 10 minutes and clicks Confirm & Delete.
The CSV and its leads are then permanently deleted from the campaign.
Good to know
The confirmation link works for 10 minutes only.
You can send up to 2 deletion requests a day, at least 30 minutes apart.
The same row menu has Export CSV and View Details.
If something goes wrong
The link has expired. Send a new request when the owner can open the email straight away.
A new request is refused. Wait at least 30 minutes after the last request, or try again the next day.
Still stuck? Contact support from the chat in your Smartlead dashboard.