Smartlead makes it easy to adjust the time zone of your email campaigns, ensuring that your emails reach your audience at the optimal time. Follow the steps below to modify the time zone of your existing campaigns or set it up for new ones.
1. Log in to your Smartlead account:
Open your web browser and navigate to Smartlead's login page. Enter your credentials to access your account.
2. Access Email Campaigns:
Once logged in, click on "Email Campaigns" from the main dashboard. You will be presented with a list of all the email campaigns you are currently running.
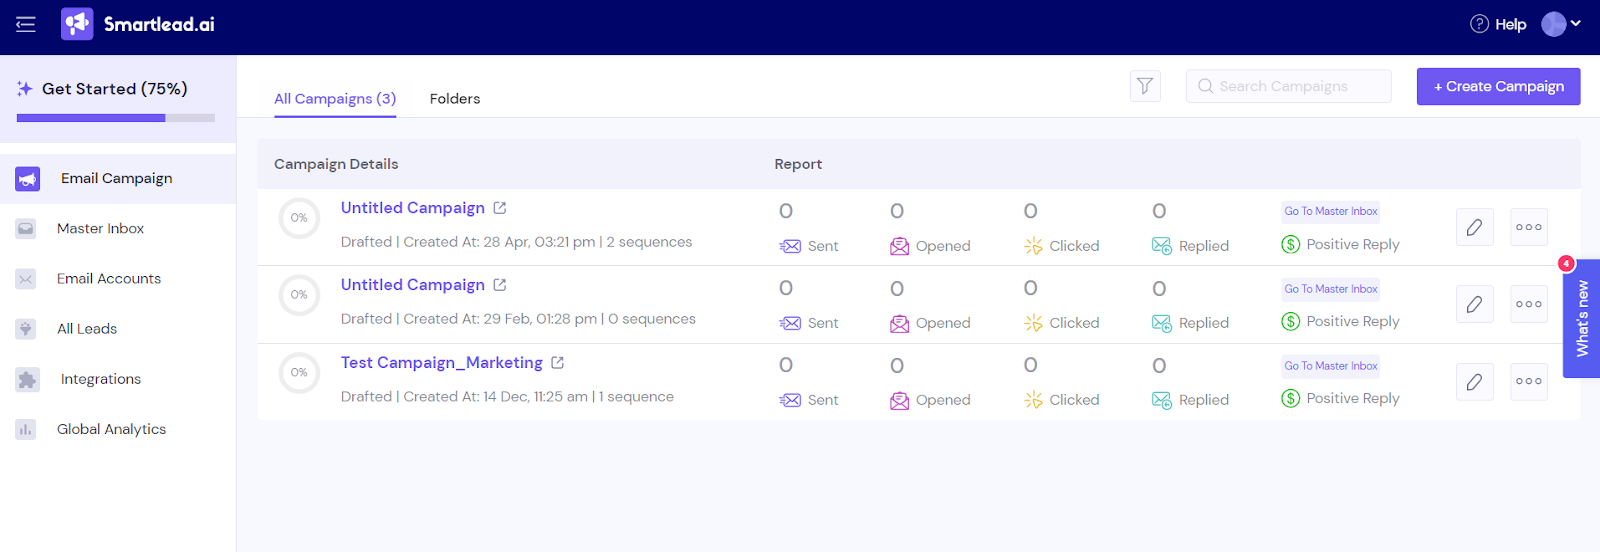
3. Select the Campaign to Edit:
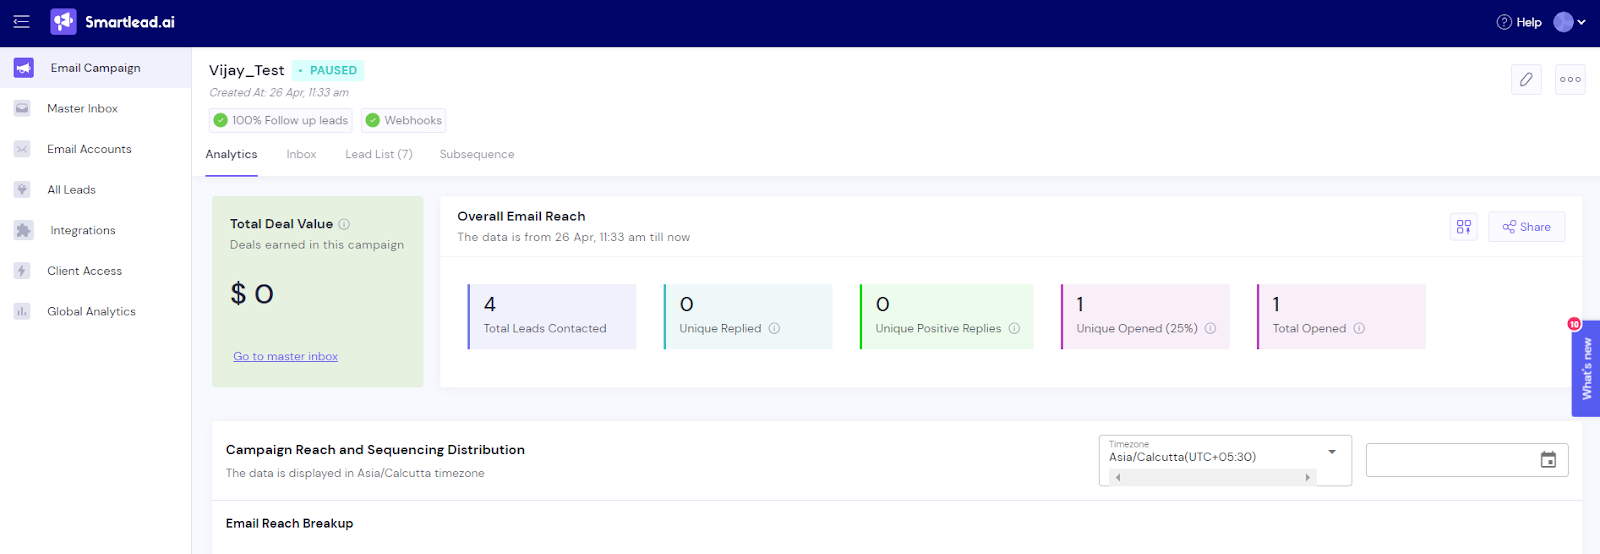
Locate the campaign for which you want to change the time zone and click on it. This action will open a new dashboard specific to the selected campaign.
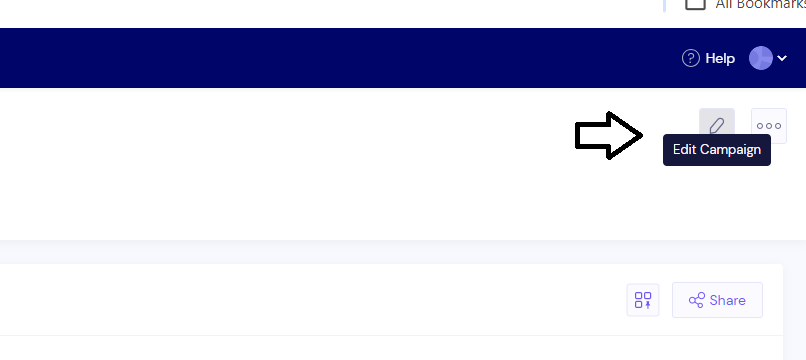
4. Edit Campaign Settings:
On the top right corner of the dashboard, you'll find an edit icon. Click on it to access the campaign editing options.
5. Navigate to Setup:
Within the editing interface, navigate to the "Setup" section. Here, you'll find various campaign settings, including scheduling options.
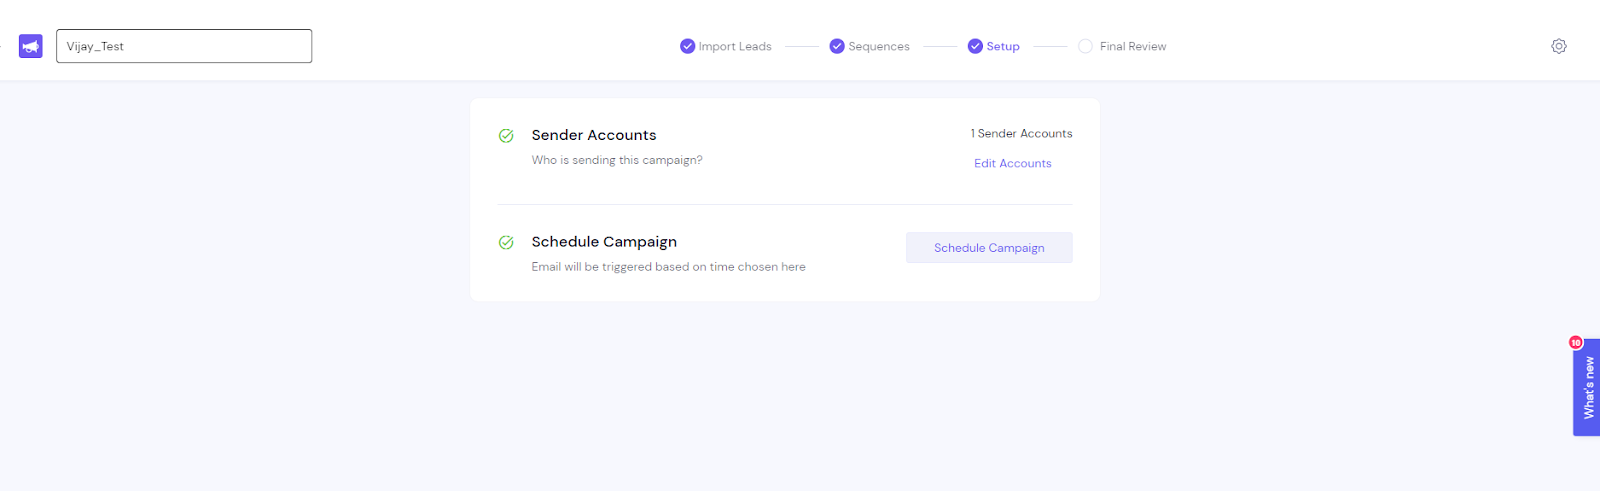
Look for the option to "Schedule Campaign" within the Setup menu. Click on it to reveal the time zone settings.
6. Set/Change the time zone:
Set or change the existing time zone settings by using the ‘Choose Time Zone’ dropdown:
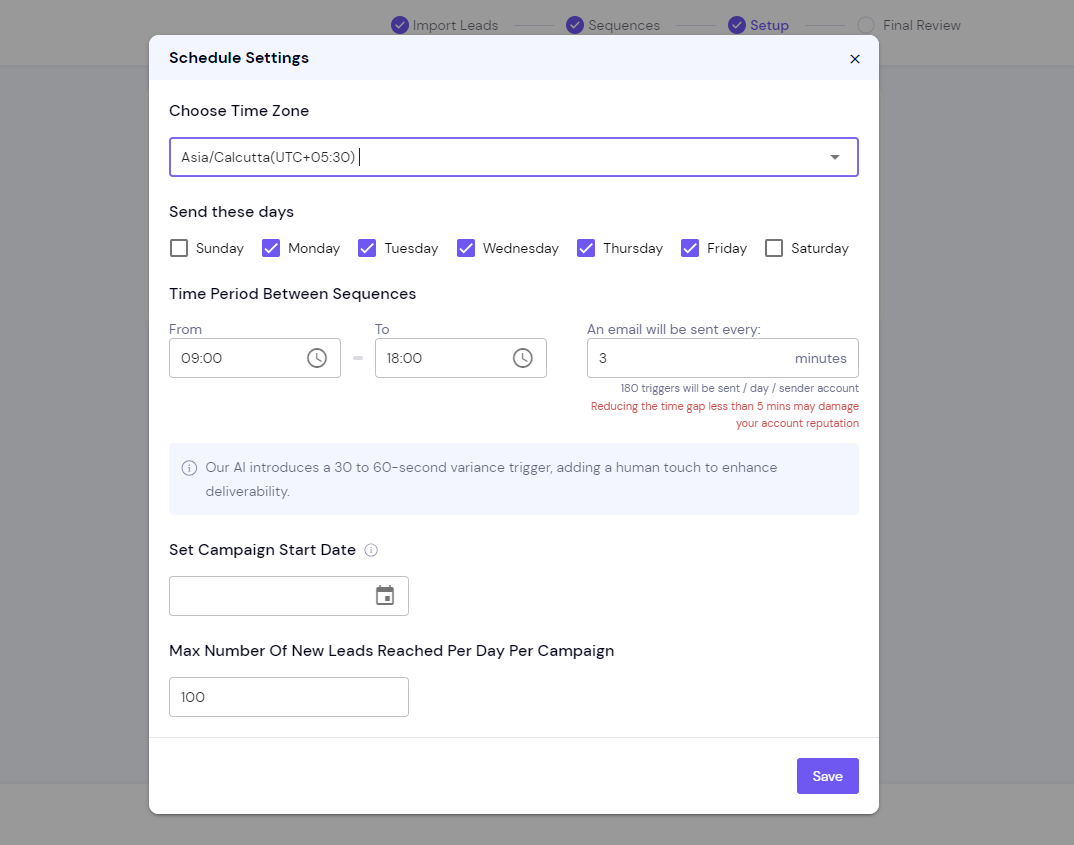
Once you've selected the desired time zone, click on the "Save" button to apply the changes to your campaign.
That’s it. You have successfully changed the time zone of your email campaign.
