Smartlead offers an in-built Email Verification add-on that can help you identify invalid and unknown emails in your lead list. With this feature, you can protect your campaigns, and improve deliverability, and outreach at scale.
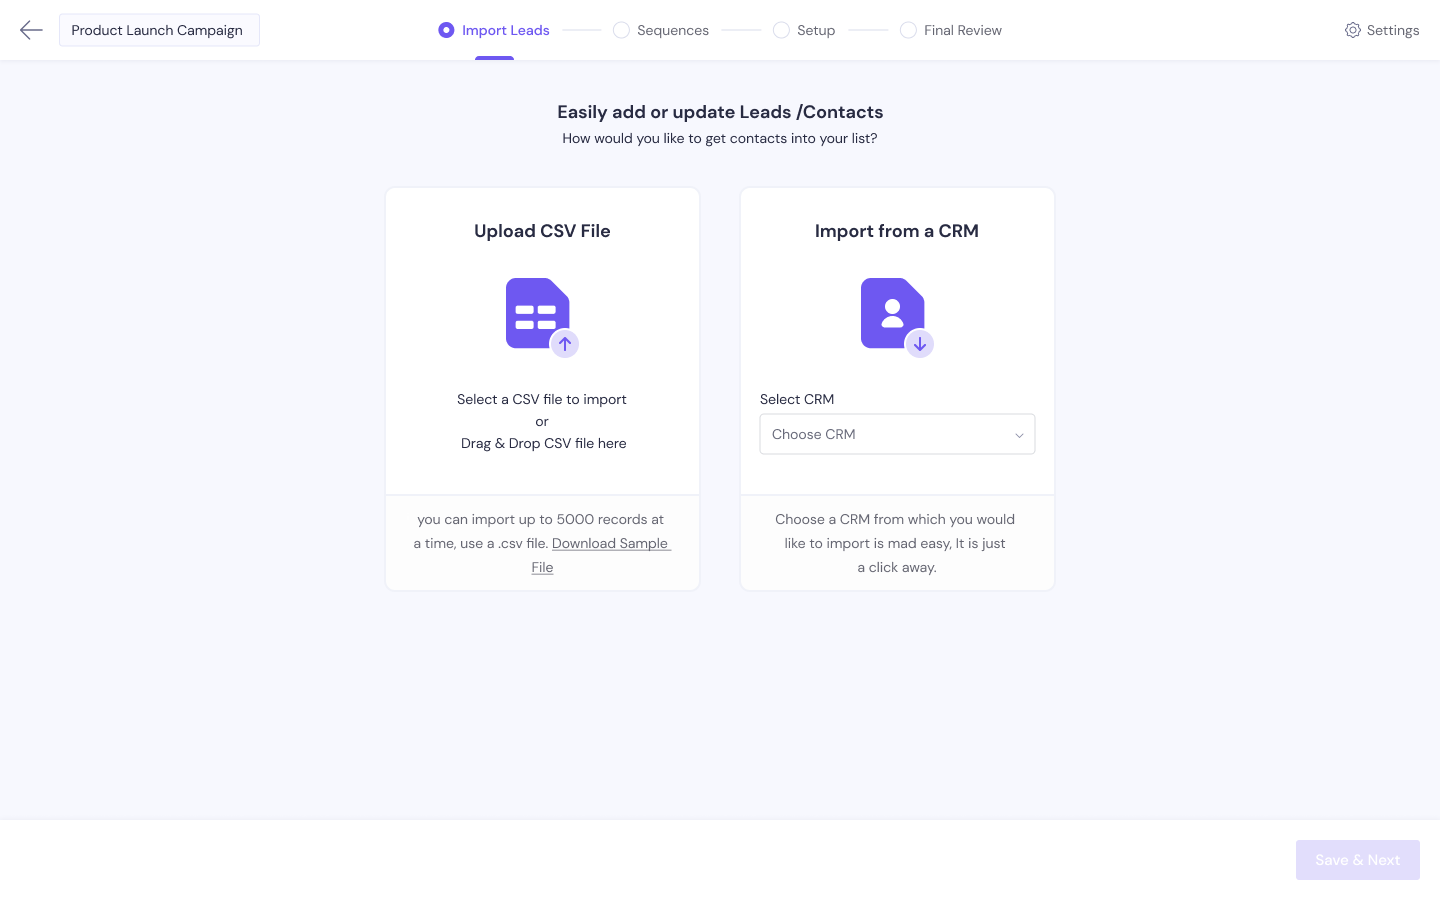
Add a New Campaign by logging in to Smartlead app and then go to Email Campaign » Select a CSV file to import > Map fields and click on “Save & Next”
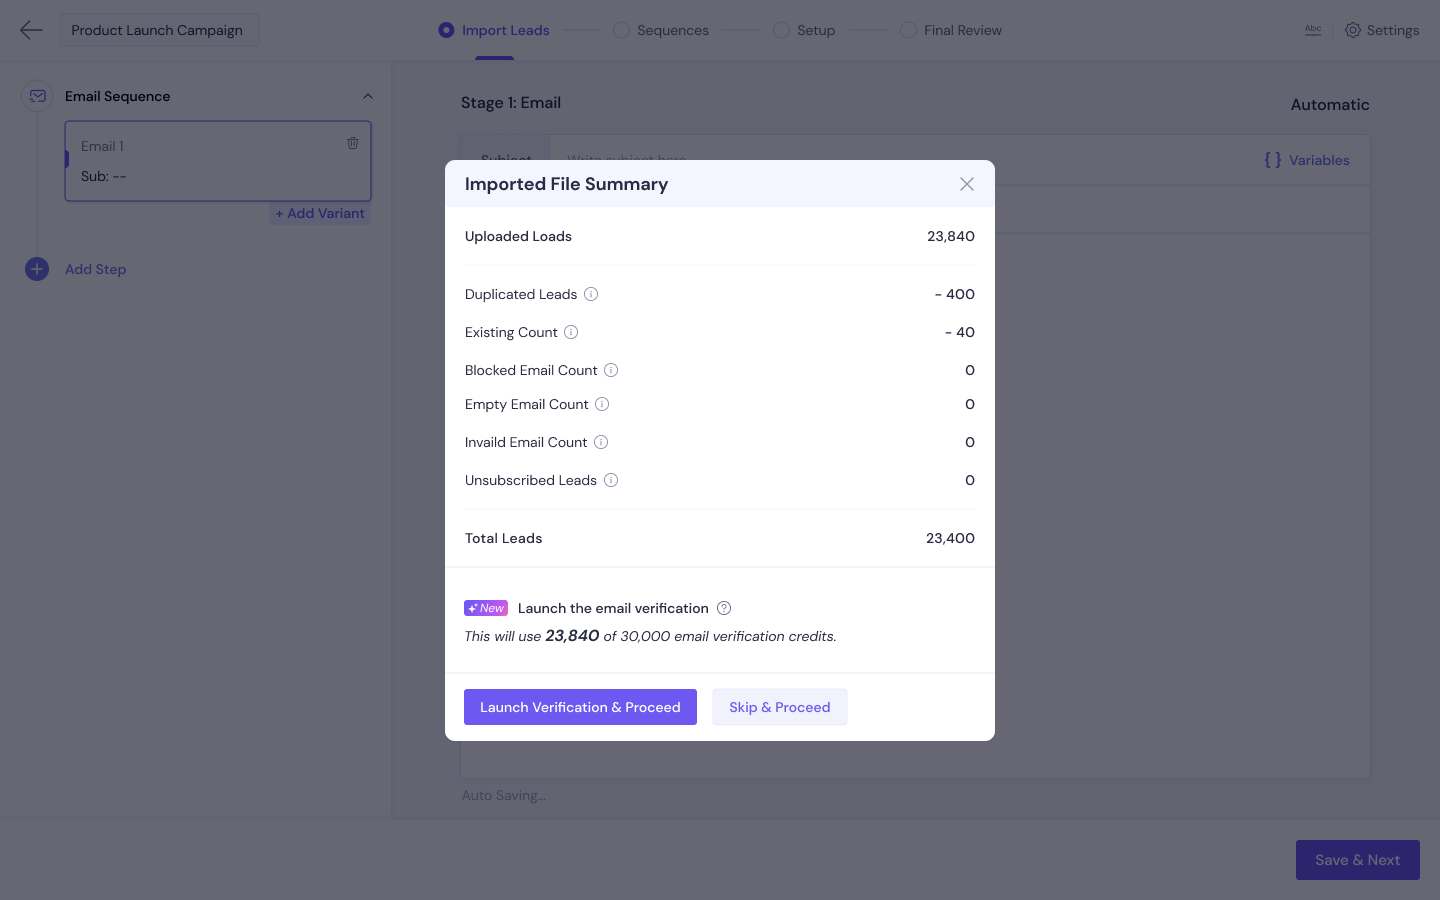
On the popup window, click on “Launch Verification & Proceed” to start email verification.
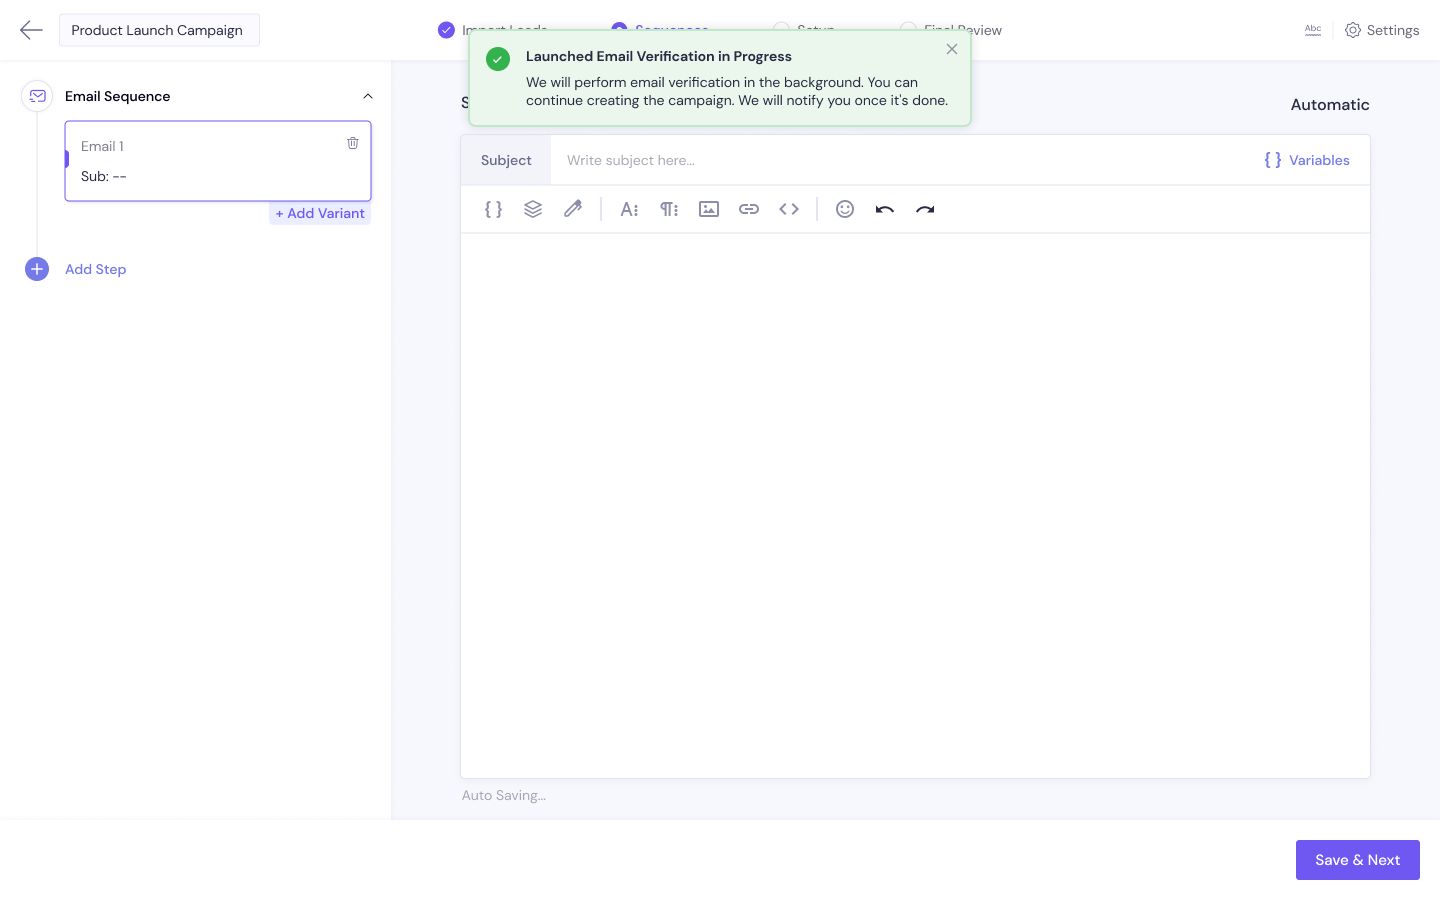
The verification might take some time, depending on the size of the CSV file. Meanwhile, you can create the campaign. You will get a notification once the verification is completed.
Once the verification is completed, you can check the full report.
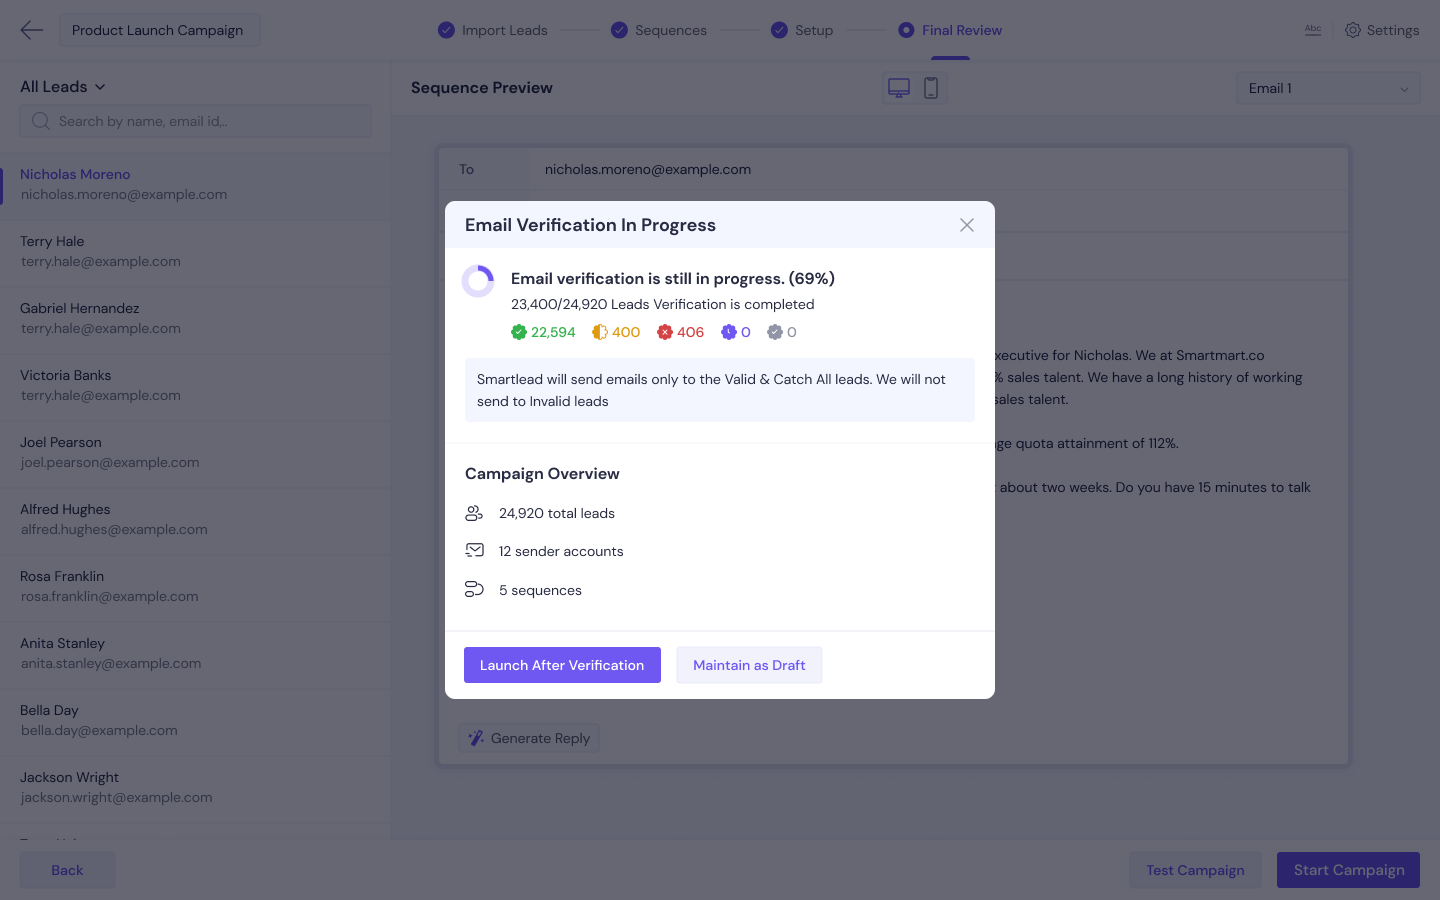
Now you can launch your campaign or save it as a draft. If you launch the campaign after verification, Smartlead will send emails only to valid and catch all leads.
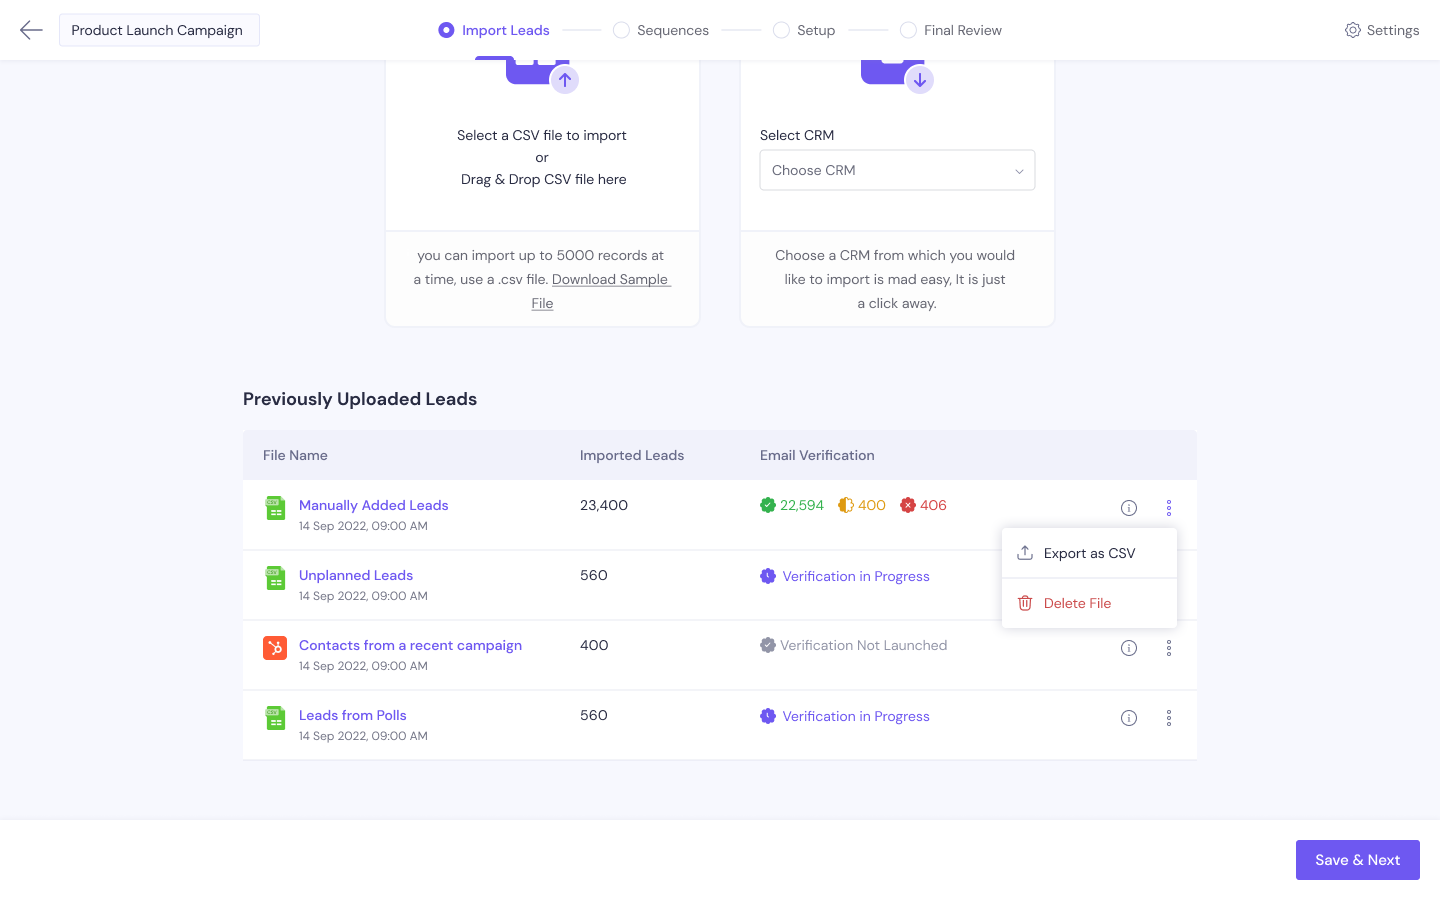
You can download the verified lead list from the “Import Lead” tab as a separate CSV file as well.
Note: You cannot verify leads once a campaign is live. It’s best you set up a new campaign and use the email verification tool.
Email verification is an add-on service starting from 6000 credits for $15 USD and you can buy more credits as per your requirements.
