
Add your signature to the mailbox once, and Smartlead adds it to every campaign email that mailbox sends. You don't need to type it into each email.
Step 1: Add a signature to one mailbox
In the left menu, open Sender Accounts.
Open the mailbox.
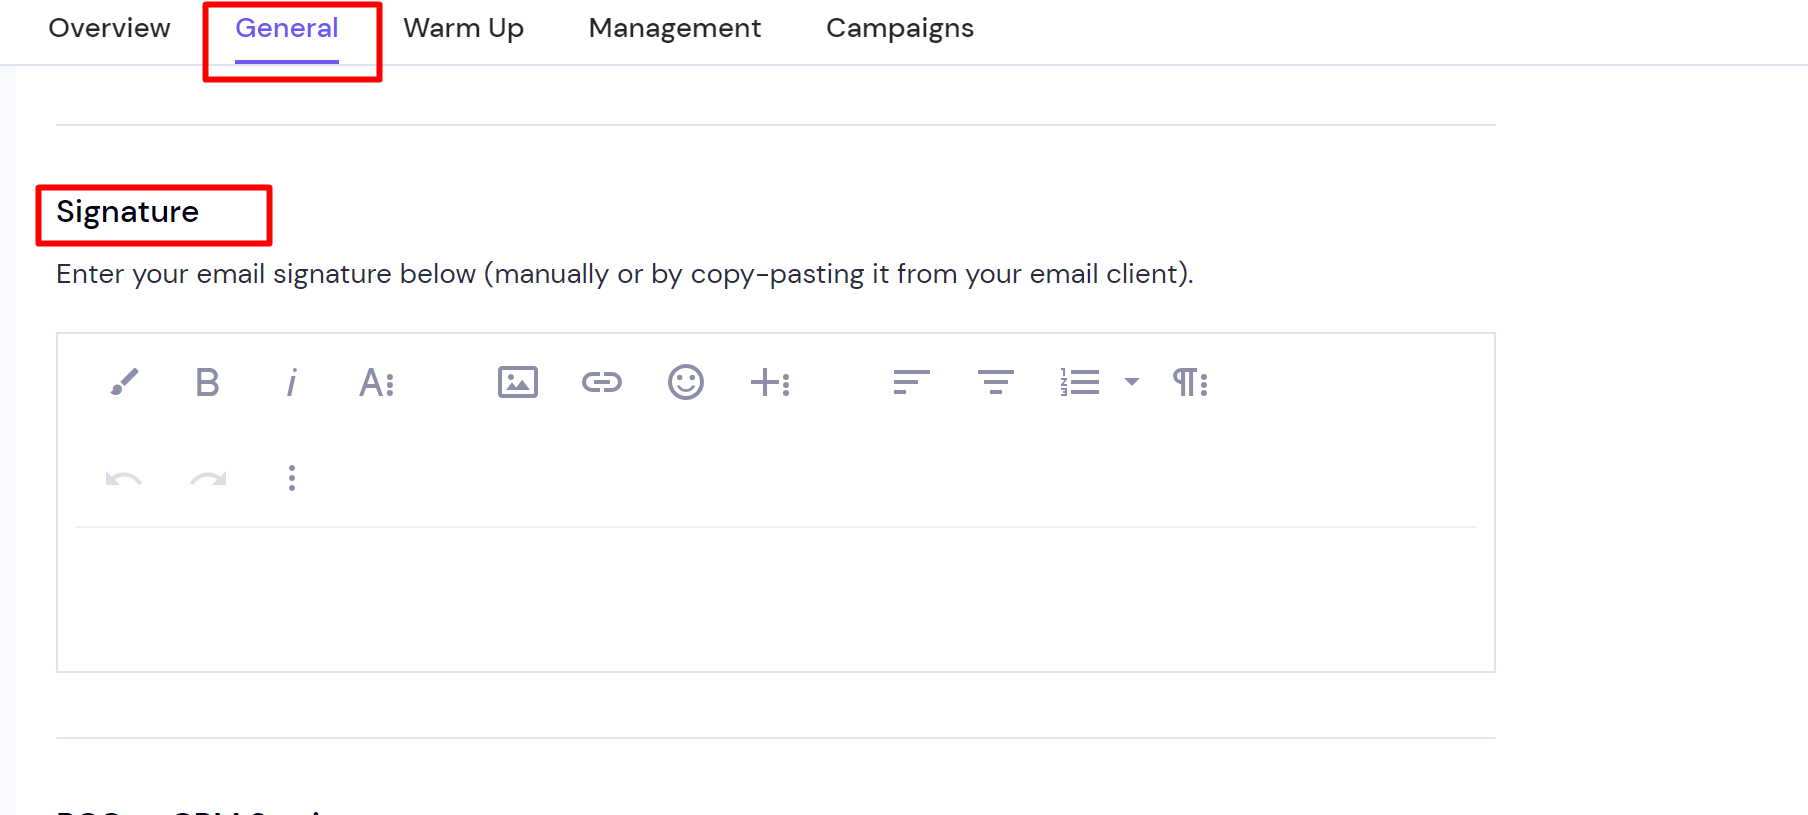
Enter your signature in the signature field, then save.
Step 2: Add the same signature to many mailboxes
In Sender Accounts, tick the mailboxes you want to update.
Click Bulk Update.
Open the General tab and enter the signature.
Click Save.

To give different groups different signatures, repeat these steps for each group of mailboxes.
Step 3: Choose where the signature appears
By default, the signature is added after the body of each email. To put it somewhere else, type %signature% in the sequence step where you want it.
Good to know
Don't also type your signature into the email. If you do, leads get two signatures.
Spintax and sender tags work inside the signature, for example
%sender-name%,%sender-firstname%,%sender-domain%and%sender-mailbox%.Bulk Update applies the same value to every mailbox you select.
If something goes wrong
My emails show two signatures
The signature is typed into the sequence step and also set on the mailbox. Delete the typed one from the step, or replace it with %signature%, then save.
My signature doesn't appear
Check that the sending mailbox has a signature saved. If it does, and the step has no %signature% and no typed signature, contact support.
Still stuck? Contact support from the chat in your Smartlead dashboard. Include the campaign ID and the sending mailbox.