Note: Bulk uploading Outlook accounts is currently unavailable because Outlook requires authentication via OAuth for each connection.
Connecting your Outlook account to Smartlead is done via OAuth - a secure login flow that doesn't require you to share your password with Smartlead directly. Smartlead connects exactly the mailbox you sign in with.
One sign-in connects one mailbox. Repeat the steps below for each mailbox.
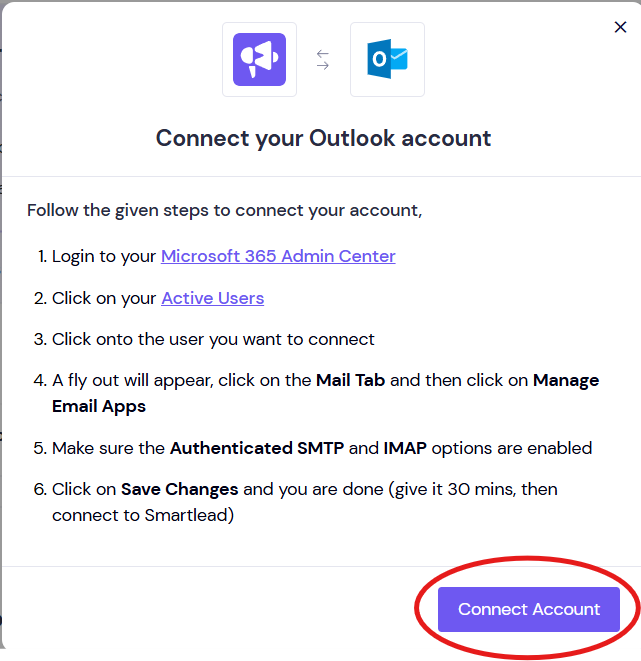
You'll need to enable Authenticated SMTP and IMAP for your Outlook account in Microsoft 365 before connecting to Smartlead.
Here's how:
Log in to your Microsoft 365 Admin Center at admin.microsoft.com
Go to Users → Active Users
Click on the user account you want to connect
In the flyout panel that appears, click the Mail tab
Under Email Apps, click Manage Email Apps
Check the boxes for Authenticated SMTP and IMAP
Click Save Changes
Wait 20–30 minutes before proceeding. Changes can take time to reflect.
For more details, refer to Microsoft's official guide: Enable SMTP Authentication in Microsoft 365
If your organisation only allows admin-approved apps, your Microsoft 365 admin must also approve the Smartlead app first.
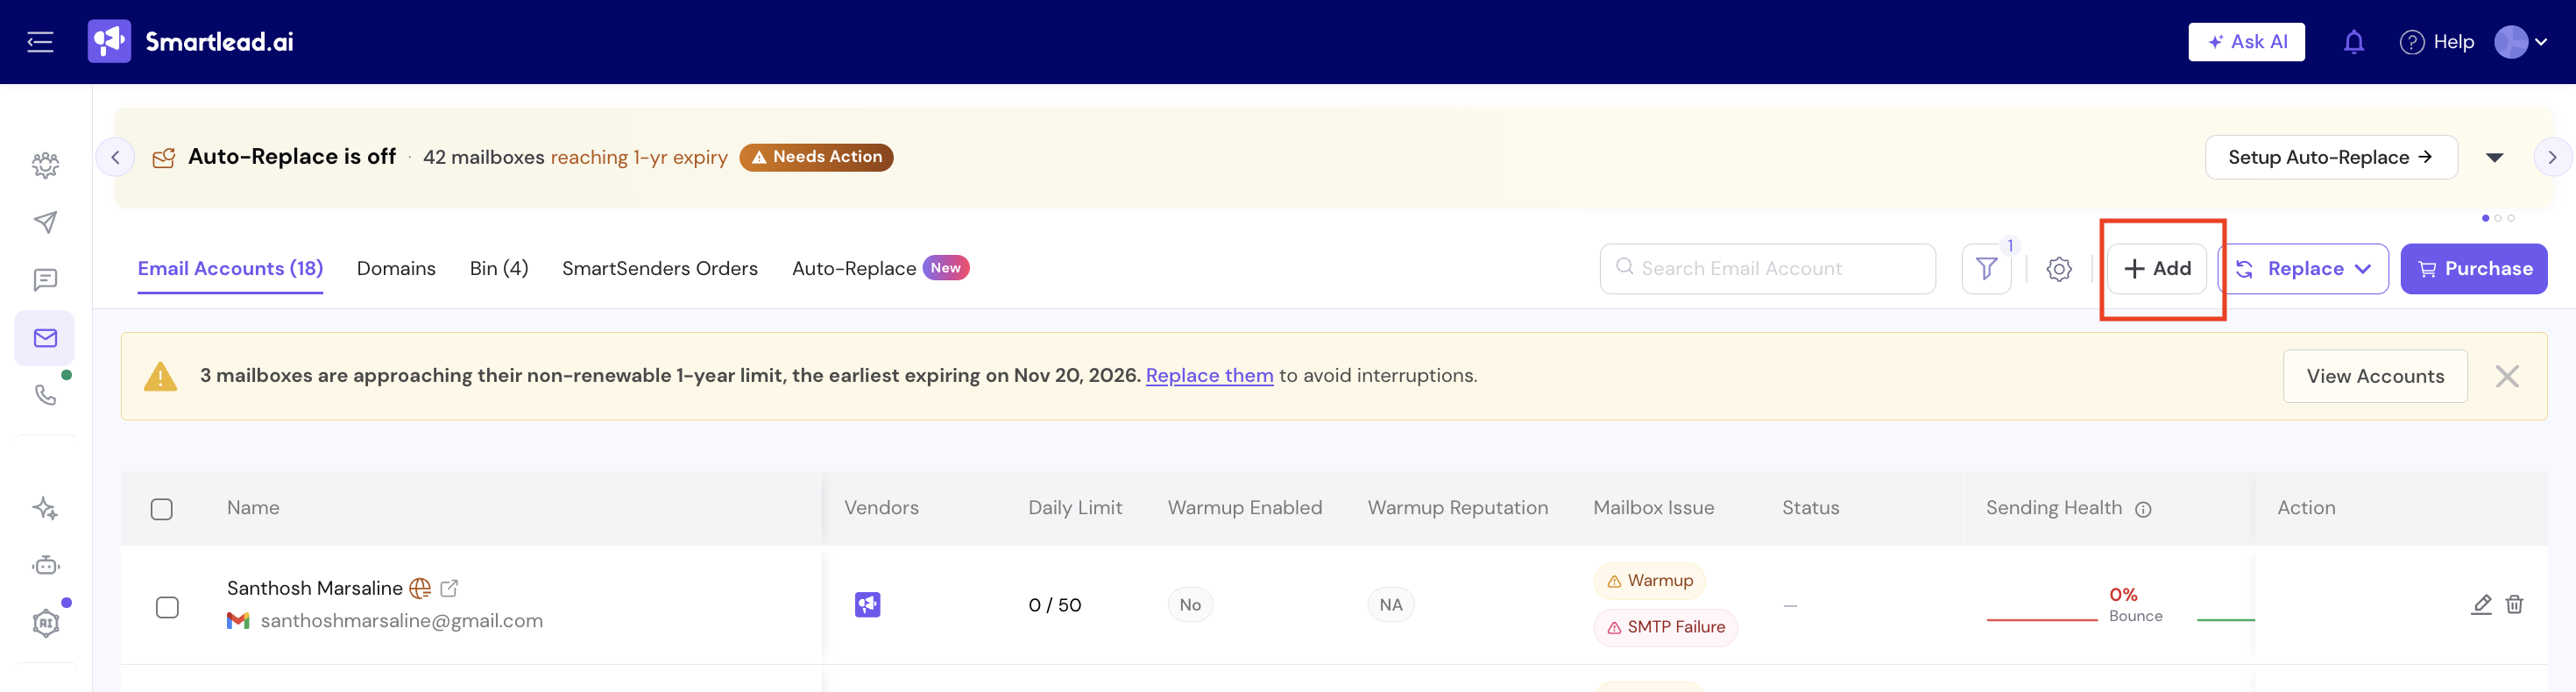
Go to Sender Accounts and click Add.
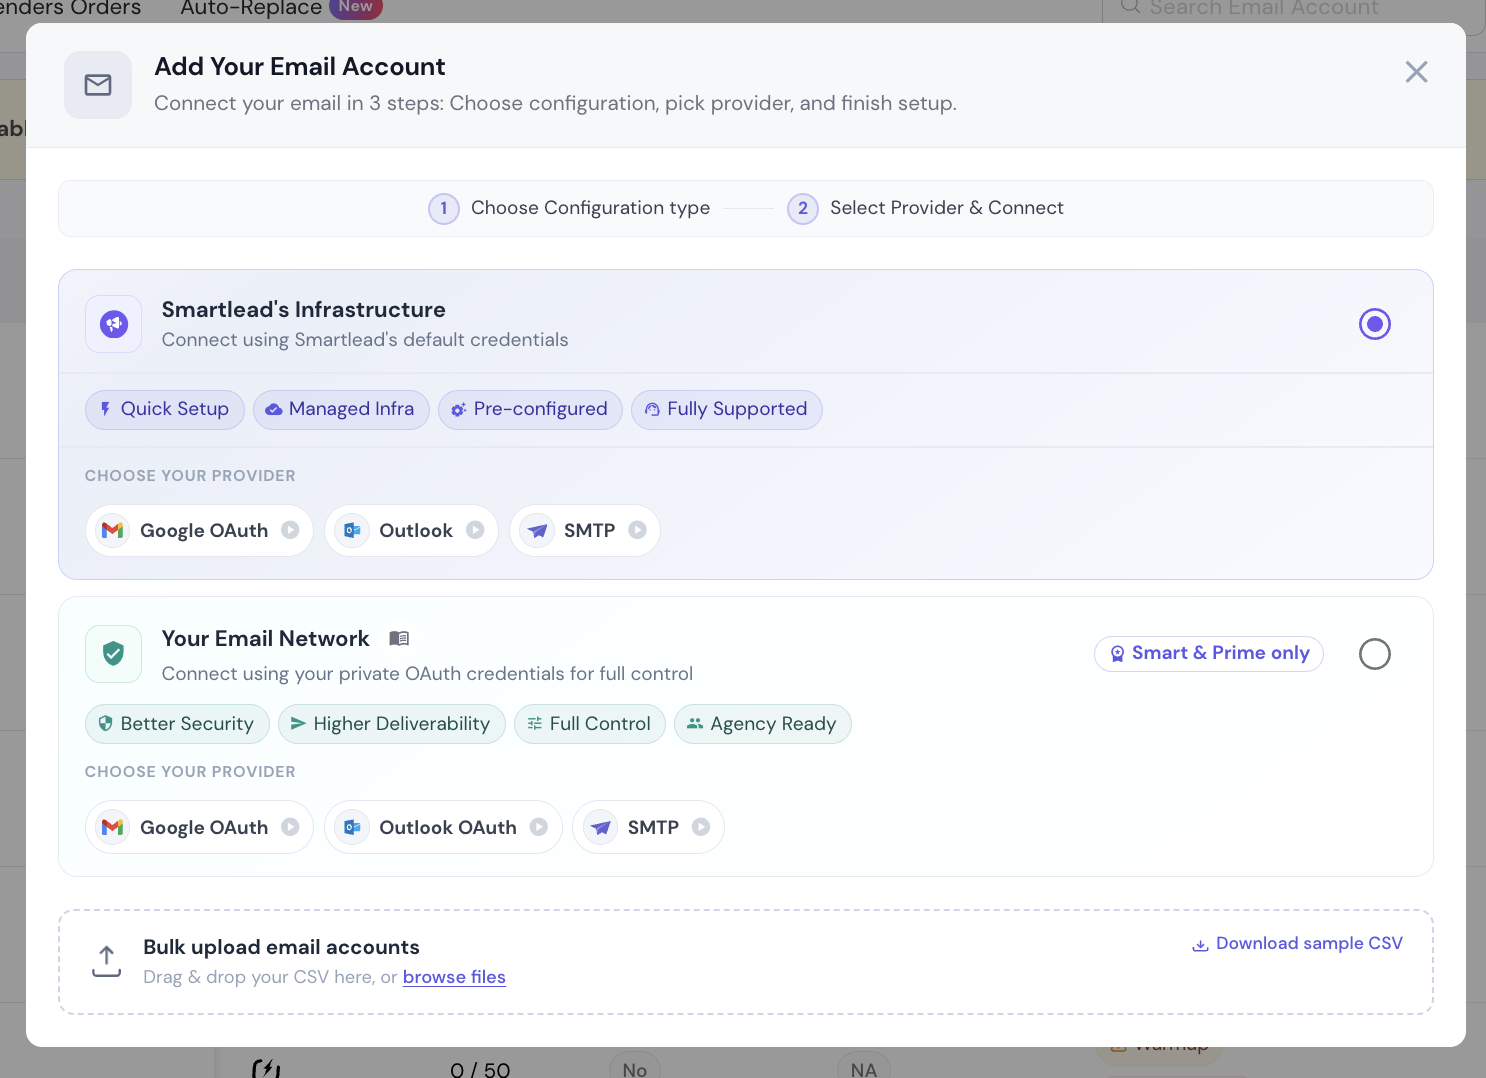
Under Smartlead's Infrastructure, choose Outlook.
Click Connect Account.
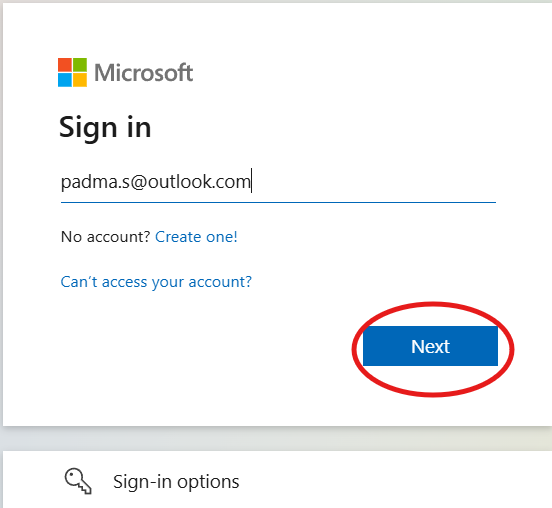
Enter the mailbox's email address, then its password, and sign in.

When Microsoft asks for permission for Smartlead, click Accept.

You return to Smartlead and the mailbox appears in Sender Accounts, ready to use in campaigns.

An admin signing in connects only the admin's own mailbox. Each user must sign in as themselves to connect their mailbox.
Outlook requires OAuth authentication for each connection individually. Bulk CSV upload is not supported for Outlook accounts at this time.
Try disconnecting and reconnecting. Make sure you click Allow or Accept on every permission screen during the OAuth flow. If the issue persists, verify that Authenticated SMTP and IMAP are enabled in your Microsoft 365 Admin Center and that 20–30 minutes have passed since enabling them.
Your tenant only allows admin-approved apps. Your Microsoft 365 admin must approve the Smartlead app for the organisation. Then sign in again. Smartlead can't skip this screen.
That address is already connected to another Smartlead account.
You need Microsoft 365 admin access to enable Authenticated SMTP and IMAP - this is a one-time setup step. Once enabled, individual users can connect their own accounts to Smartlead without admin access.
Still stuck? Contact support from the chat in your Smartlead dashboard. Include the mailbox address and a screenshot of the error.