Smartlead’s SmartDelivery tool, allows you to automate deliverability tests to continuously monitor and improve email deliverability.
Automatic tests take the guesswork out of your campaign performance by running at scheduled intervals, ensuring your emails pass through various deliverability parameters to evaluate its overall performance and the ability to land in the inbox.
In this guide, we’ll walk you through the steps to set up and run an automatic test, helping you stay ahead of potential deliverability issues without manual intervention.
Before you start, you need to have an account on Smartlead and connected email accounts and campaigns.
Access your Smartlead account to get started.
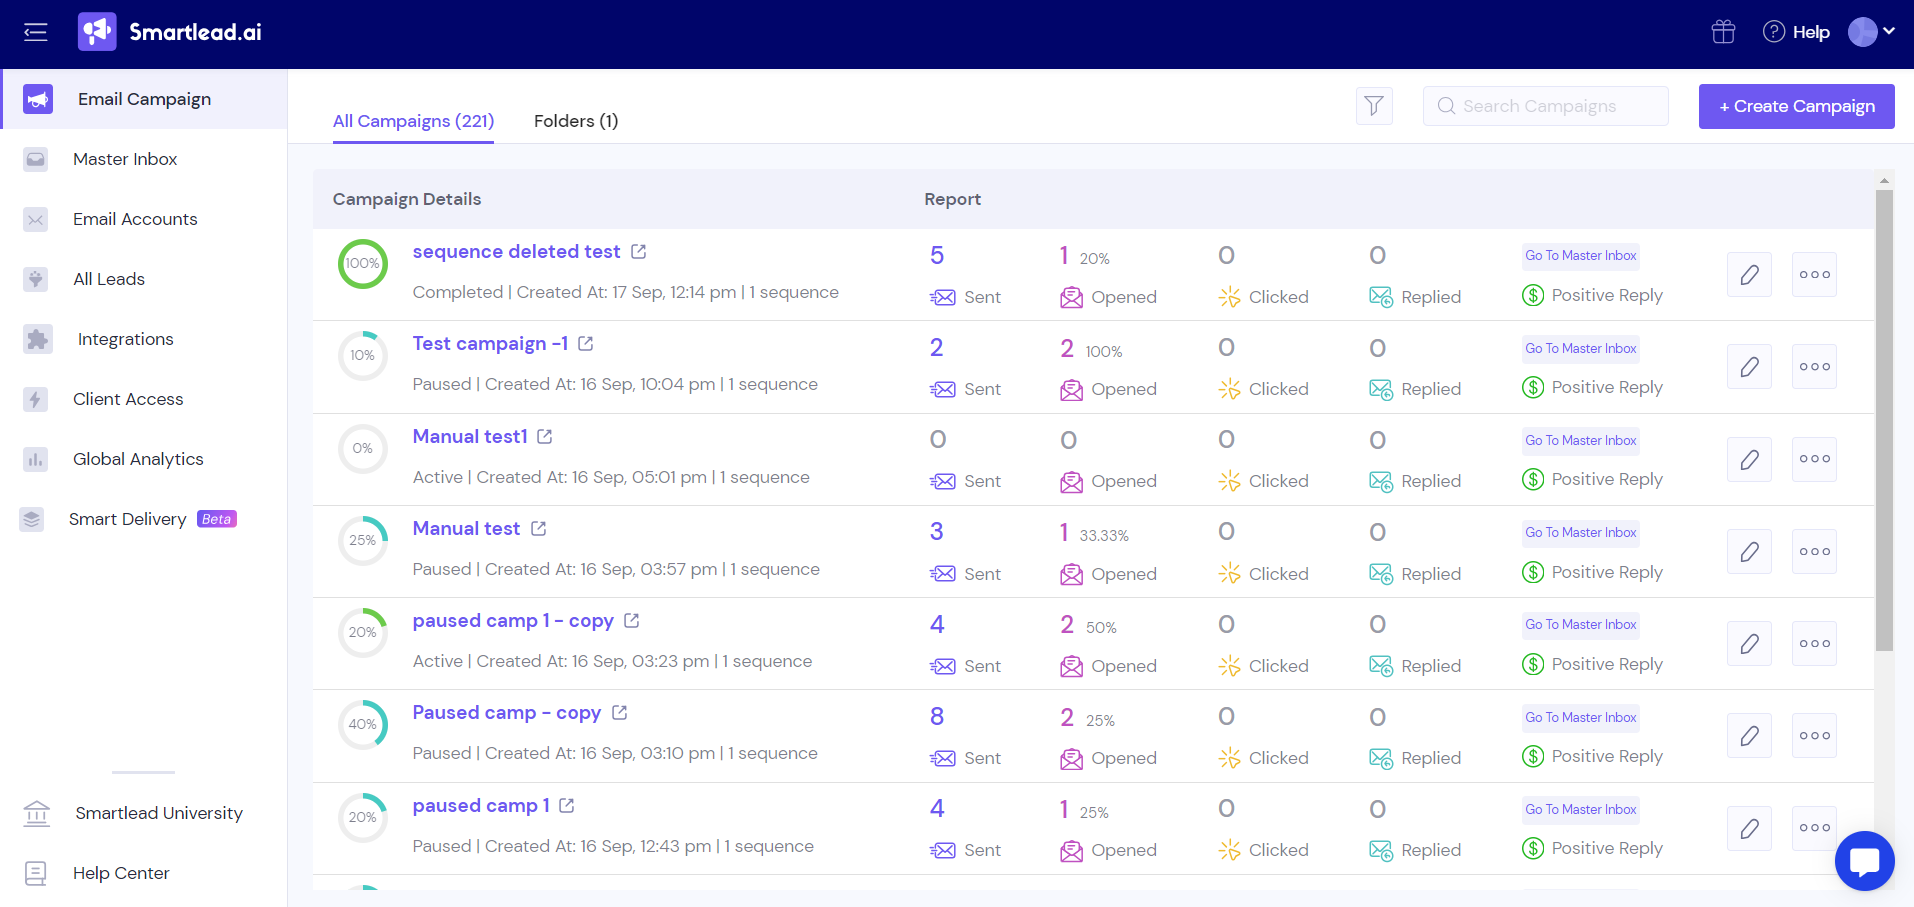
Upon logging in you will be able to see the Smartlead account's dashboard.
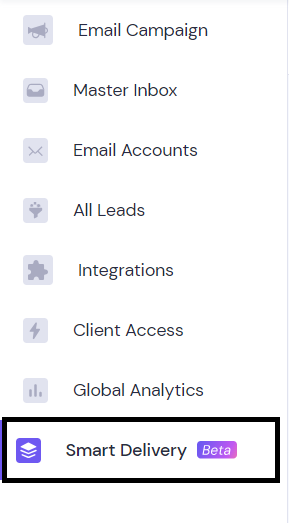
From the left-hand navigation, go to the SmartDelivery tab.
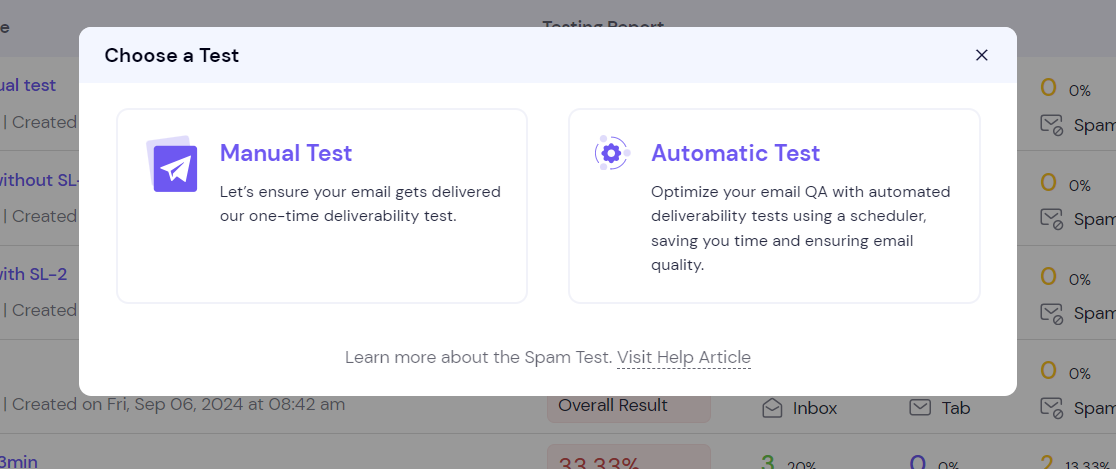
On the screen, select the Automatic Test option.
This mode allows the system to run spam tests at regular intervals without requiring much manual action.
Next, you will see a screen where you need to enter some general details. Please fill in the following information:
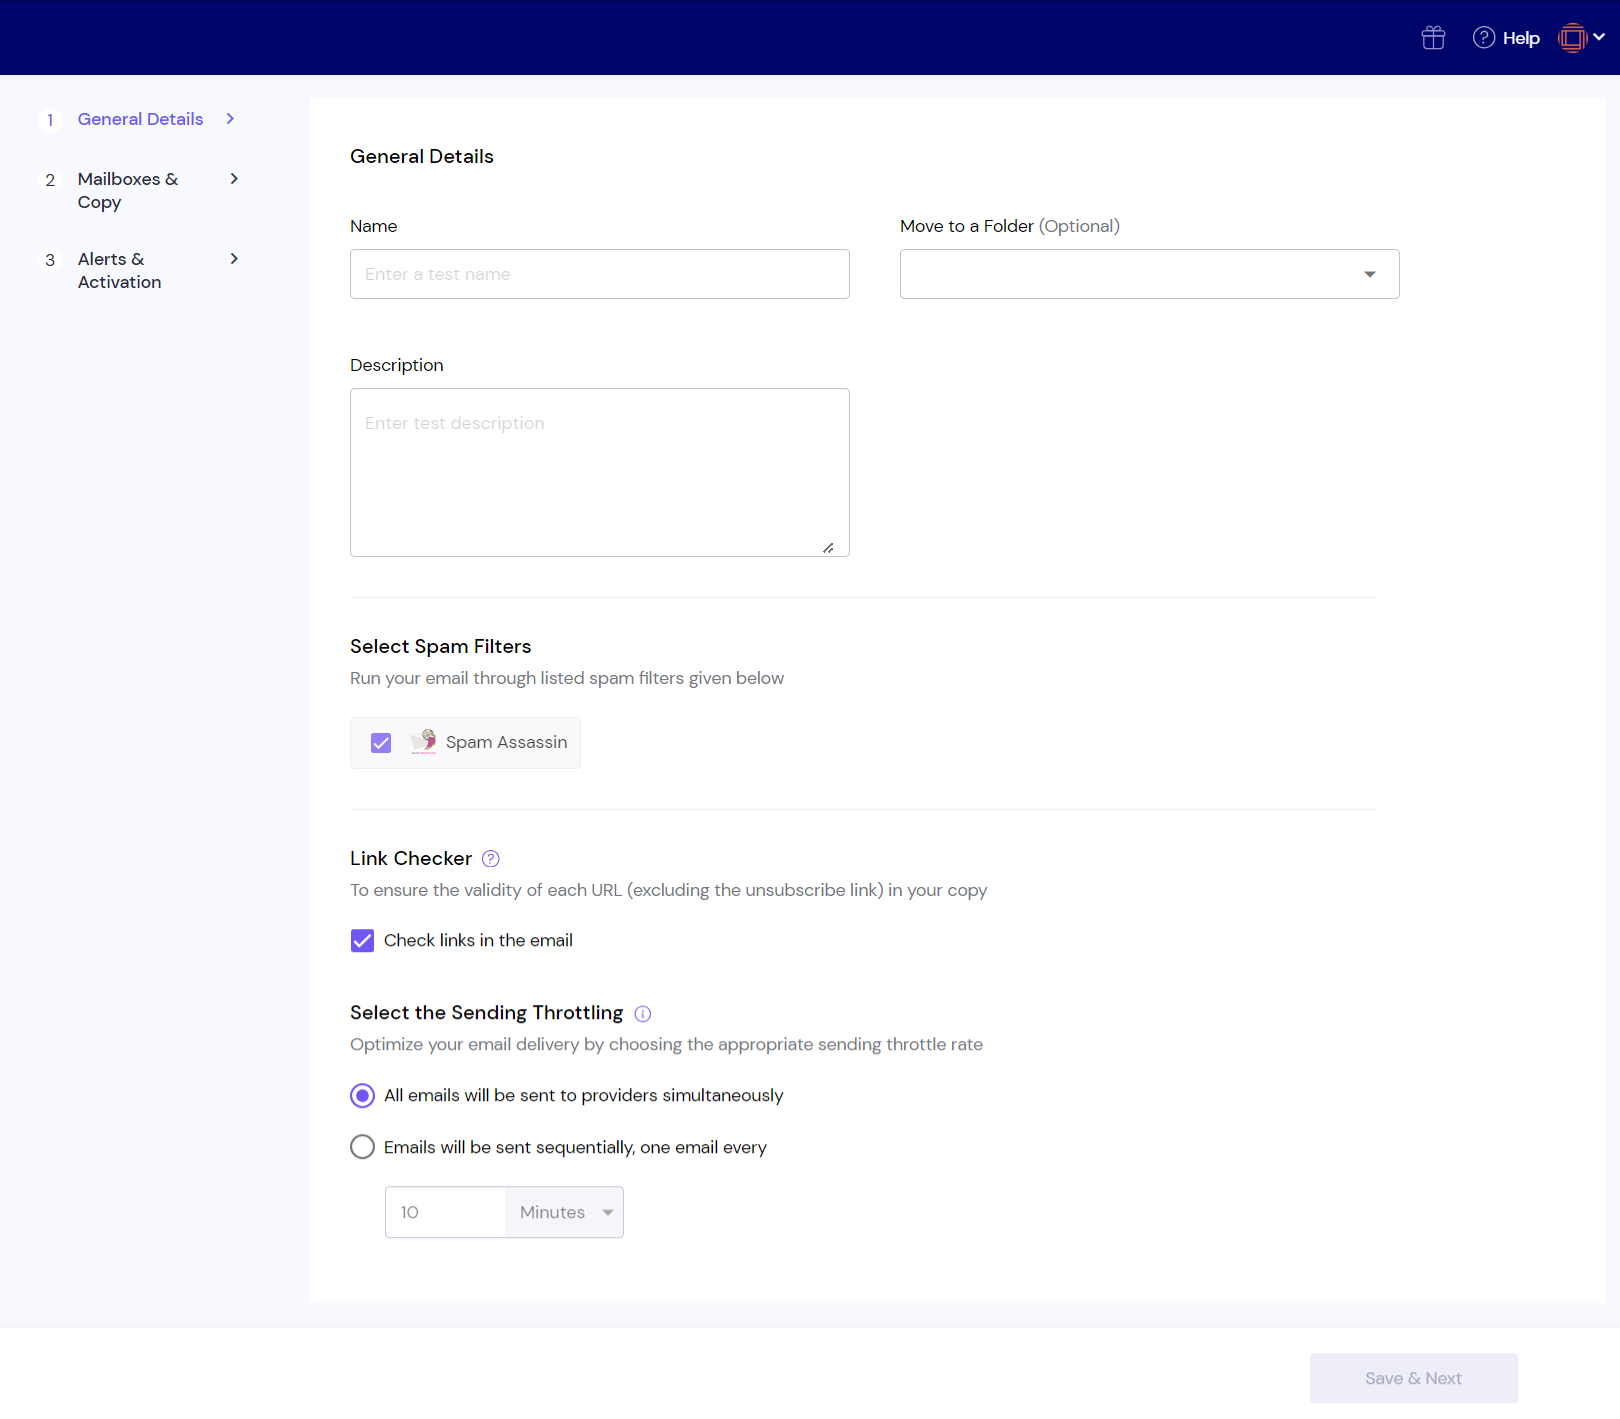
Test Name: Provide a name for your test to easily differentiate it from others.
Description: Add a brief summary of what the test is about.
Move to a Folder: Organize your tests by placing them in the relevant folder (optional).
By default, your test will be processed through the SpamAssassin spam filter. (Quick Info: A spam filter is a system used by email services to evaluate incoming messages, determining whether they should reach the inbox or be marked as spam. It assesses factors such as the content of the email, the sender’s reputation, and technical configurations, assigning a score to each email. Running your test through SpamAssassin helps ensure your emails meet the necessary standards to pass through these filters and land in recipients' inboxes.)
You can also enable the Link Checker to ensure all links in your email (excluding the unsubscribe link) are valid.

Next, set the sending throttle rate, which controls the pace at which emails are sent.
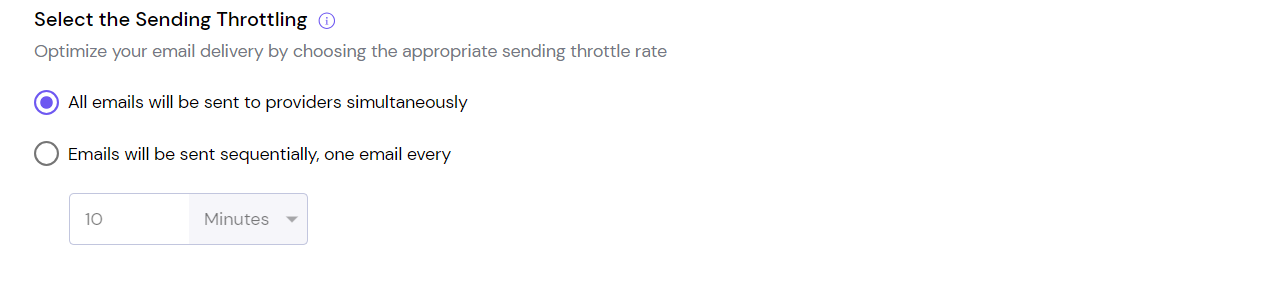
This rate determines how many emails are delivered over a set time period, helping to prevent overwhelming email providers. In SmartDelivery testing, you can either send all emails at once or specify an interval to send them one at a time, such as every few minutes.
(Note: The time taken to complete the test with the throttle rate, should be less than the frequency of running repeated tests. Frequency configured in Set frequency step.)
Once you've entered all the details, click 'Save & Next' to proceed.
In the Mailboxes and Copy section, you can configure the settings related to the mailboxes you want to check and the email copy to be tested for deliverability.
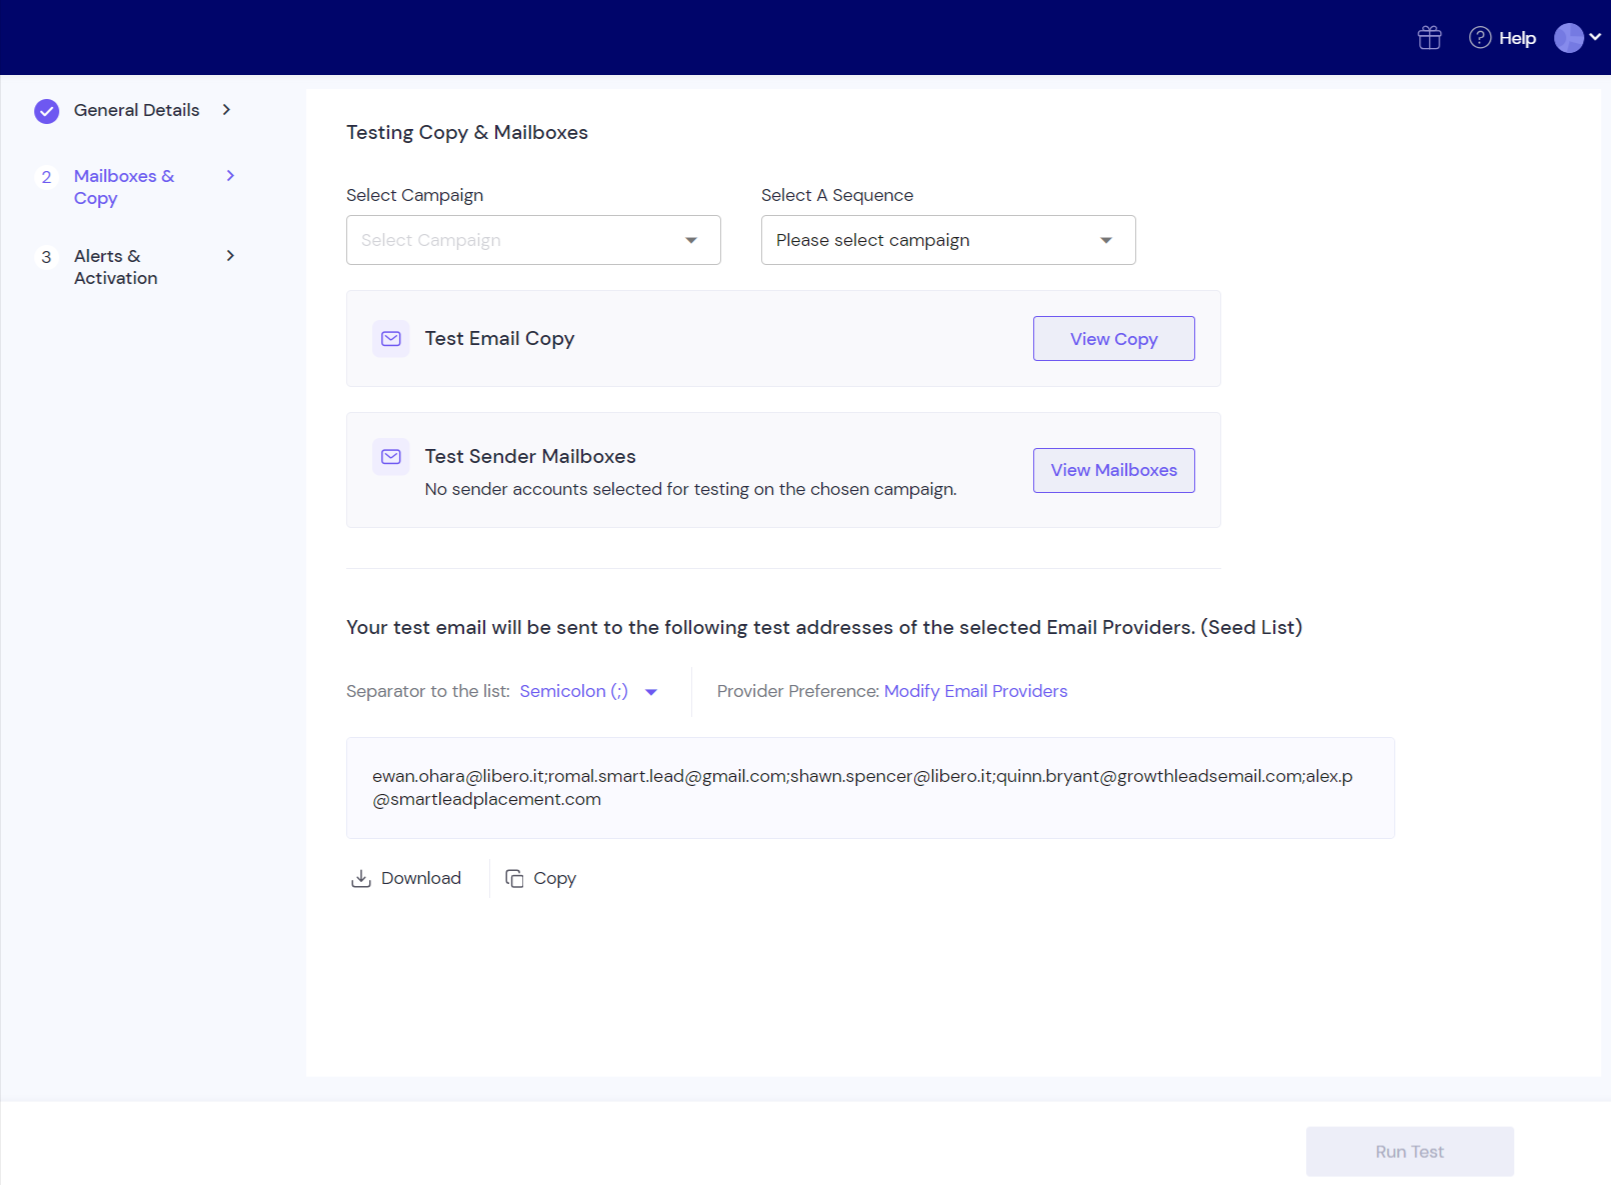
Choose the campaign you wish to test by clicking on the Select Campaign dropdown. This will display all the campaigns you’ve created in Smartlead.
Next, select the sequence you want to test within the chosen campaign by using the Select Sequence dropdown. Once both the campaign and sequence are selected, you can click on View Copy to review the email copy that will be used for the deliverability test.
You can then select the sender accounts you wish to test from the particular campaign.
(Note: Limit applies on the selected sender accounts based on the subscription plan)
Modify Email Providers (Optional)
Additionally, you can modify the email providers when running the test. The test sends emails to a seed list containing over 50 addresses across various email service providers (ESPs), giving you insights into how your email performs across different platforms.
To do this, click the Modify Email Providers option above the seed list section. We recommend selecting all available email providers to get the most comprehensive results.
Once you’ve completed these steps, click on 'Save & Next'.
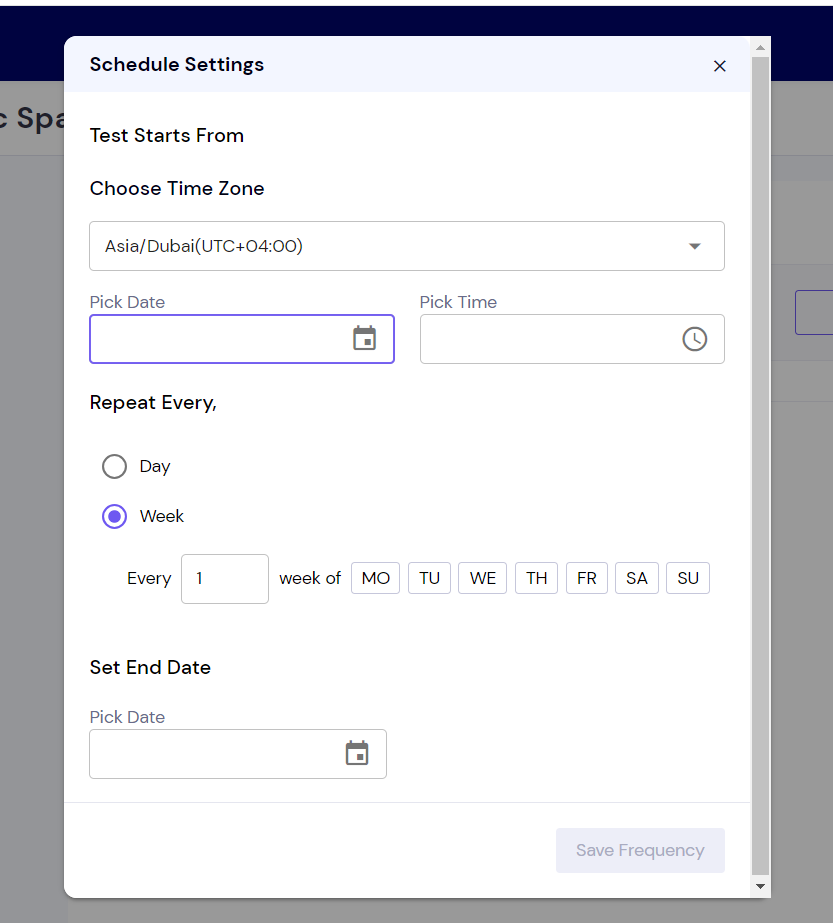
Define how often you want the automatic tests to run:
Daily: Useful for campaigns that are running continuously.
Weekly: Ideal for ongoing monitoring over a longer period.
Setting the frequency allows you to monitor deliverability trends over time and detect any potential issues early on.
You will need to set a start and end date.
(Note: The time taken to complete the test with the throttle rate, should be less than the frequency of running repeated tests. Frequency configured in Set frequency step.)
Once you have configured the mailboxes, campaigns, test frequency, and recipients, click Activate Test.
Your test will now run automatically according to the schedule you’ve set, without requiring manual intervention.
The system will continuously track your email deliverability, providing you with regular updates and insights.
Note: you can stop your automated test at any time using the action menu.
You can review all deliverability reports in the timestamp view.
