We’ve redesigned the campaign creation experience in Smartlead so you can set up your cold email campaigns faster, with a cleaner flow - while keeping the core functionality exactly the same.
With the new UI, you can still:
add leads from multiple sources,
build multi-step sequences (including manual tasks),
configure deliverability and sending safeguards,
and control your campaign schedule with precision.
This guide walks you through the updated campaign creation flow, step by step, so you can create and launch a cold email campaign confidently in the new interface.
Go to Email Campaigns from the left navigation.
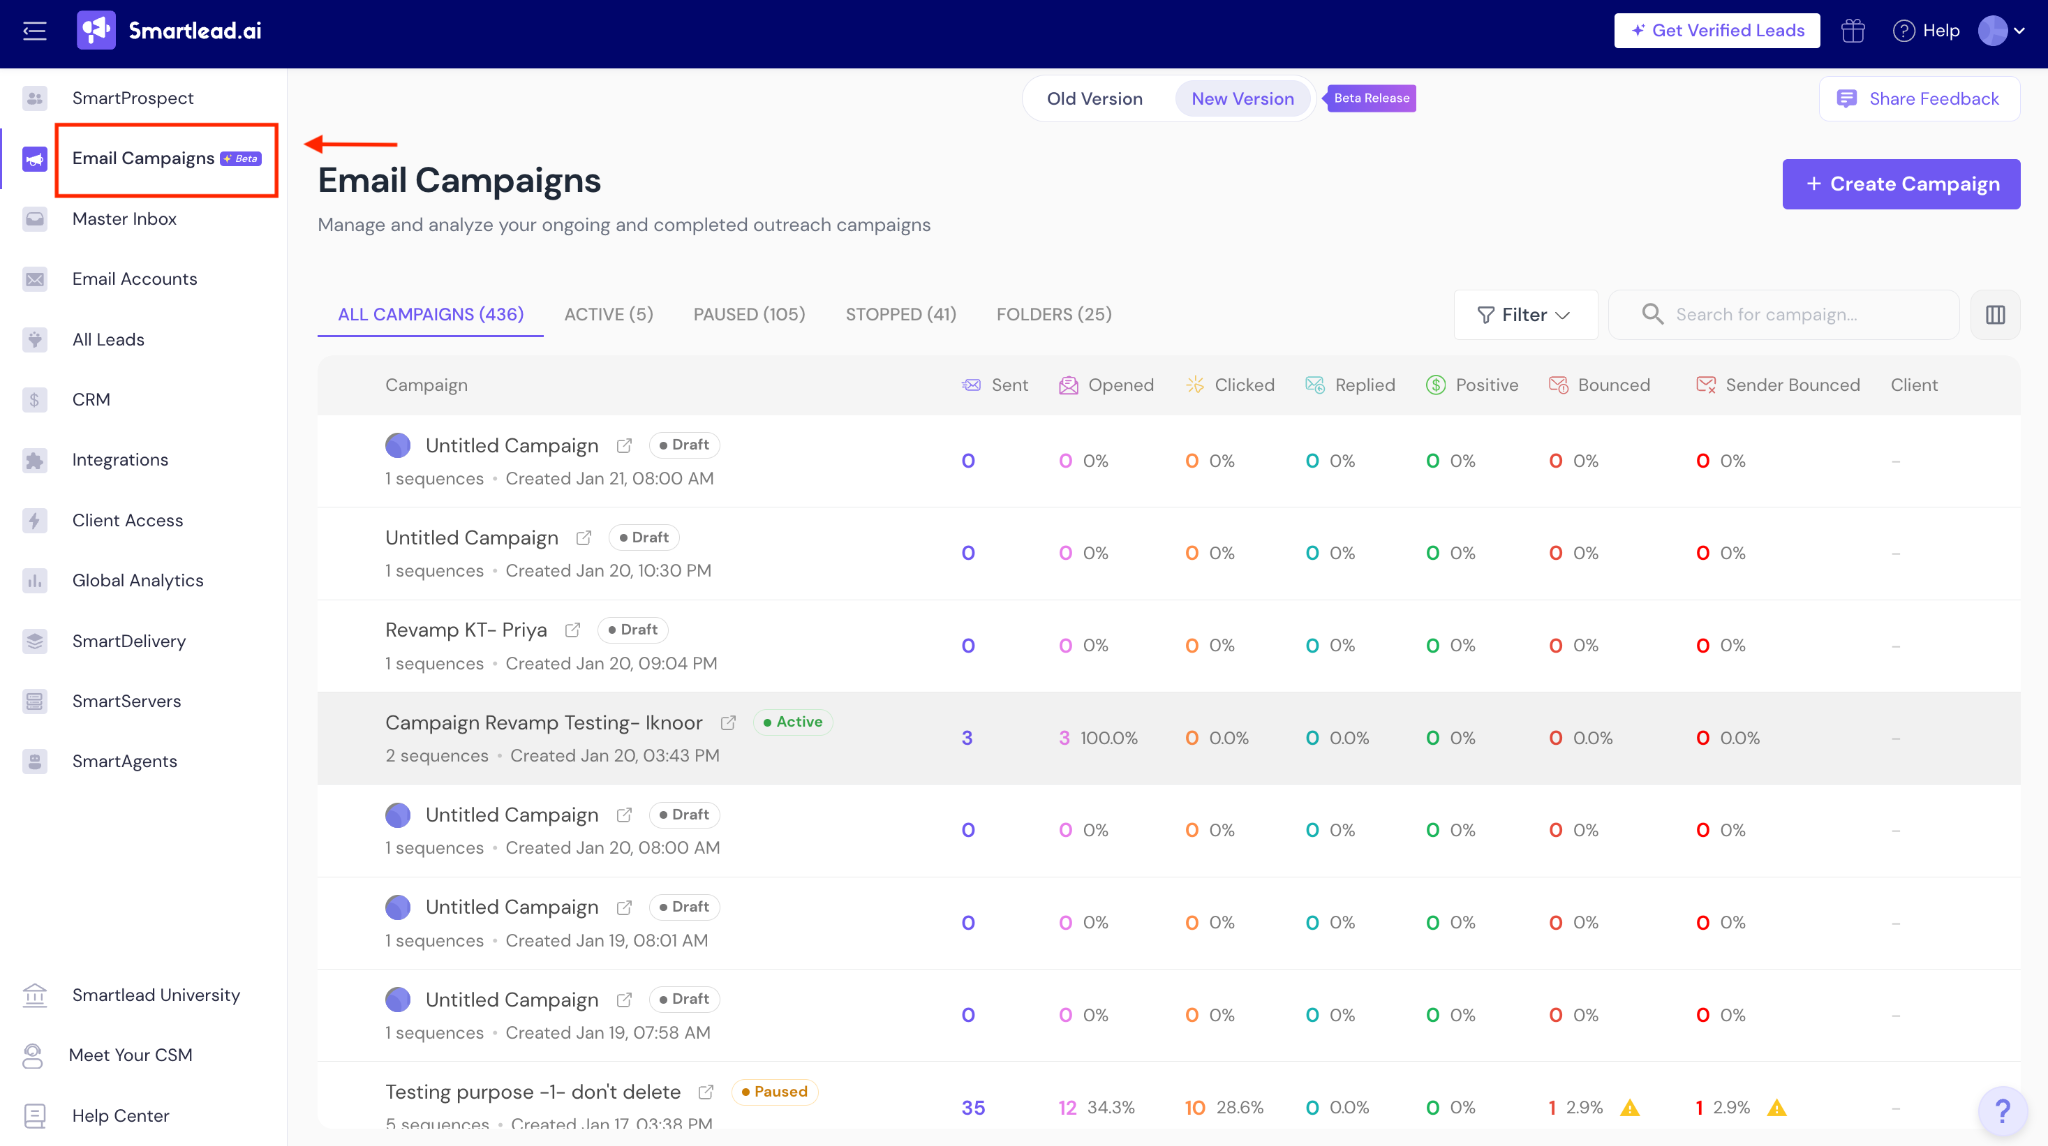
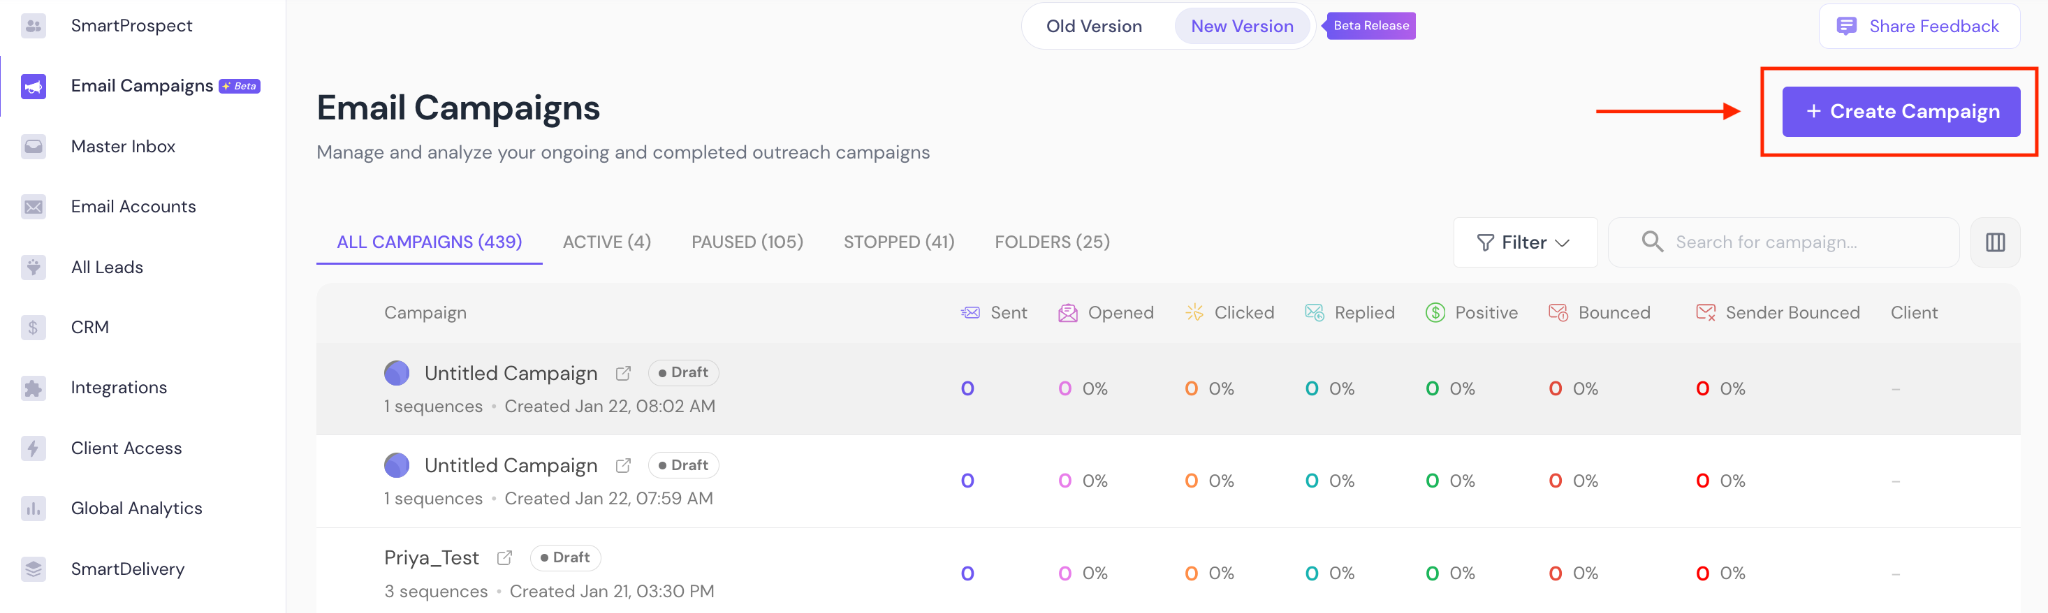
Click + Create Campaign.
Enter a Campaign Name.
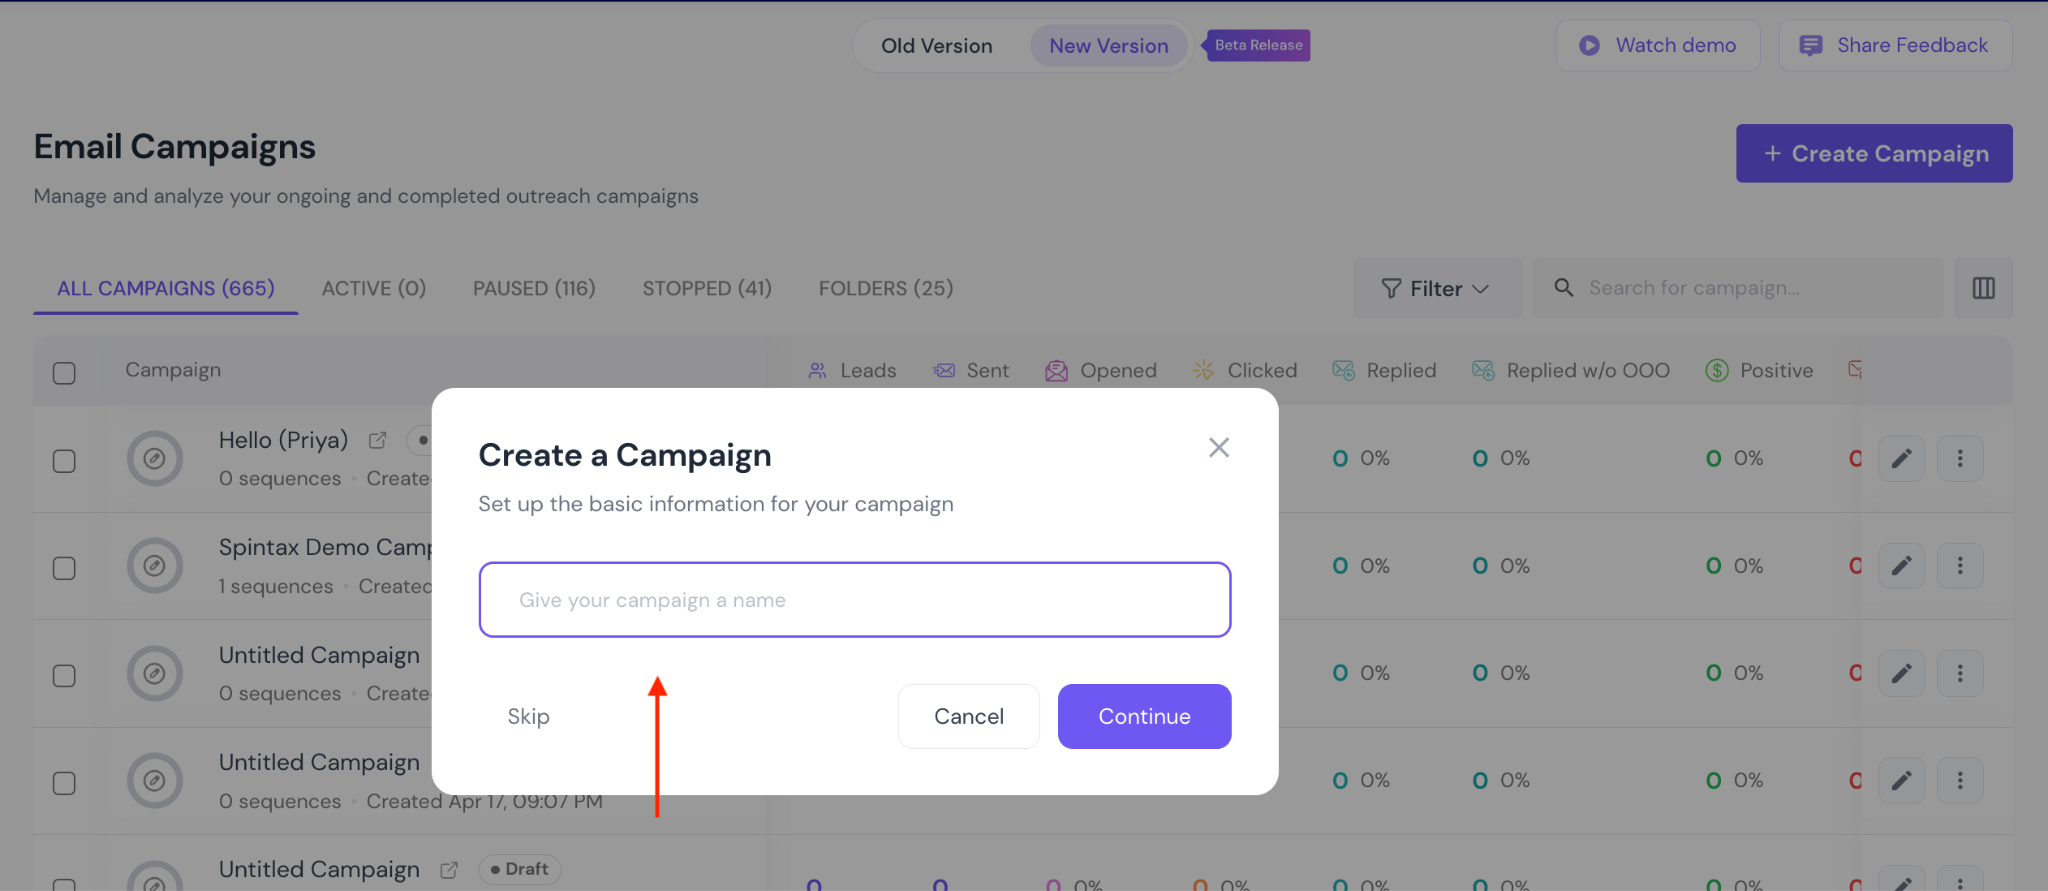
Click Continue.
Your campaign is created in Draft mode and opens in the campaign configuration view. You can also skip naming the campaign at this step, and do it after you set up the campaign.
Navigate to the Leads tab.
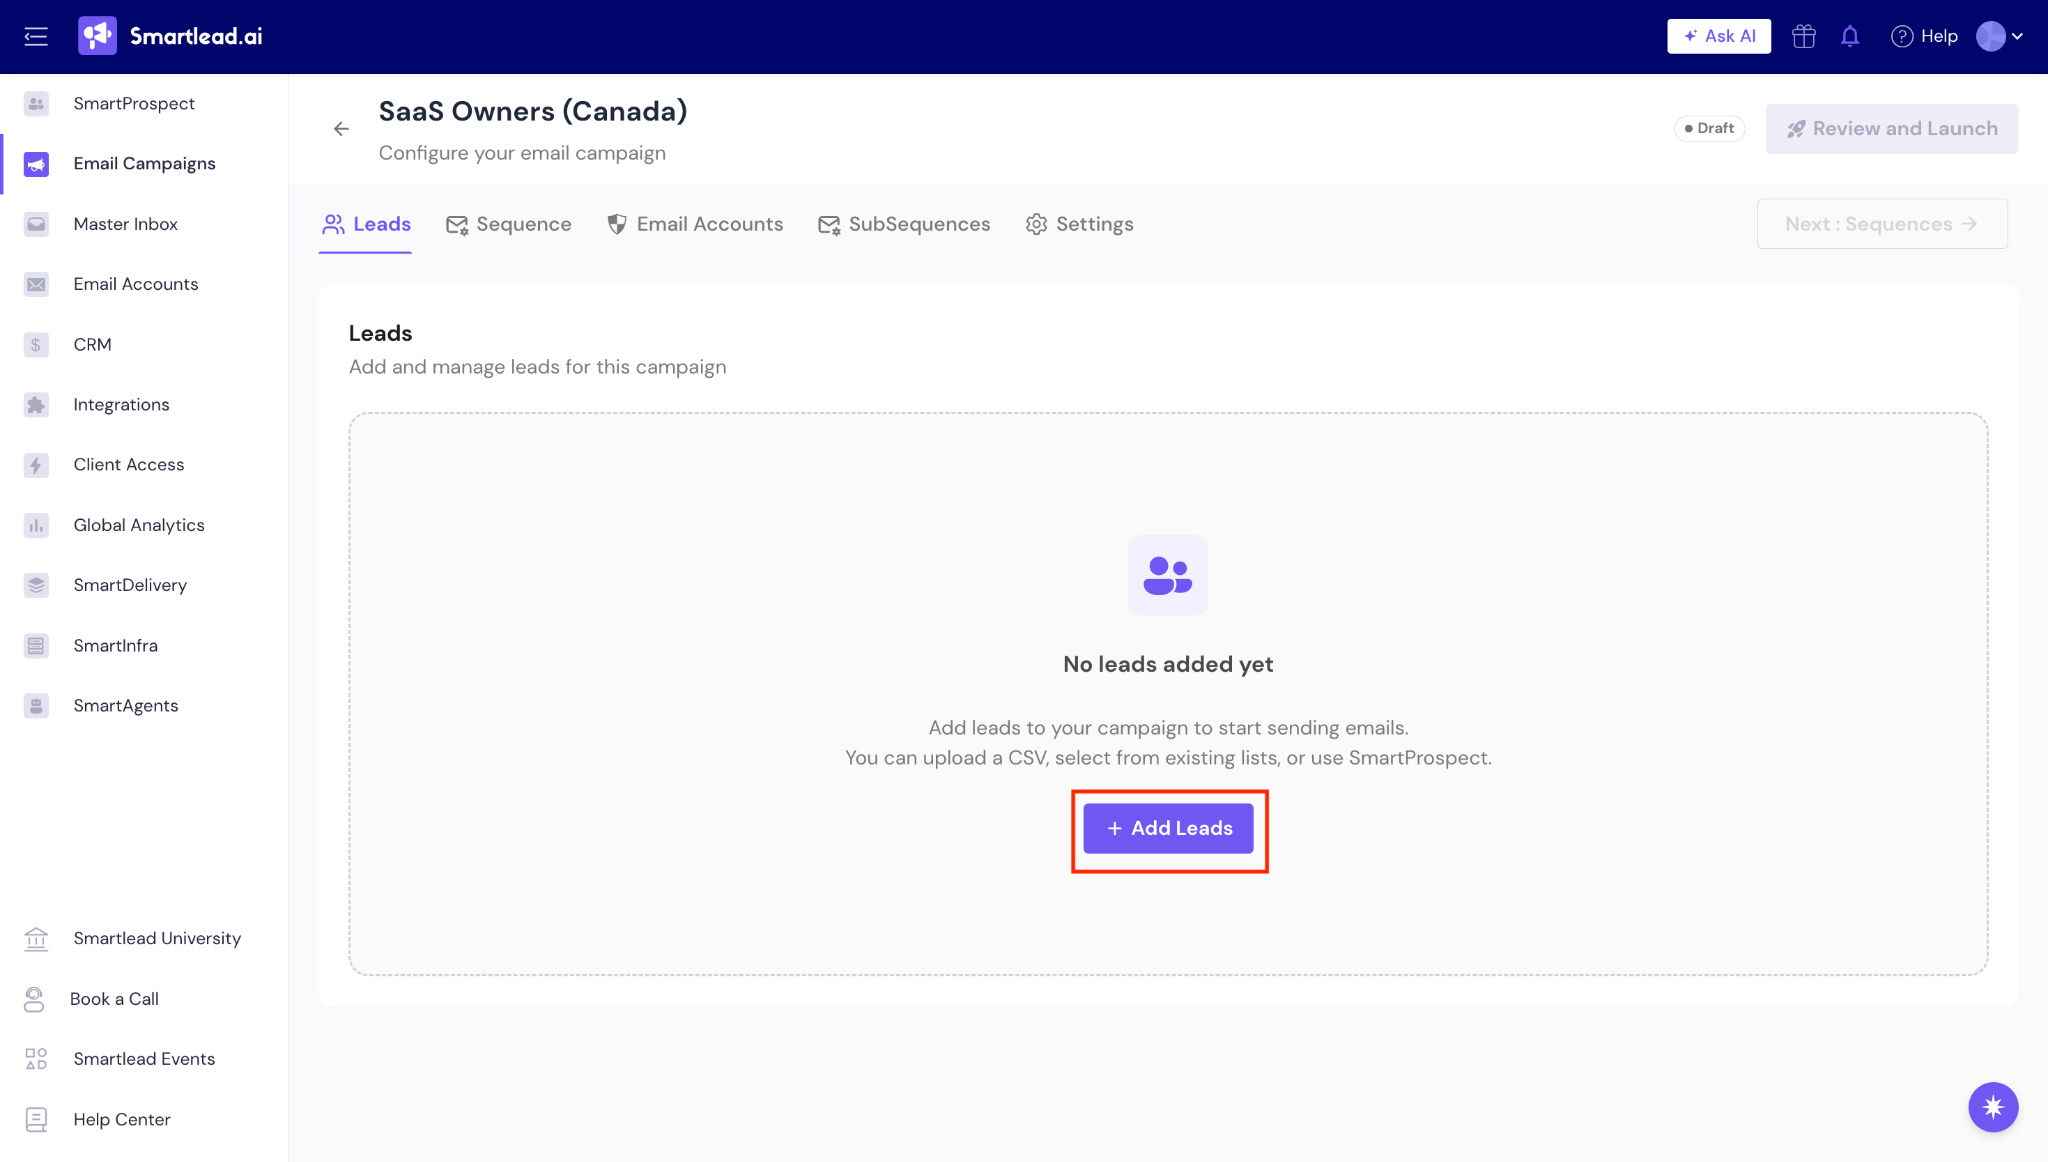
Click + Add Leads to choose how you want to add leads.
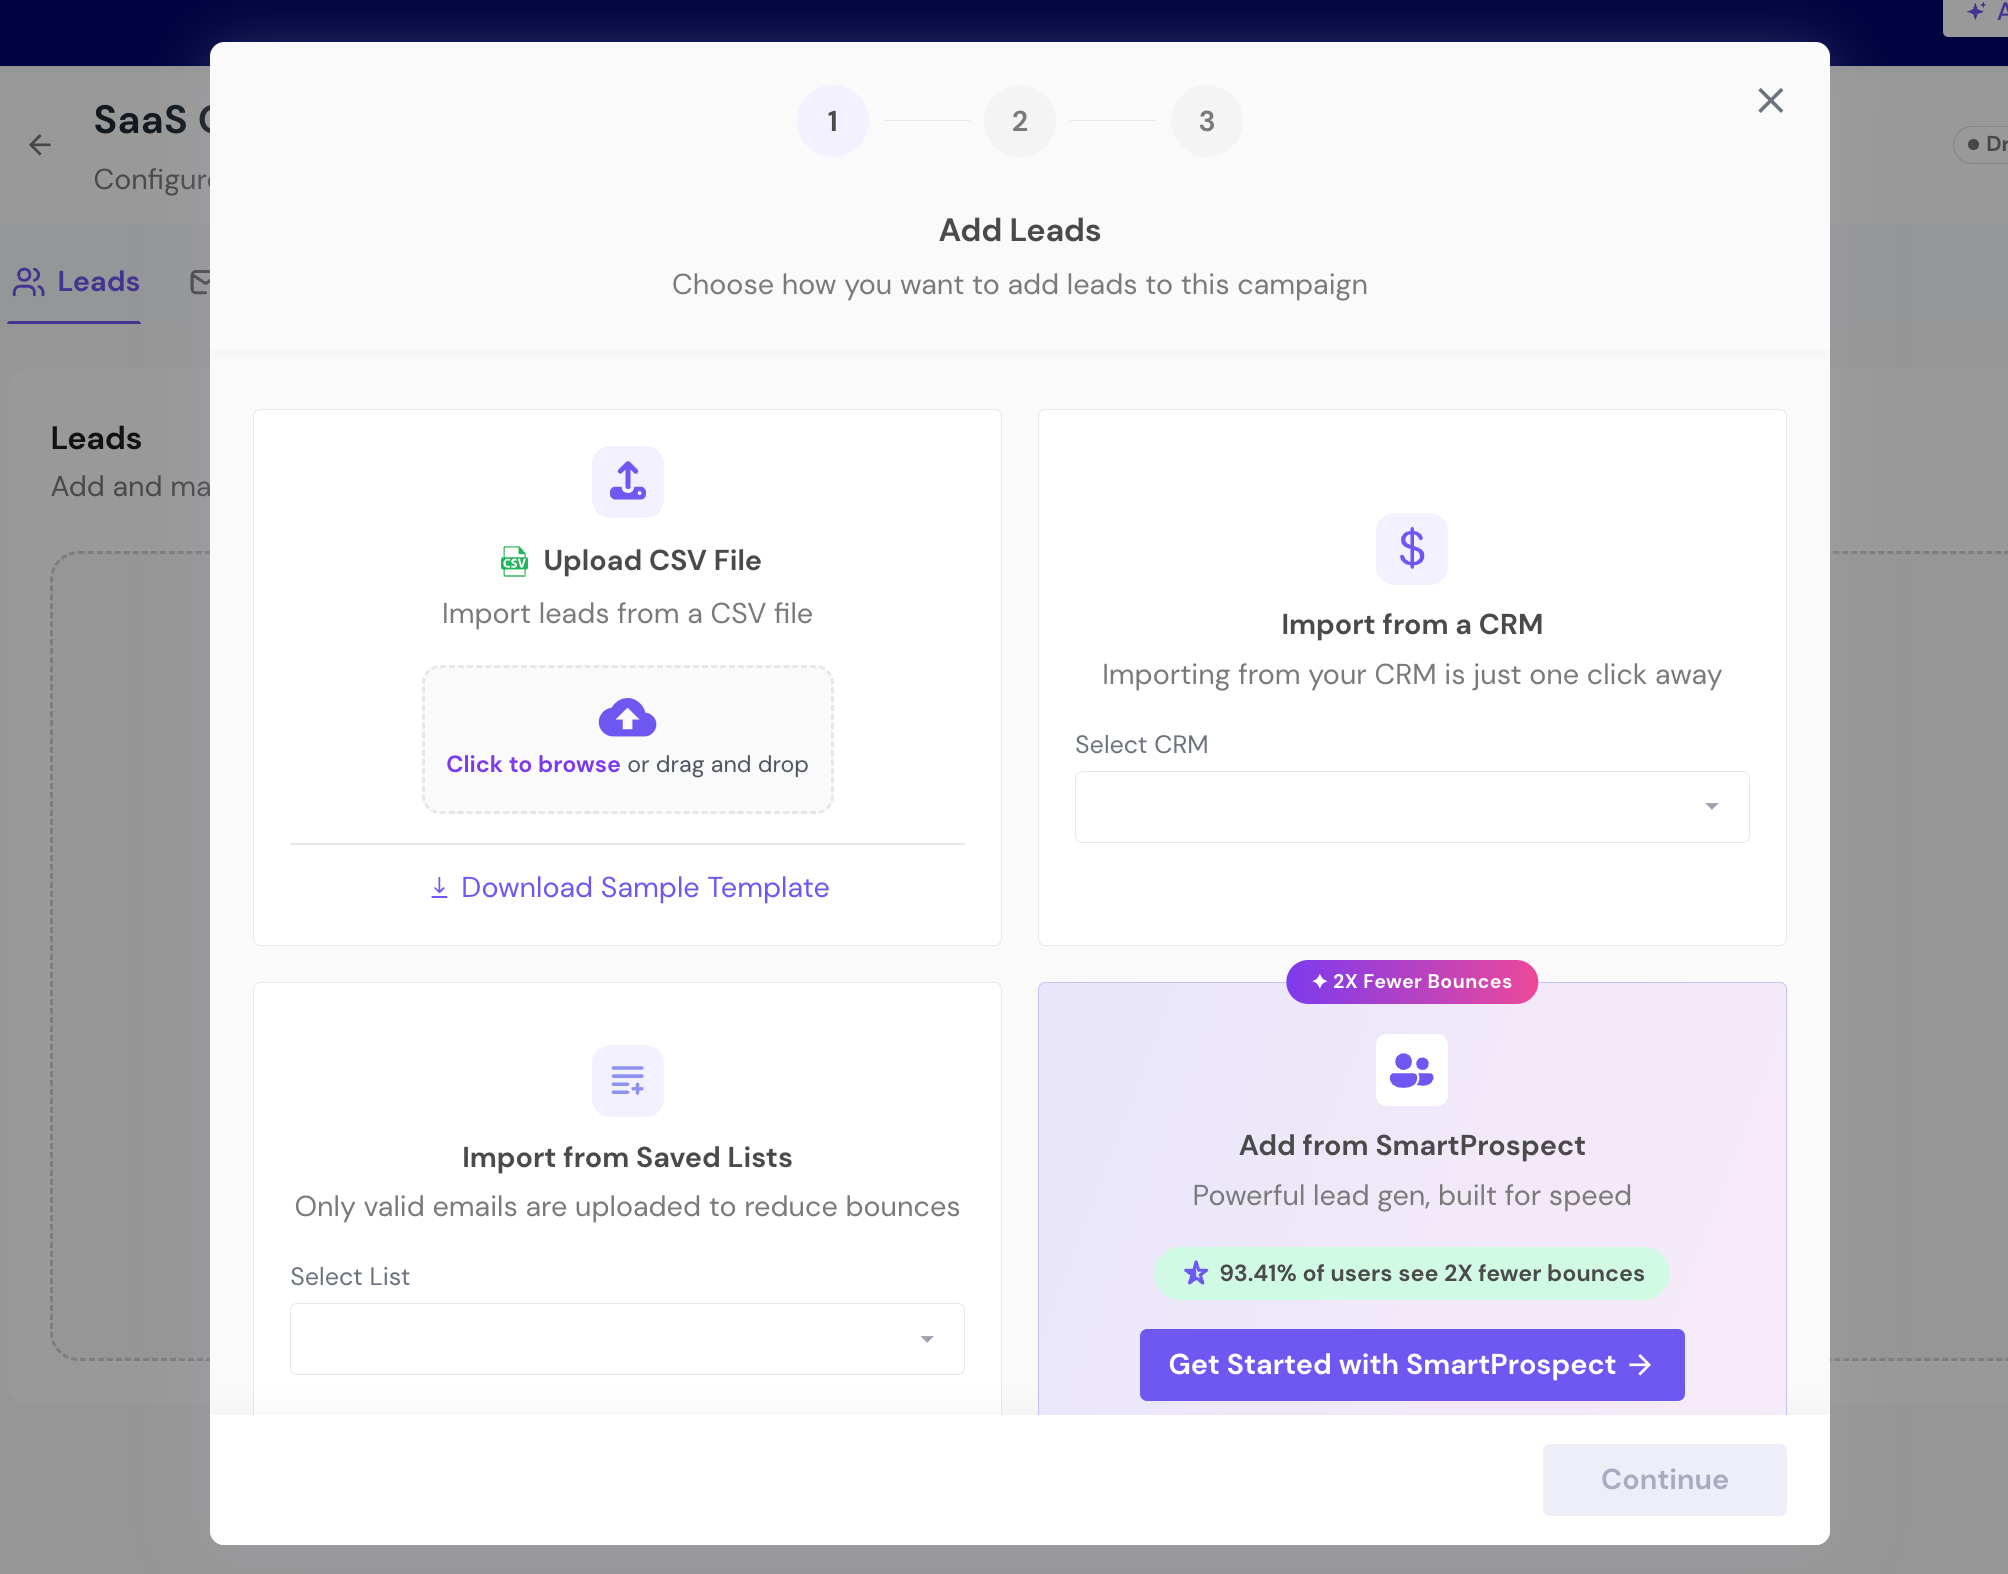
You can add leads using any of the following methods:
Upload CSV File
Upload a CSV containing your lead data. You can download a sample template if needed.
Import from a CRM
Import leads directly from a connected CRM.
Import from Saved Lists
Add leads from previously saved Smartlead lists.
Add from SmartProspect
Find, verify, and add new prospects using Smartlead’s built-in lead generation tool.
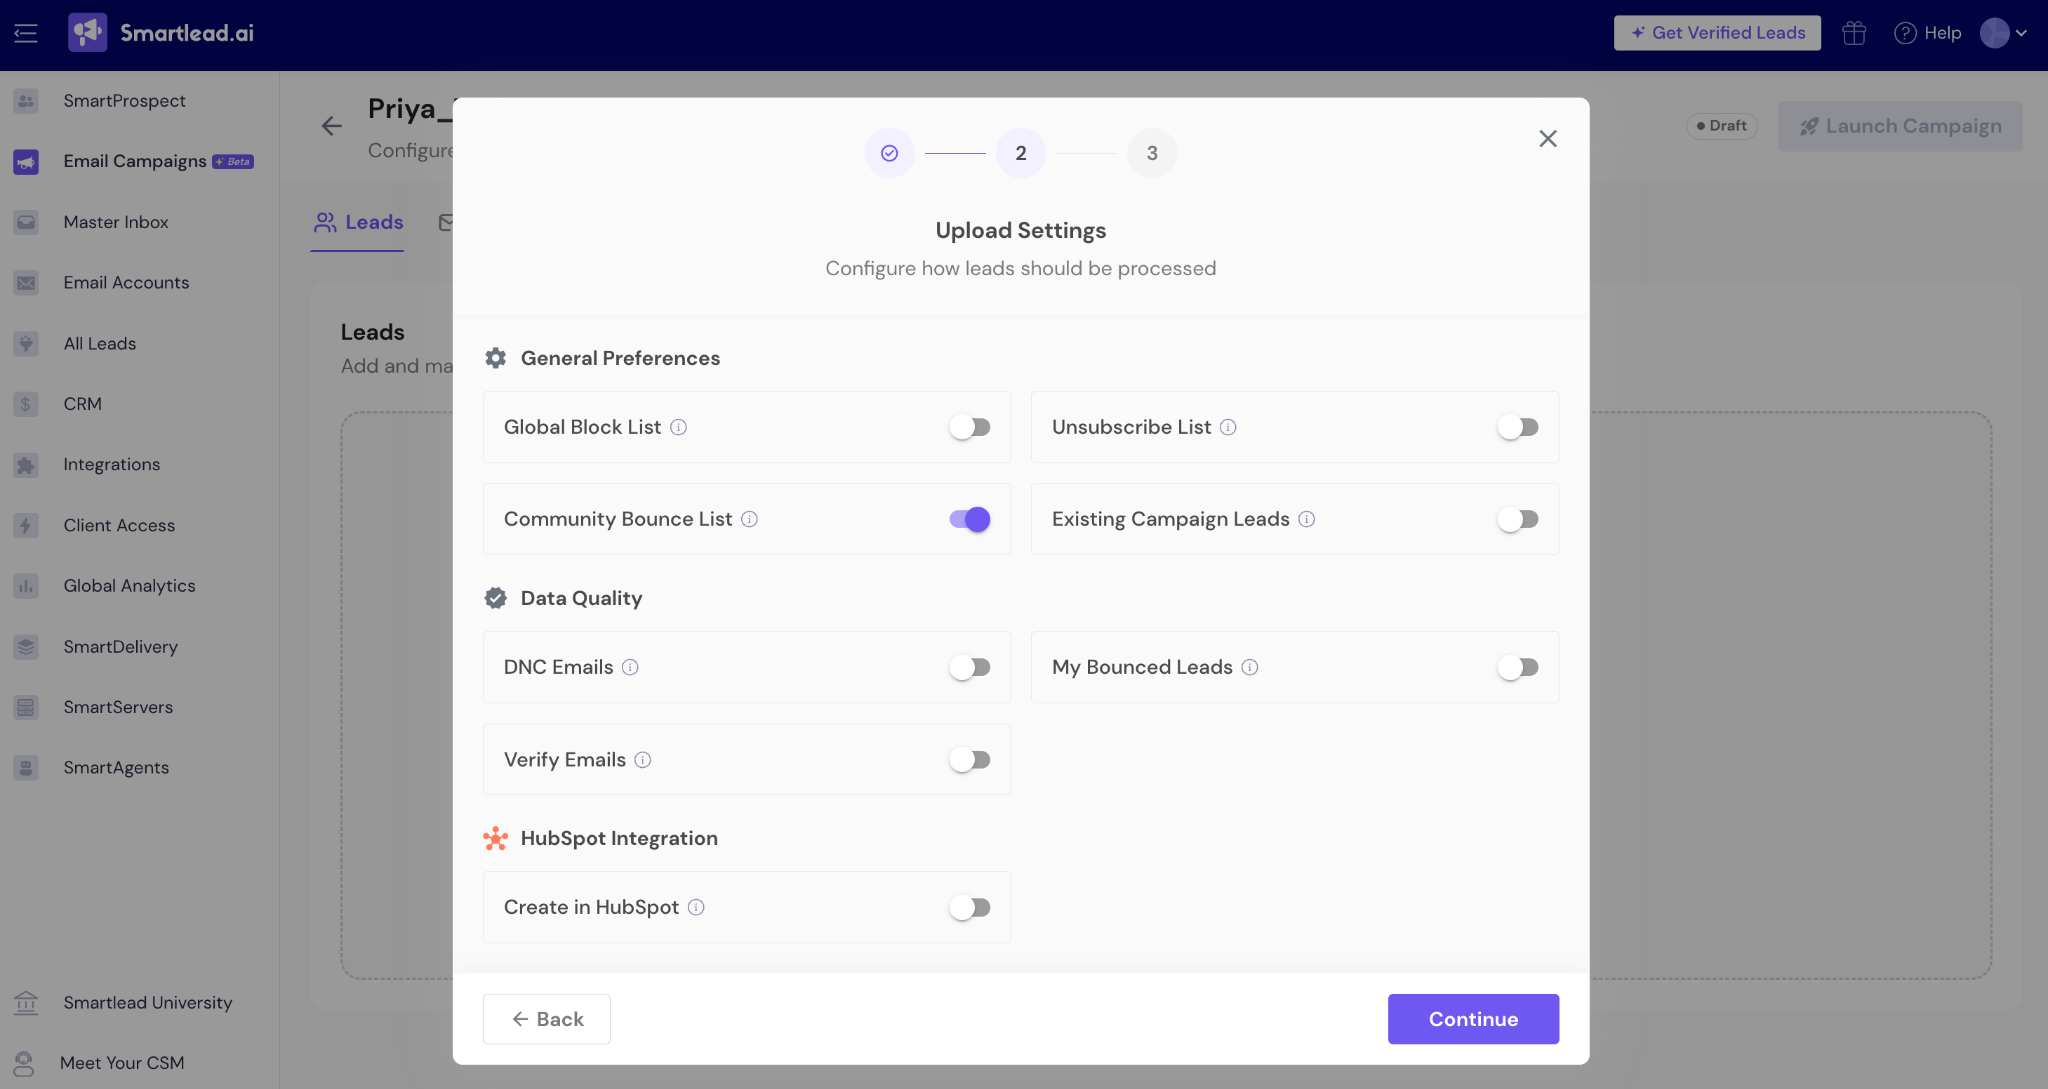
After you select how you want to add leads, you’ll be asked to configure how those leads should be processed before they’re added to your campaign. These settings help you avoid duplicates, reduce bounces, and stay compliant.
Global Block List
Excludes leads that exist in your global block list. Use this to ensure blocked or suppressed contacts are never added to campaigns.
Unsubscribe List
Prevents leads who have previously unsubscribed from being added again, helping you stay compliant and respectful of opt-outs.
Community Bounce List
Automatically removes emails that are known to bounce based on Smartlead’s community bounce data. This is recommended to protect deliverability.
Existing Campaign Leads
Controls whether leads already present in this campaign should be skipped or re-added during import.
DNC Emails
Excludes emails marked as “Do Not Contact” to ensure compliance with outreach policies.
My Bounced Leads
Filters out leads that have bounced in your previous campaigns, reducing the risk of repeat bounces.
Verify Emails
Verifies email addresses during import to improve list quality and reduce bounce rates.
Create Leads in HubSpot
If HubSpot is connected, enabling this option will create or update leads in HubSpot when they are added to the campaign.
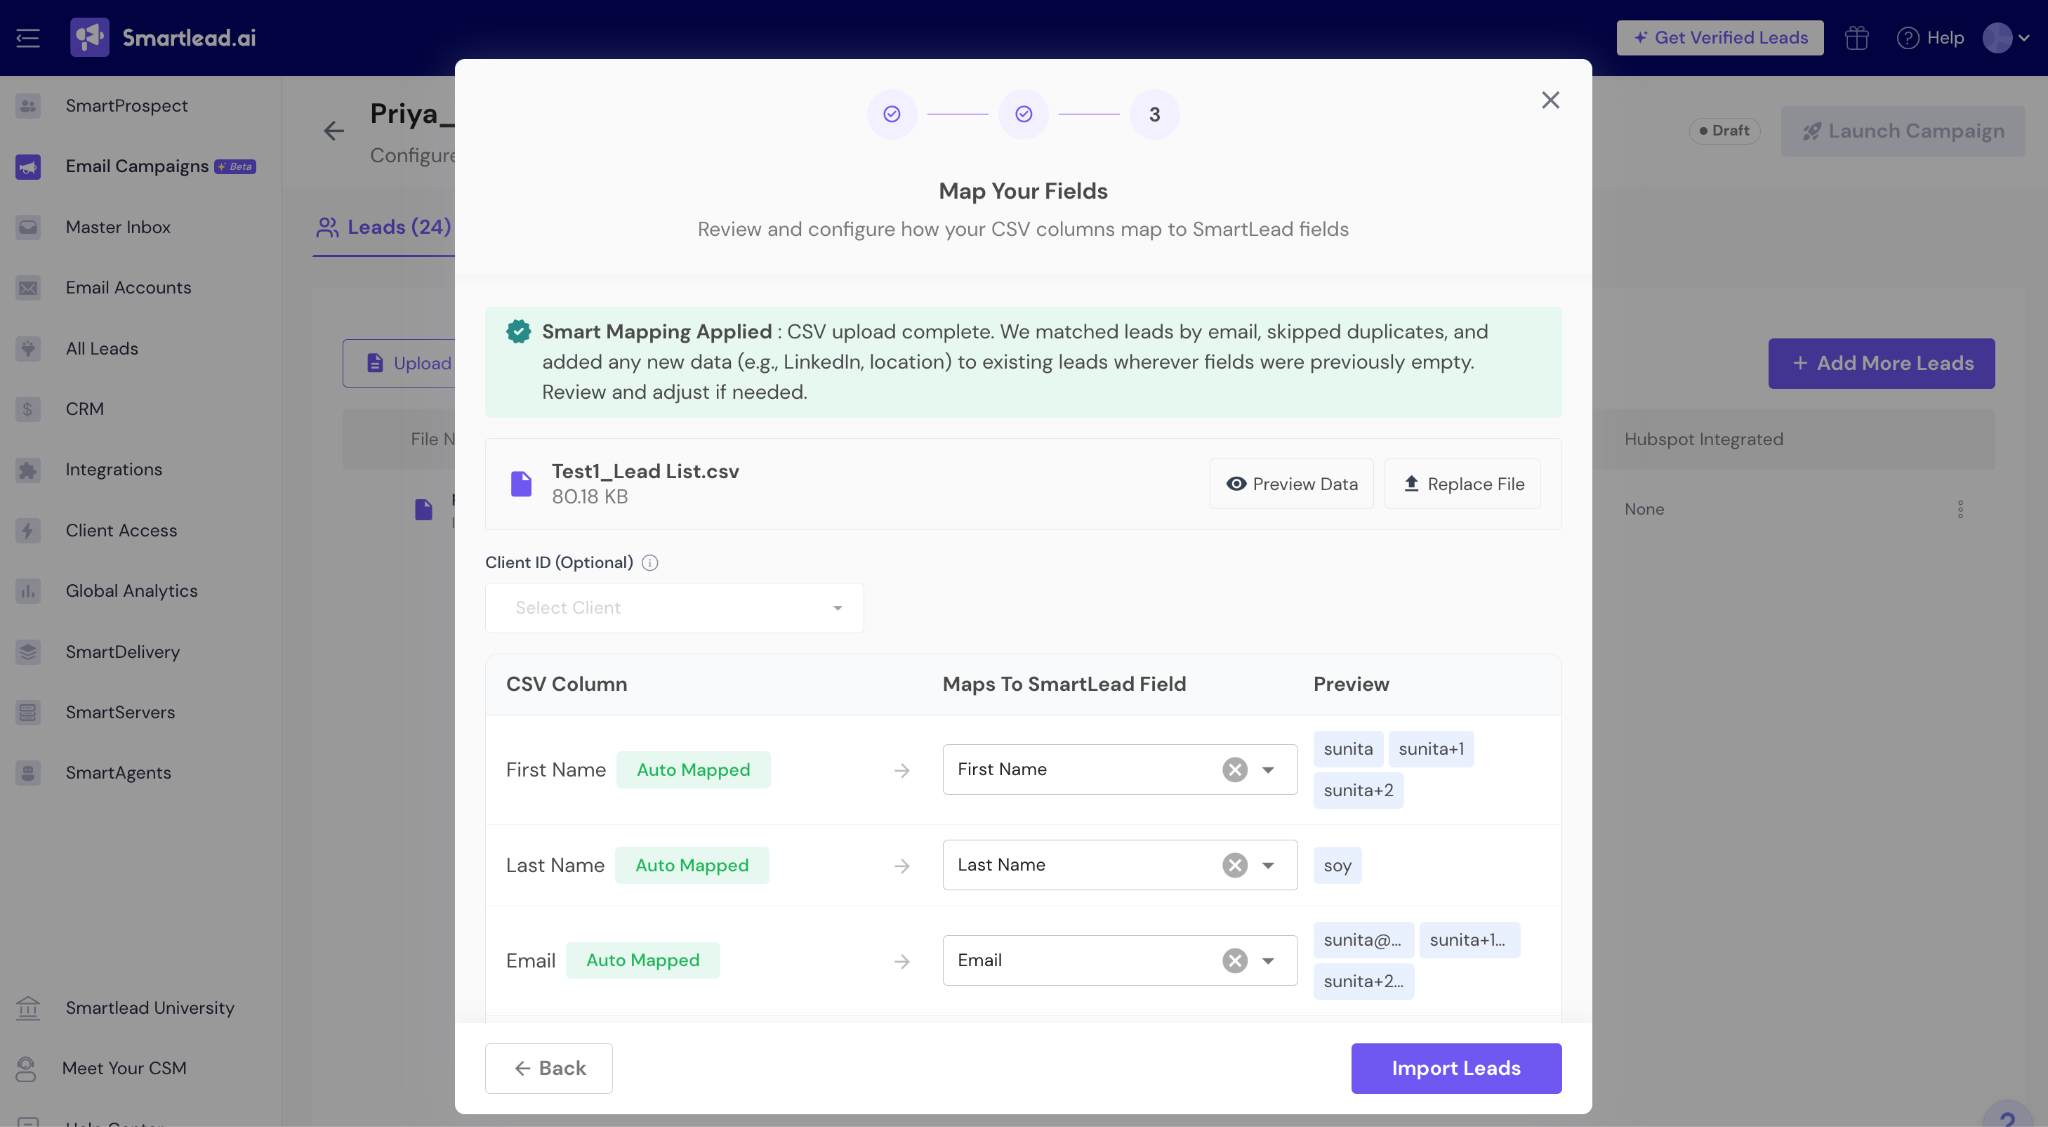
Smartlead automatically maps CSV columns to Smartlead fields using smart matching.
Review all mapped fields (Name, Email, Company, Website, LinkedIn, Location, etc.).
Adjust mappings if required.
Optionally assign a Client ID. (if applicable)
Click Import Leads.
Once imported, your leads appear in the Leads tab.

Go to the Sequence tab.
Click + Create First Step.
Choose the type of step:
Manual Task
Note: An Email step sends an automated email to your leads, while a Manual Task pauses the sequence and creates a task for manual follow-up before the campaign continues.
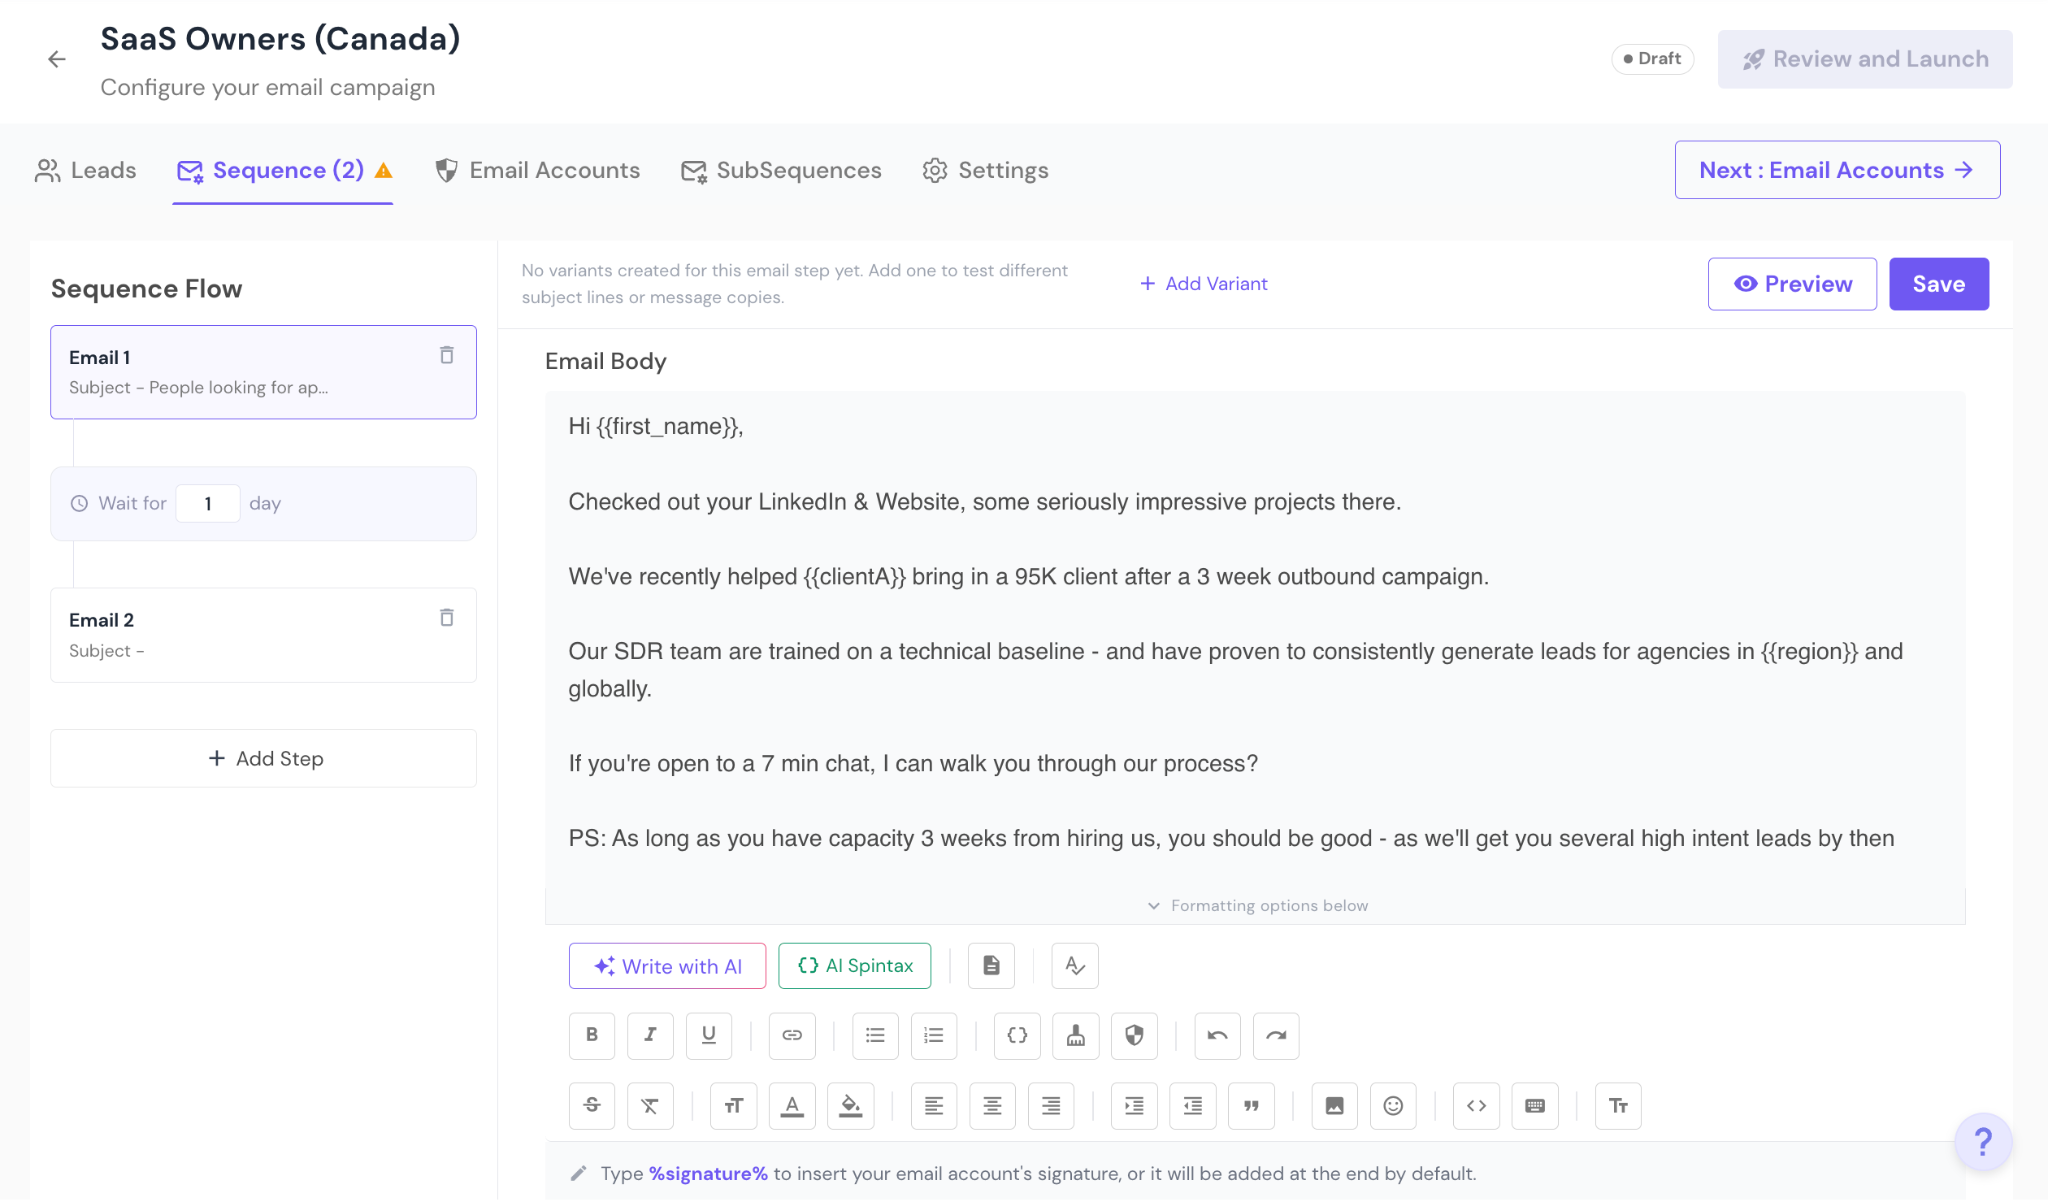
For each email step:
Enter a Subject Line
Write your Email Body
Use variables for personalization
Use AI tools or AI Spintax if required
Preview the email before saving
You can:
Add multiple email steps
Insert wait times between steps
Add A/B variants for subject lines or message copies
Note: The email editor also includes the following tools:
Write with AI – generate email copy in the editor using a prompt, then review and edit it before saving.
AI Spintax – define multiple wording variations within one email that are automatically rotated during sending.
Email Templates – insert pre-saved email content into a step and customize it for the campaign.
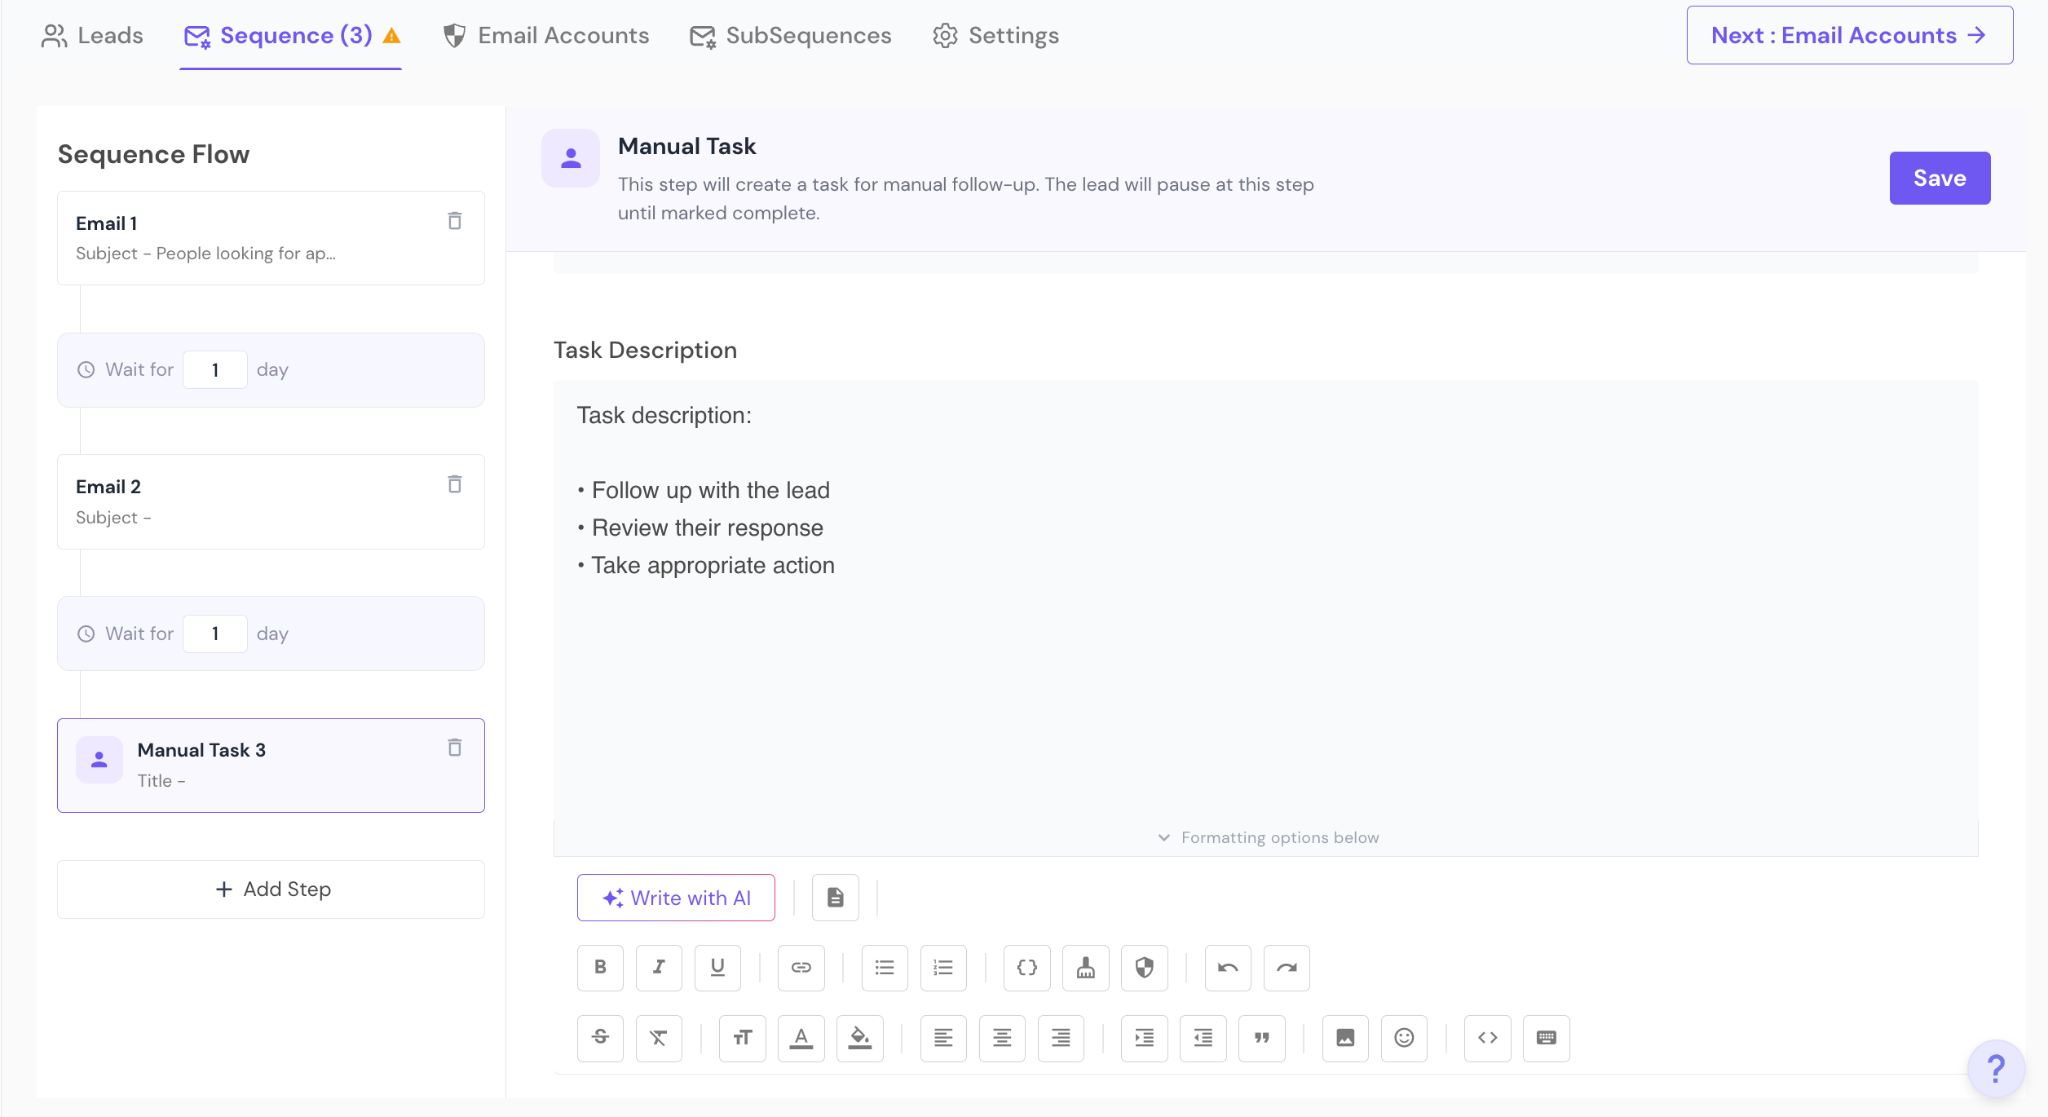
Manual tasks pause the sequence and create an action item for manual follow-up.
For each manual task:
Add a Task Title
Add a Task Description
The sequence resumes only after the task is marked complete
Manual tasks are useful for:
Personalized follow-ups
Call reminders
LinkedIn outreach
Reviewing replies before continuing automation
Once you have saved the sequence steps, click on “Next: Email Accounts”. This section lets you assign email accounts to your campaign.
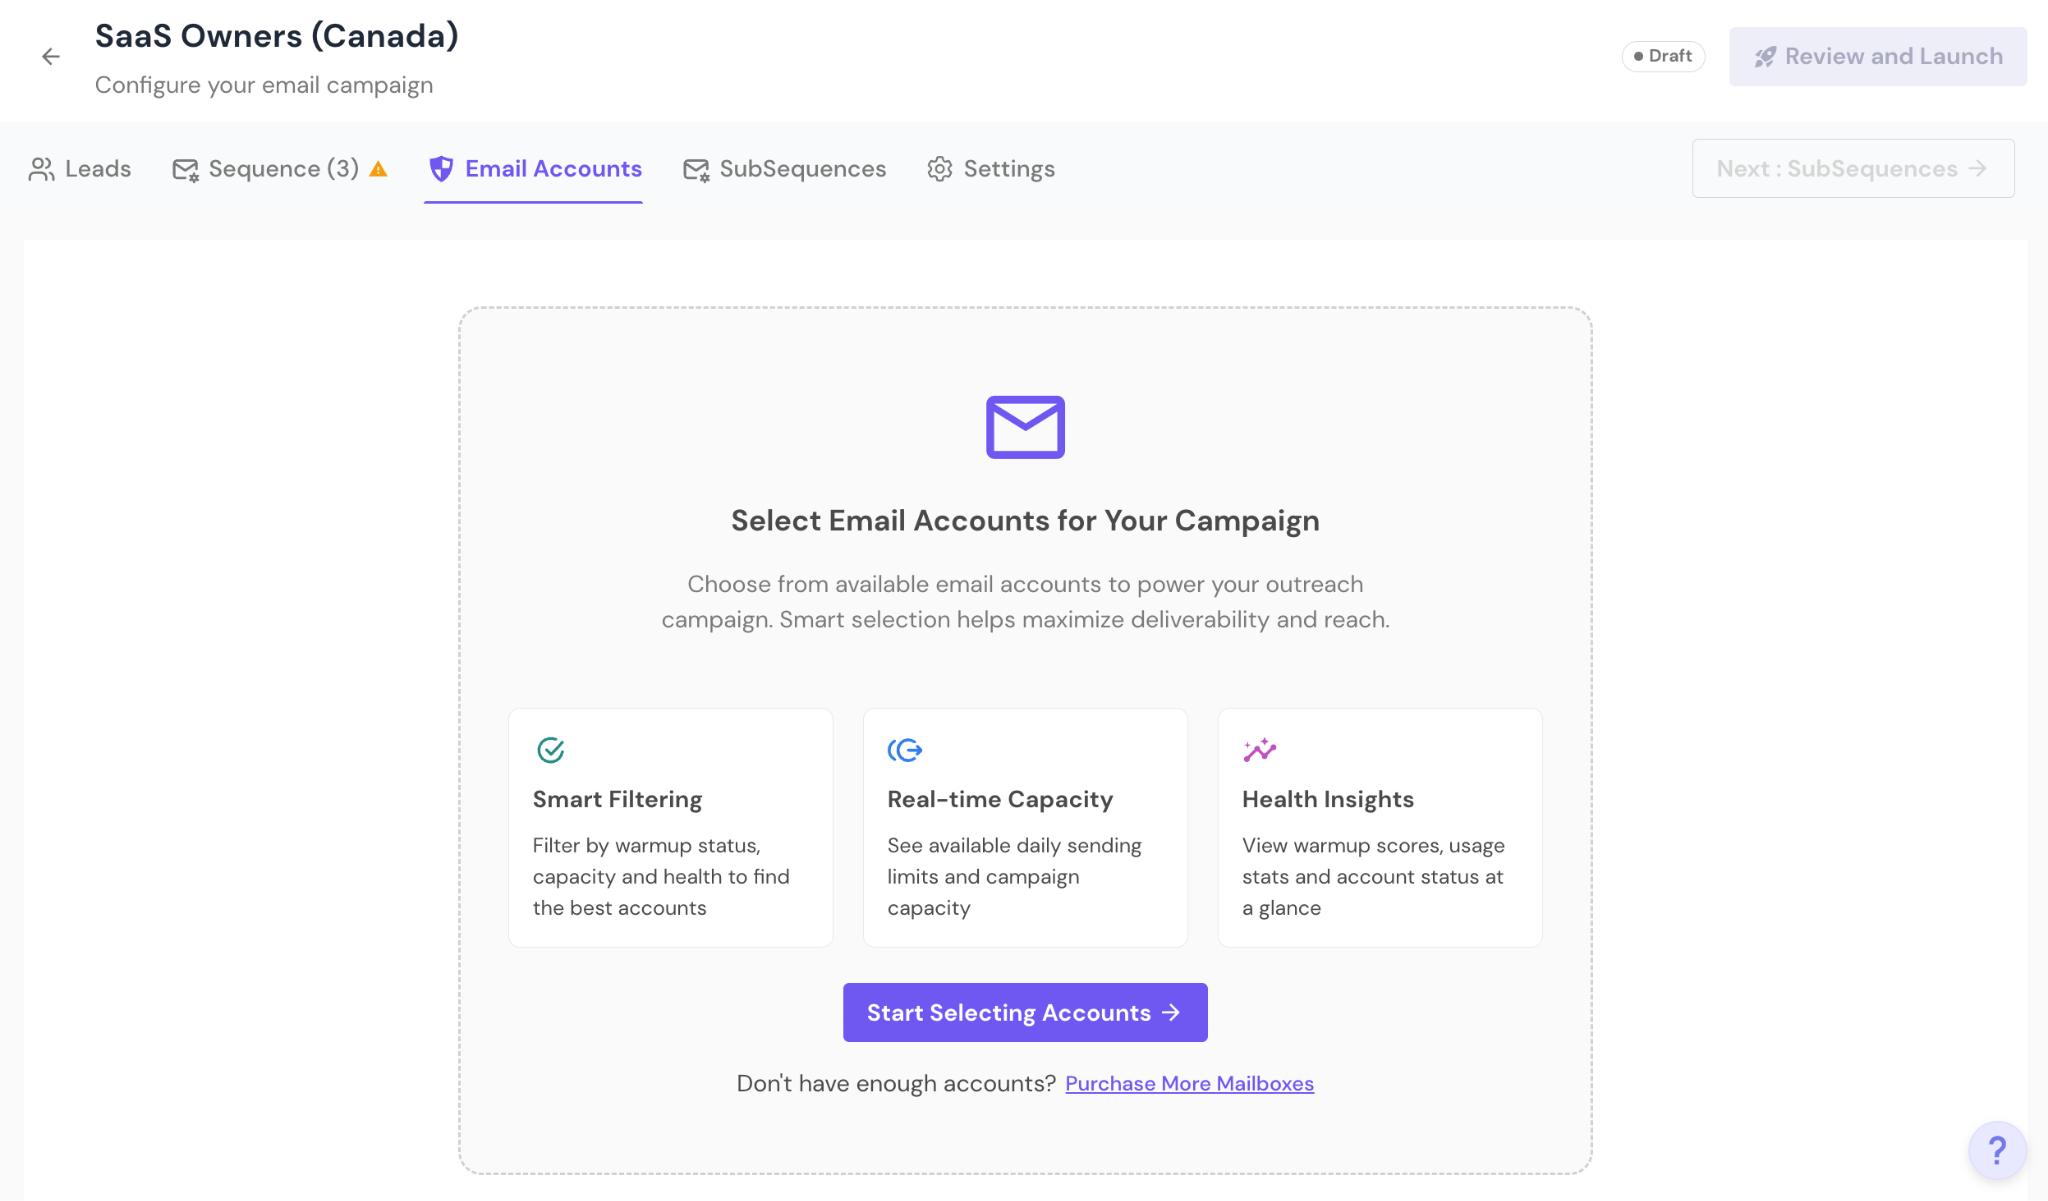
Go to the Email Accounts tab.
Here you can:
Select warmed and active sending accounts and add to campaigns
View daily sending limits
Check warm-up status
See which campaigns an account is already assigned to
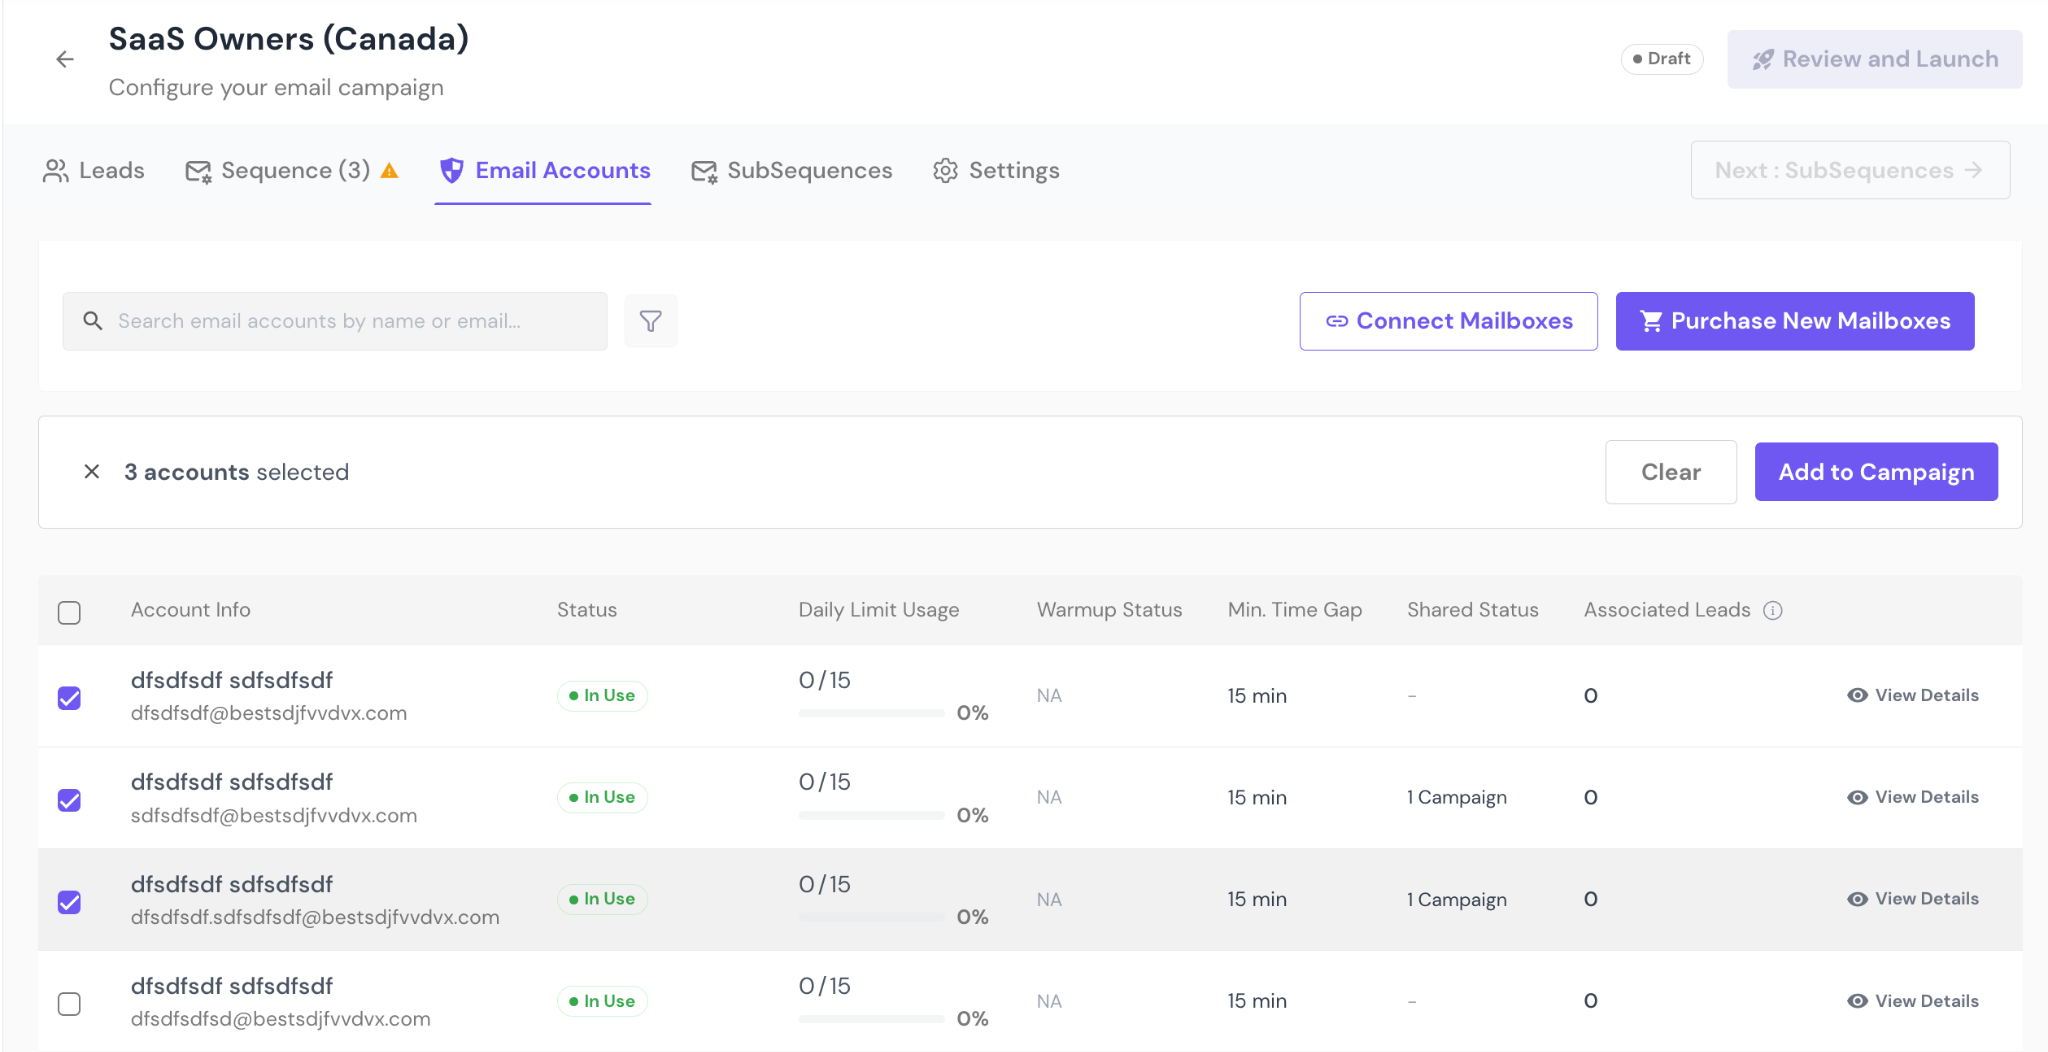
You can also:
Filter accounts by status (Pre-warmed, Disconnected, Nearing limit, etc.)
Add new sending accounts if required
Only eligible and active accounts will be used for sending.
Go to the Settings tab to fine-tune campaign behavior.
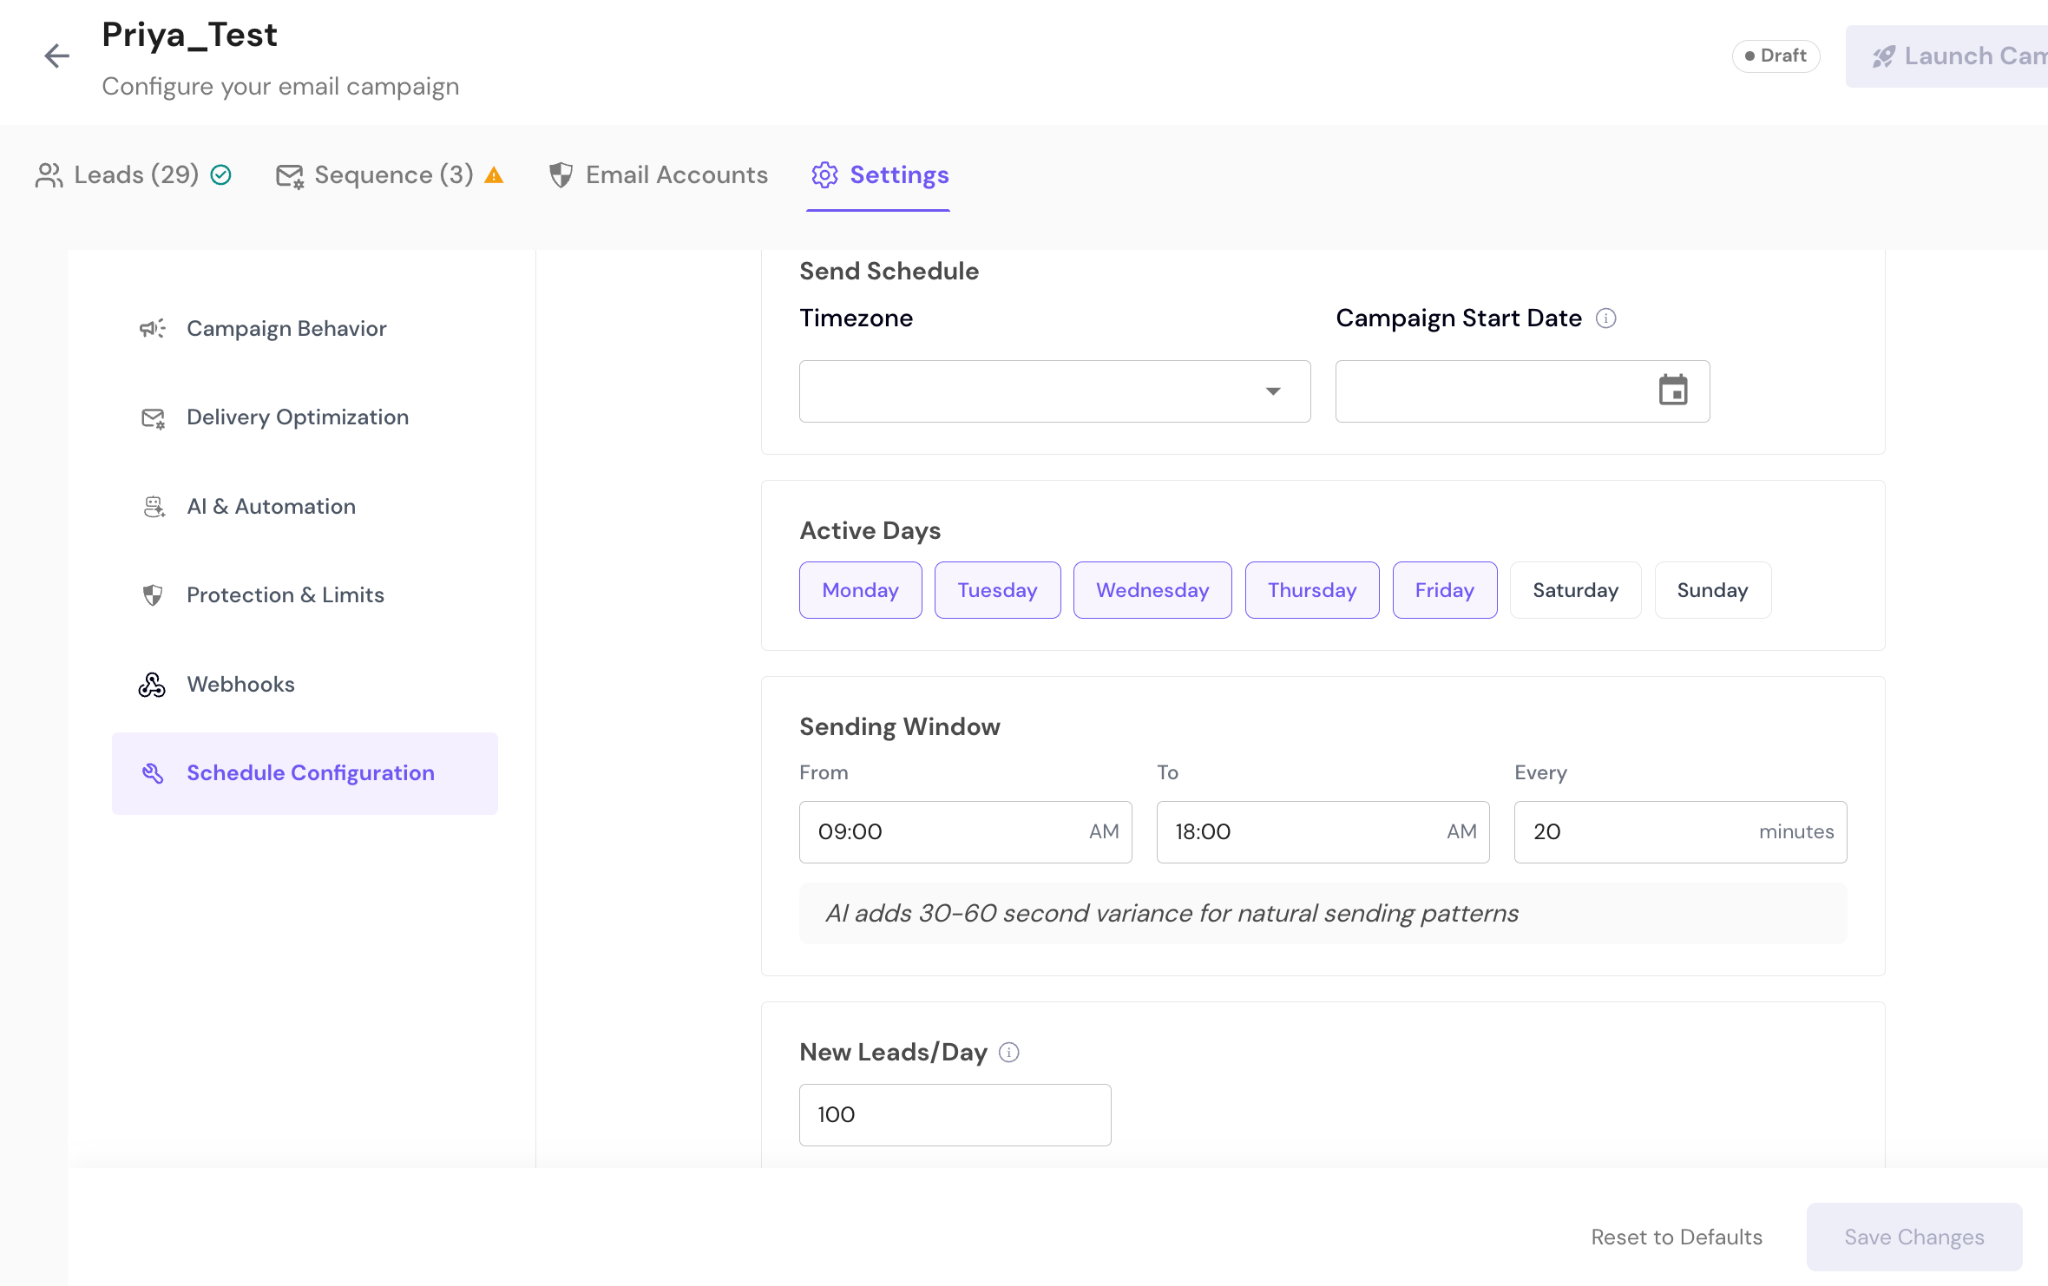
Define when your campaign should send emails:
Timezone
Campaign Start Date
Active Days
Sending Window
Send Interval
New Leads per Day
Smartlead automatically adds small timing variations to maintain natural sending patterns.
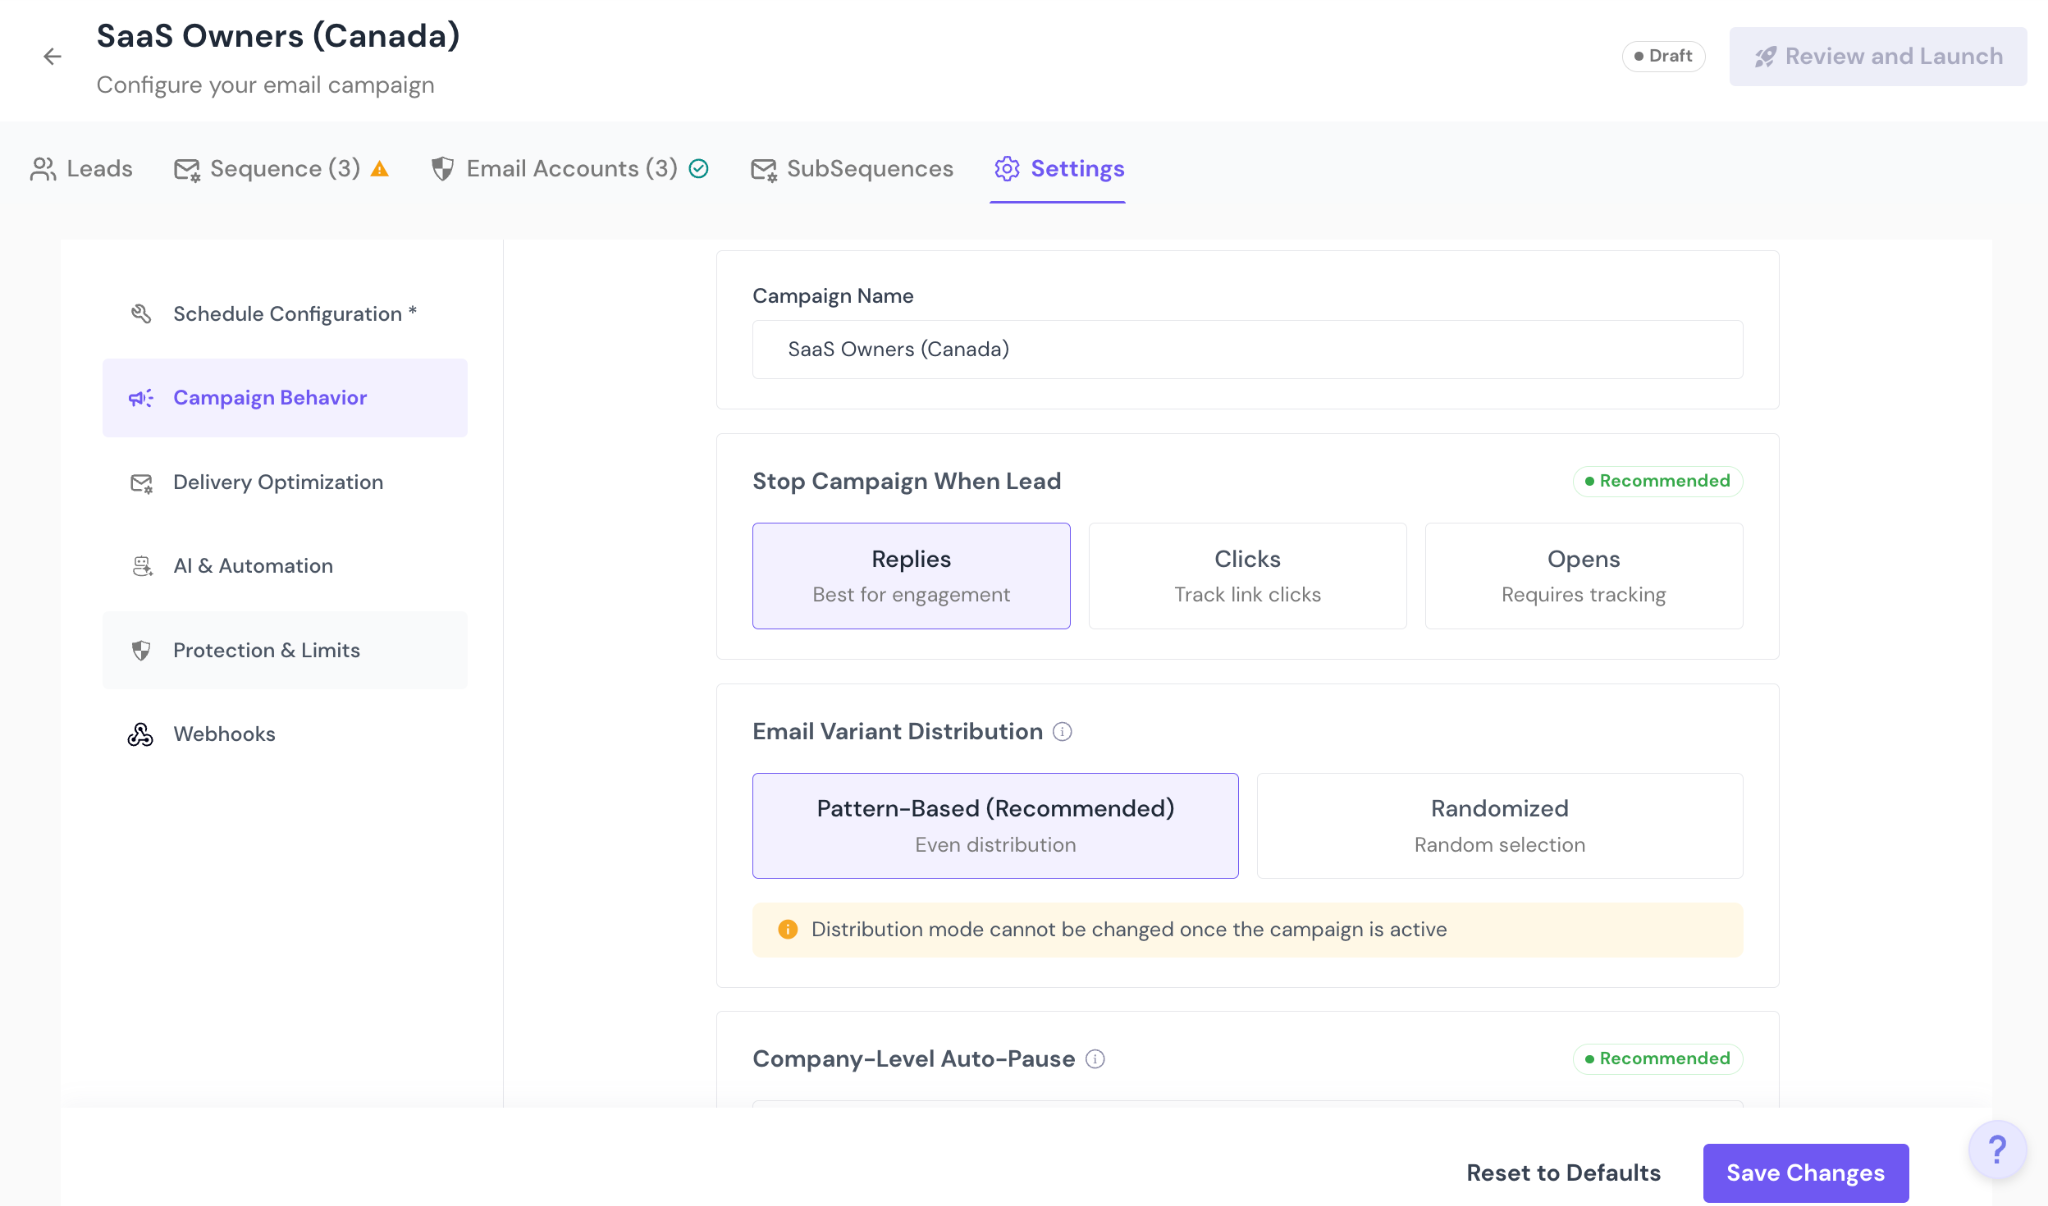
Update the Campaign Name
Choose when to stop the campaign for a lead:
Replies (recommended)
Clicks
Opens
Select Email Variant Distribution:
Pattern-based (recommended)
Randomized
(Distribution mode cannot be changed once the campaign is live.)
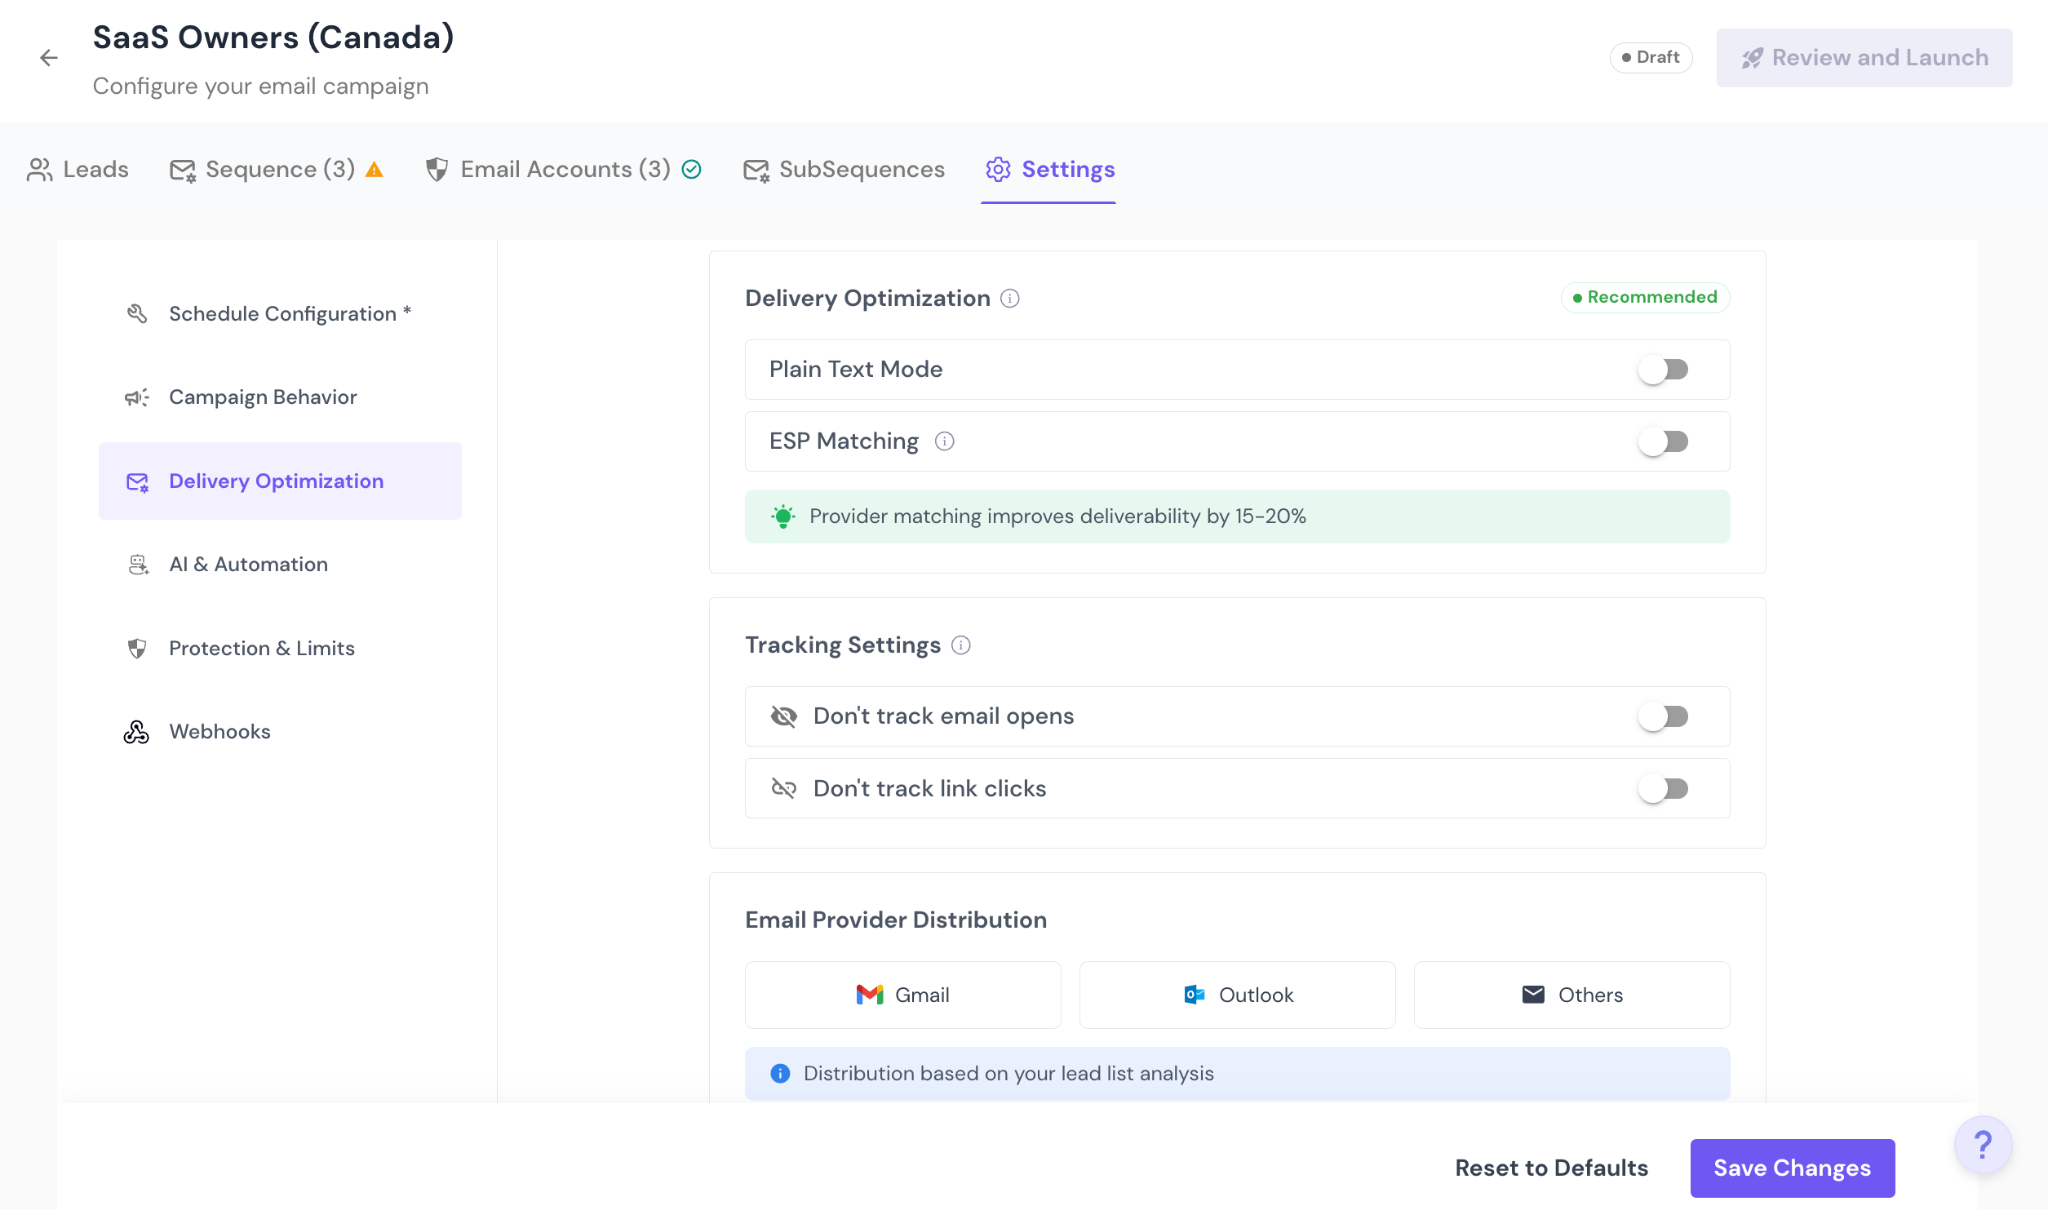
In this section, you control how your emails are sent and what engagement data is tracked.
Enable Plain Text Mode
Sends emails without HTML formatting so they appear as simple, text-only messages.
Enable Enhanced Email Sending & Delivery
Applies Smartlead’s delivery optimizations to improve inbox placement and sending stability.
Disable Open Tracking
Turn off open tracking pixels for this campaign.
Disable Click Tracking
Turns off link click tracking for this campaign.
Email Provider Distribution
Control how emails are distributed across different email providers, such as Gmail, Outlook, and Others, to maintain a balanced sending pattern.
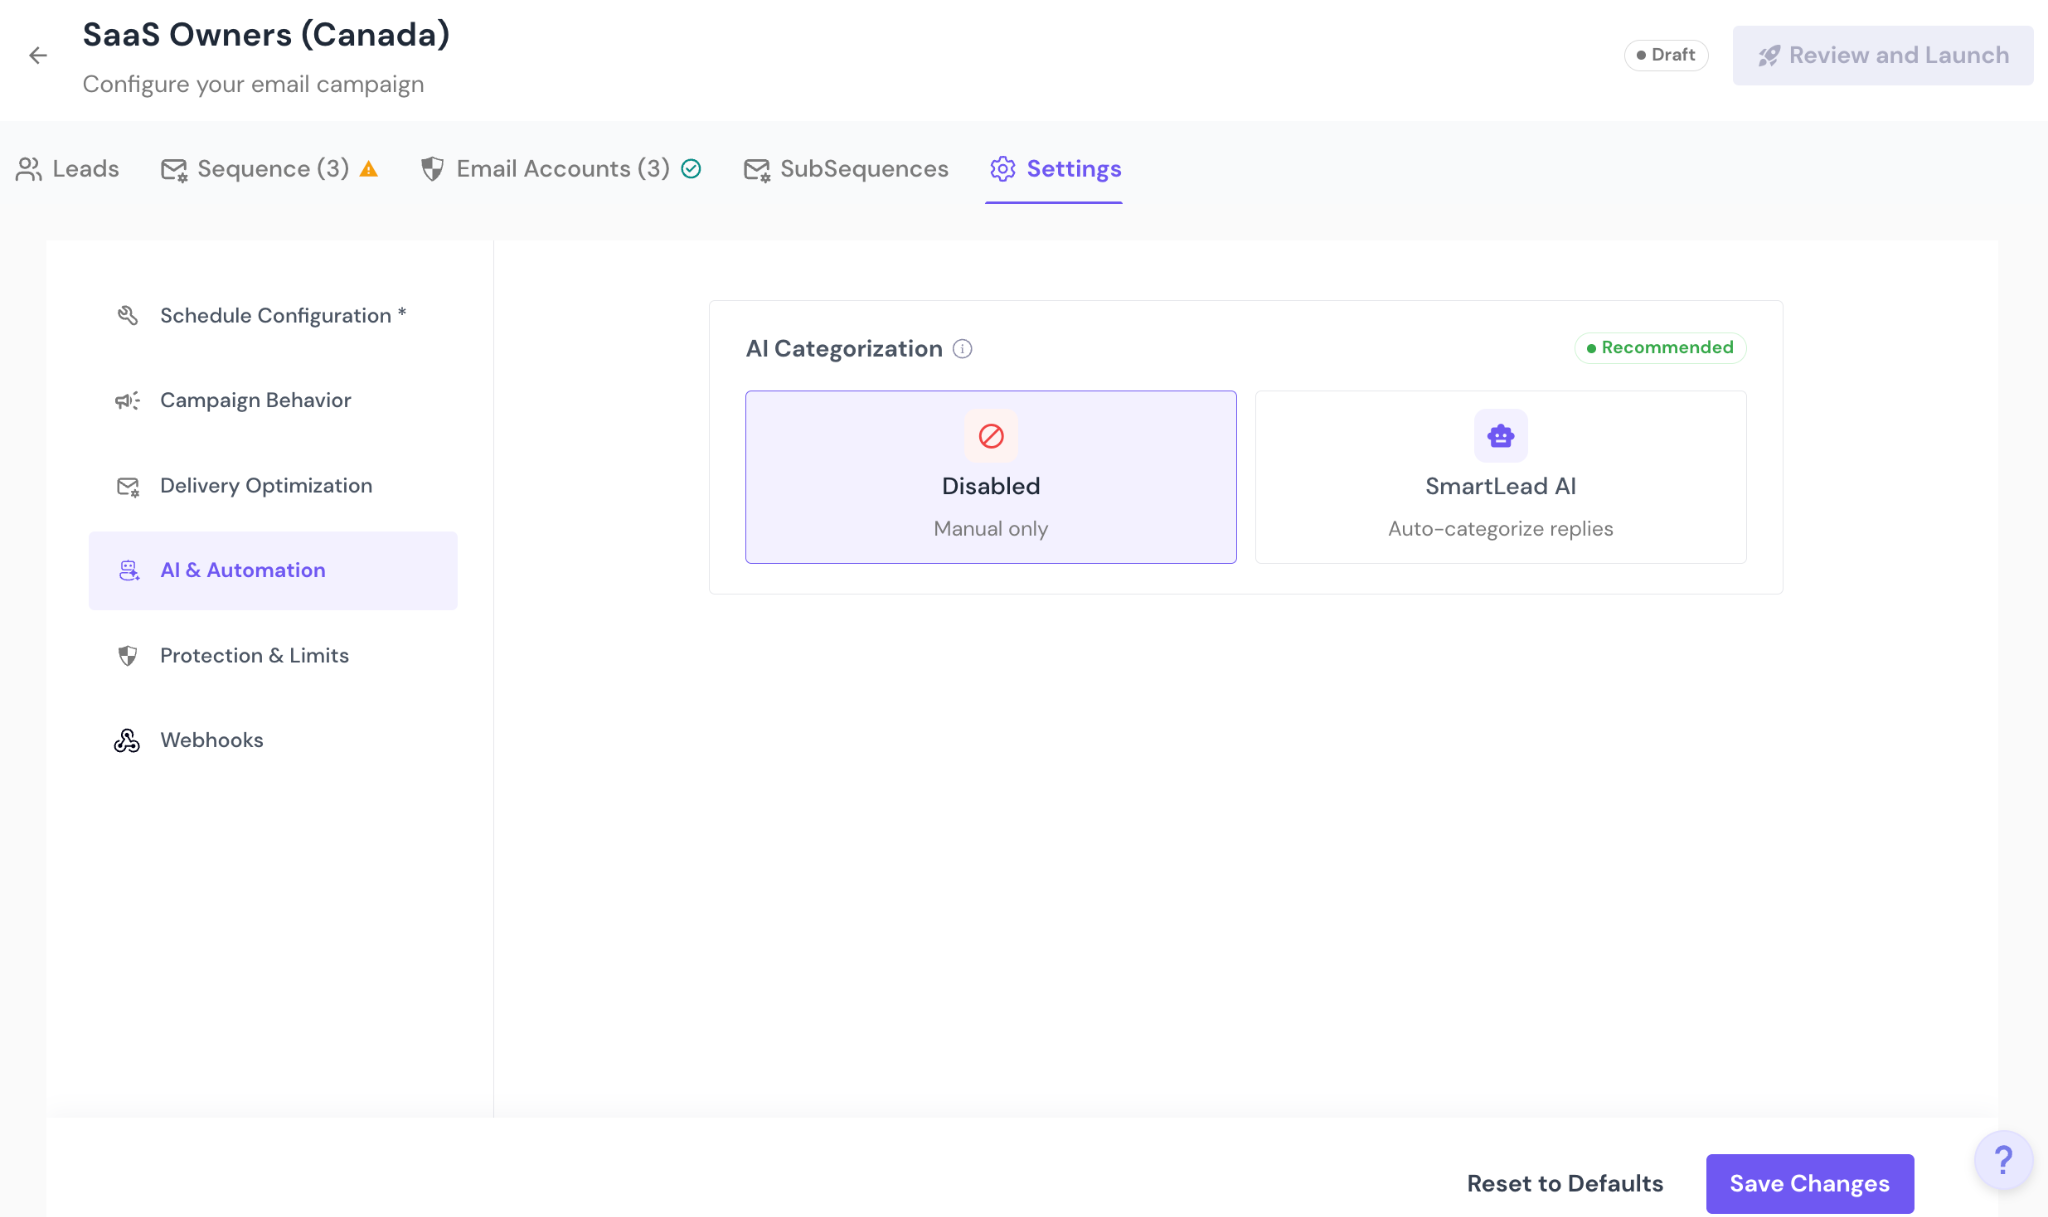
Enable SmartLead AI to auto-categorize replies
Or keep categorization Manual Only
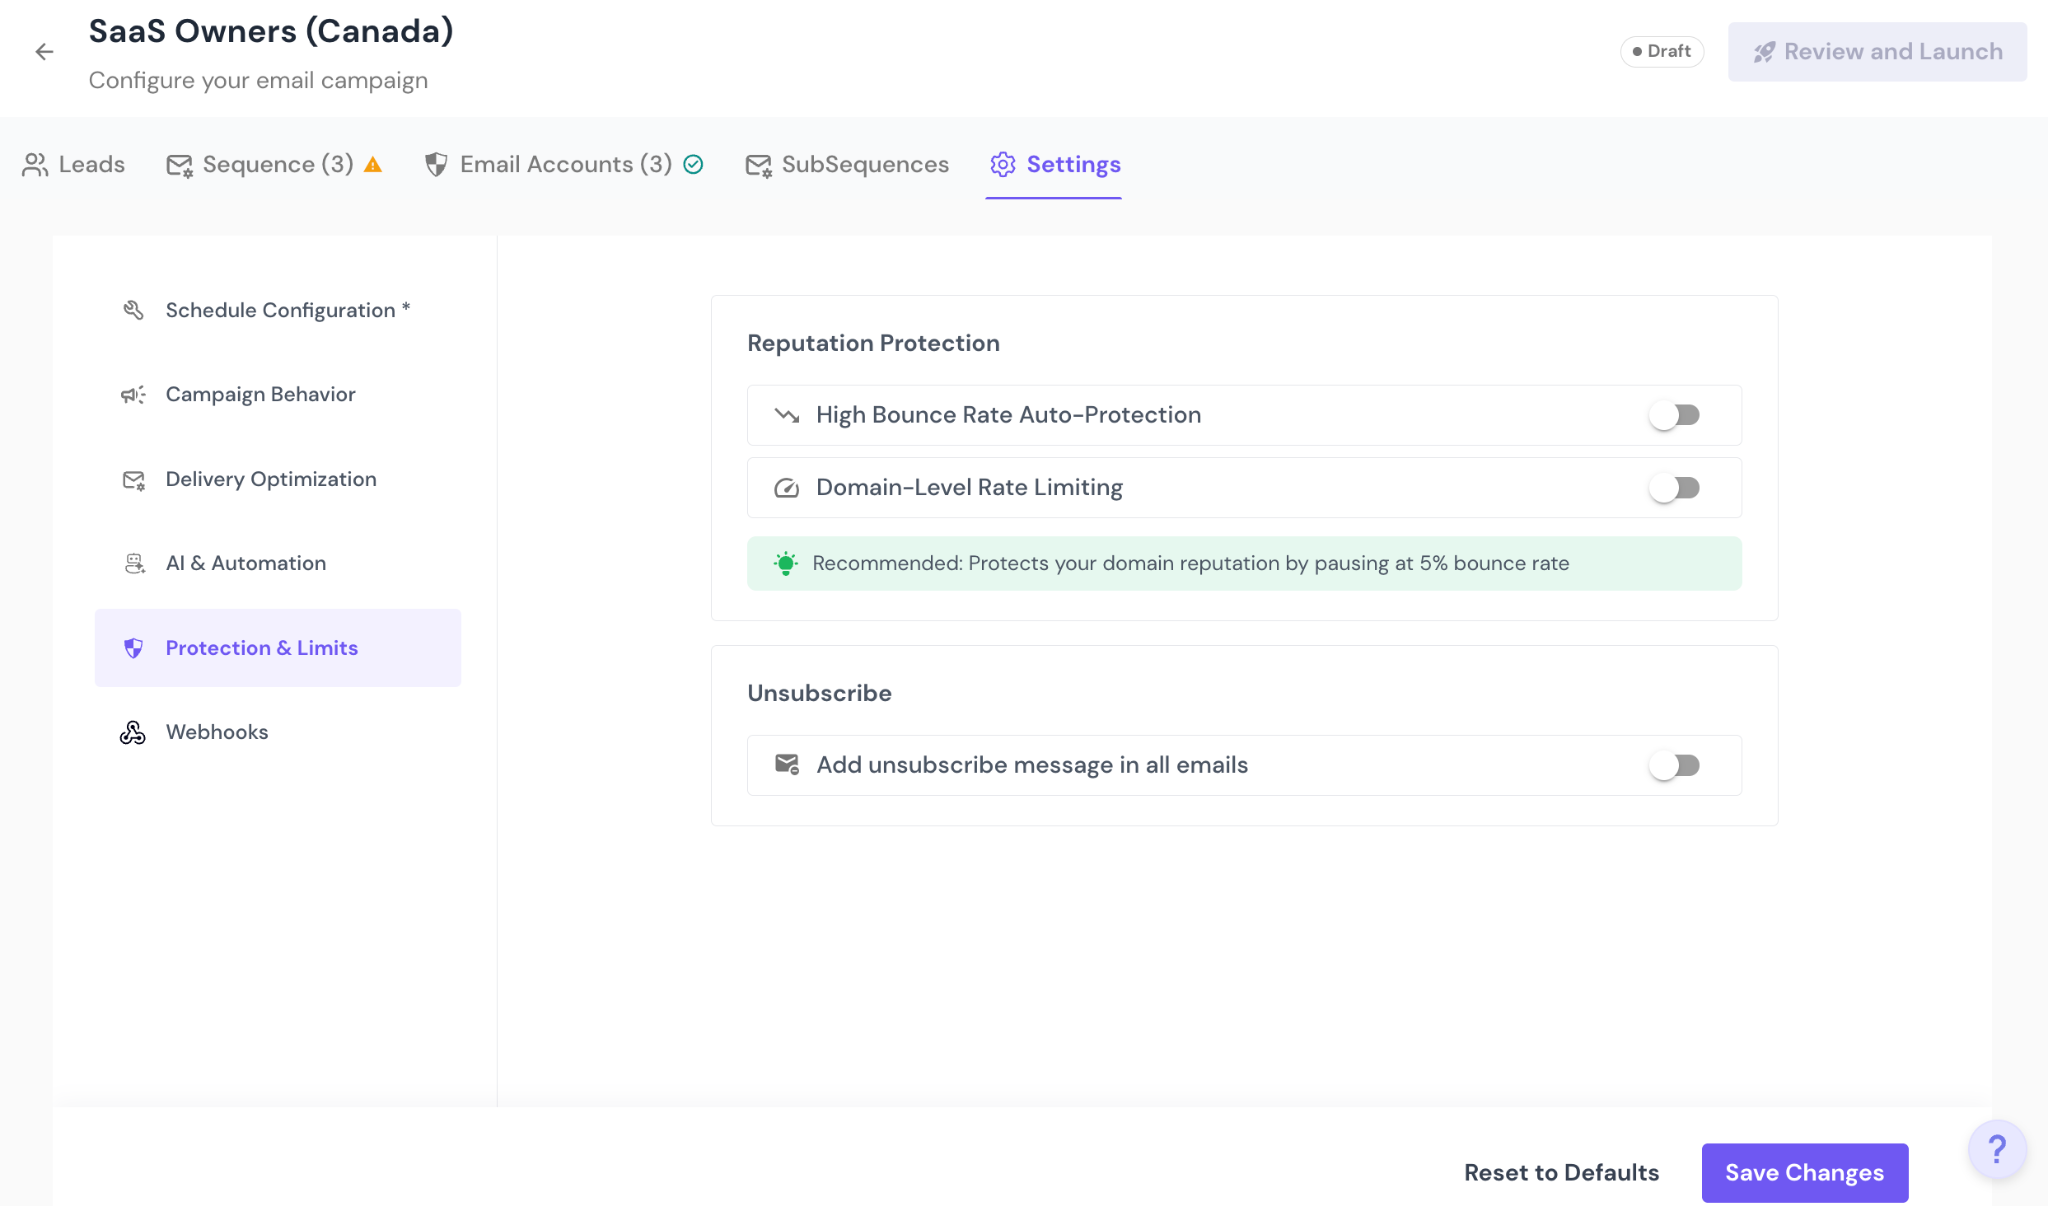
Enable safeguards to protect sender reputation:
High bounce rate auto-protection
Domain-level rate limiting
Add unsubscribe message to all emails
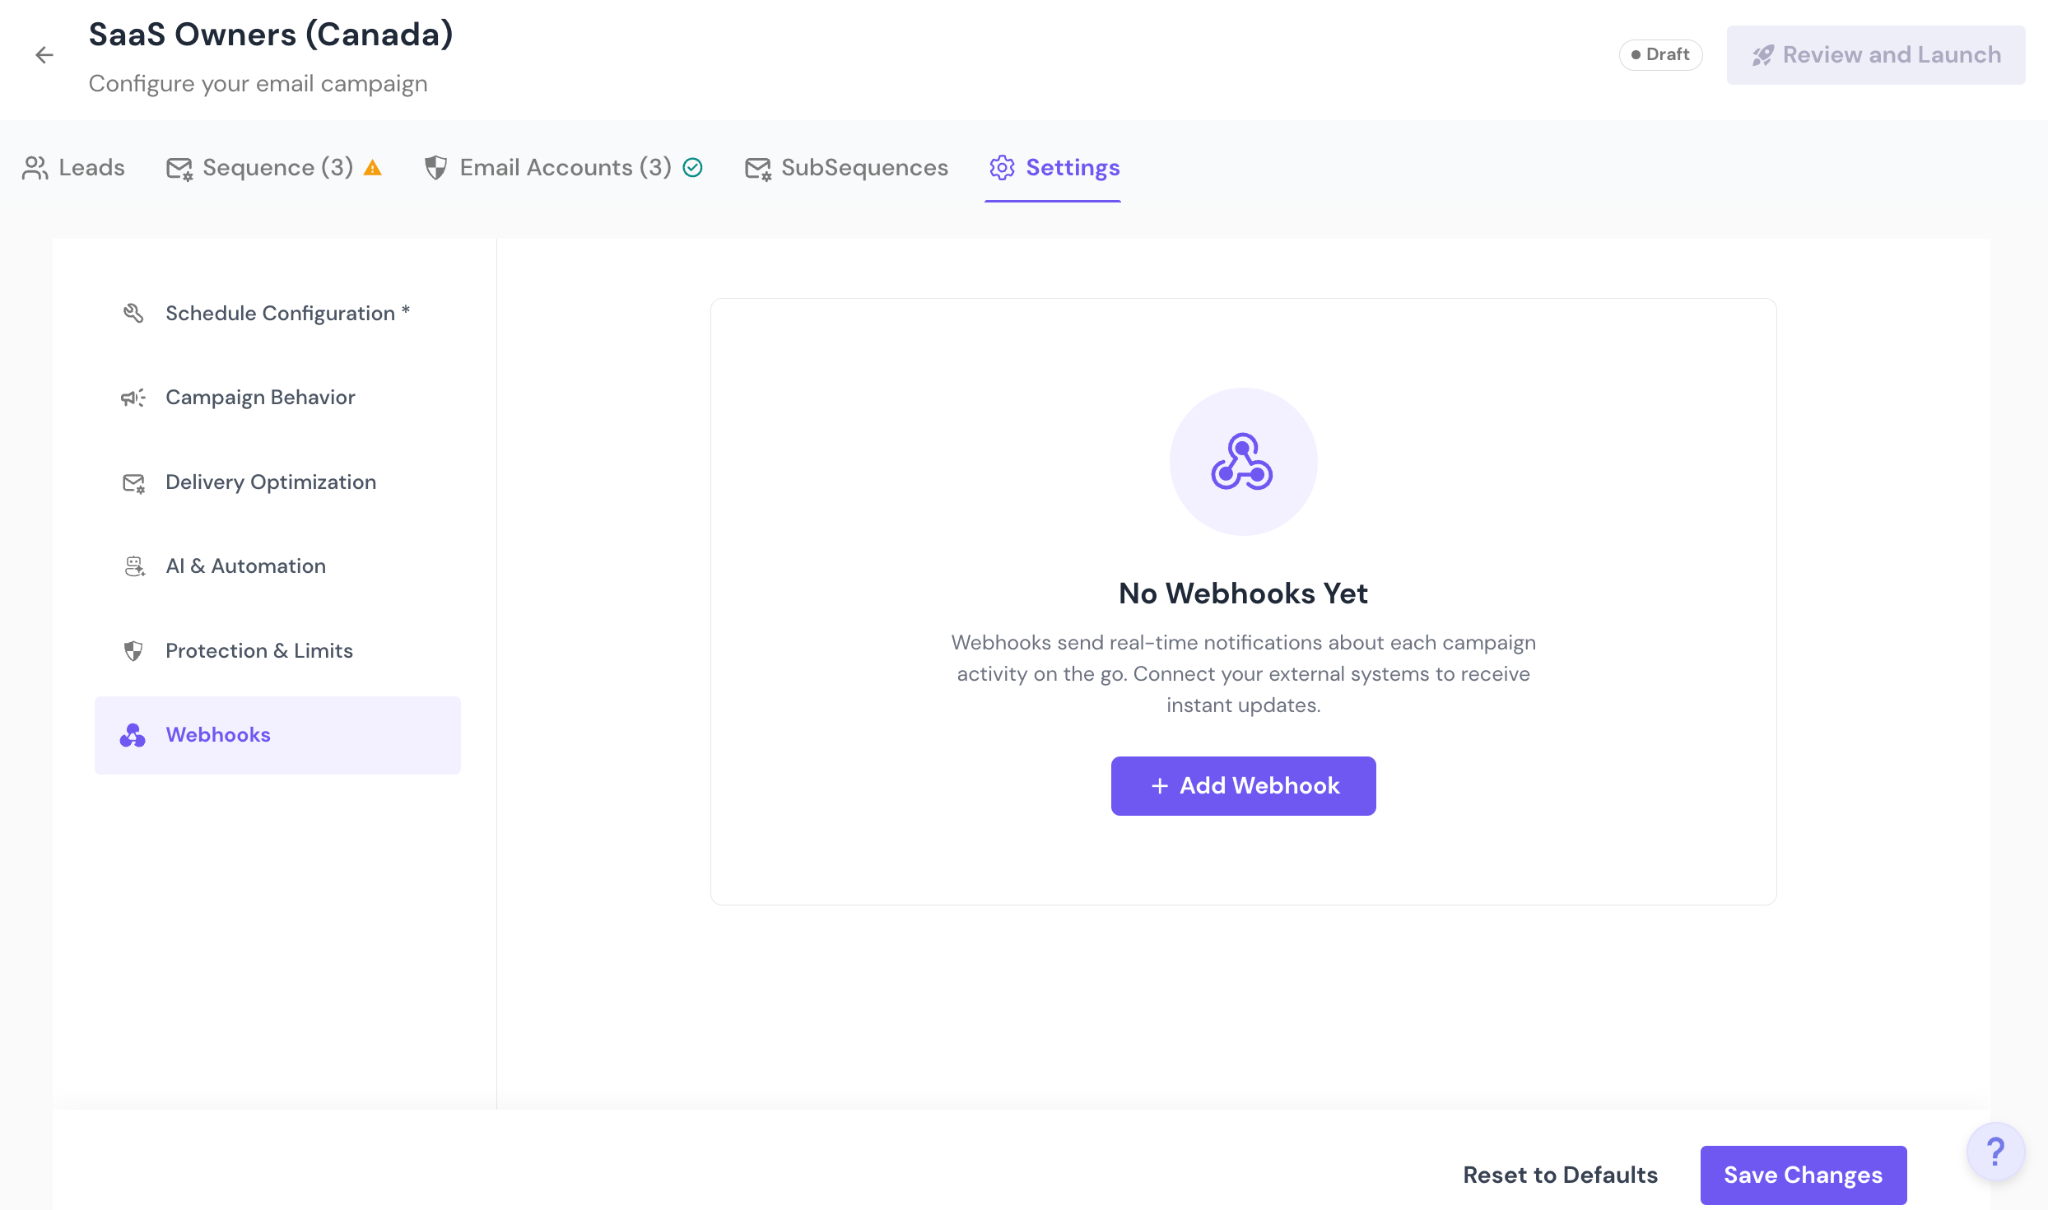
Set up webhooks to receive real-time campaign events and activity updates in external systems.
Once all required sections are configured:
Review your setup.
Ensure:
Leads are added
At least one sequence step exists
Email accounts are assigned
Click Launch Campaign.
Your campaign will begin sending based on the defined schedule.
Draft – Not live yet
Active – Sending emails
Paused – Temporarily stopped
Stopped – Permanently stopped
