Smartlead allows you to add personalized images with variables from your CSV using the code editor based on the 3rd party personalisztion software you're using like hyperise.com
Here's a step-by-step guide on how to do it:
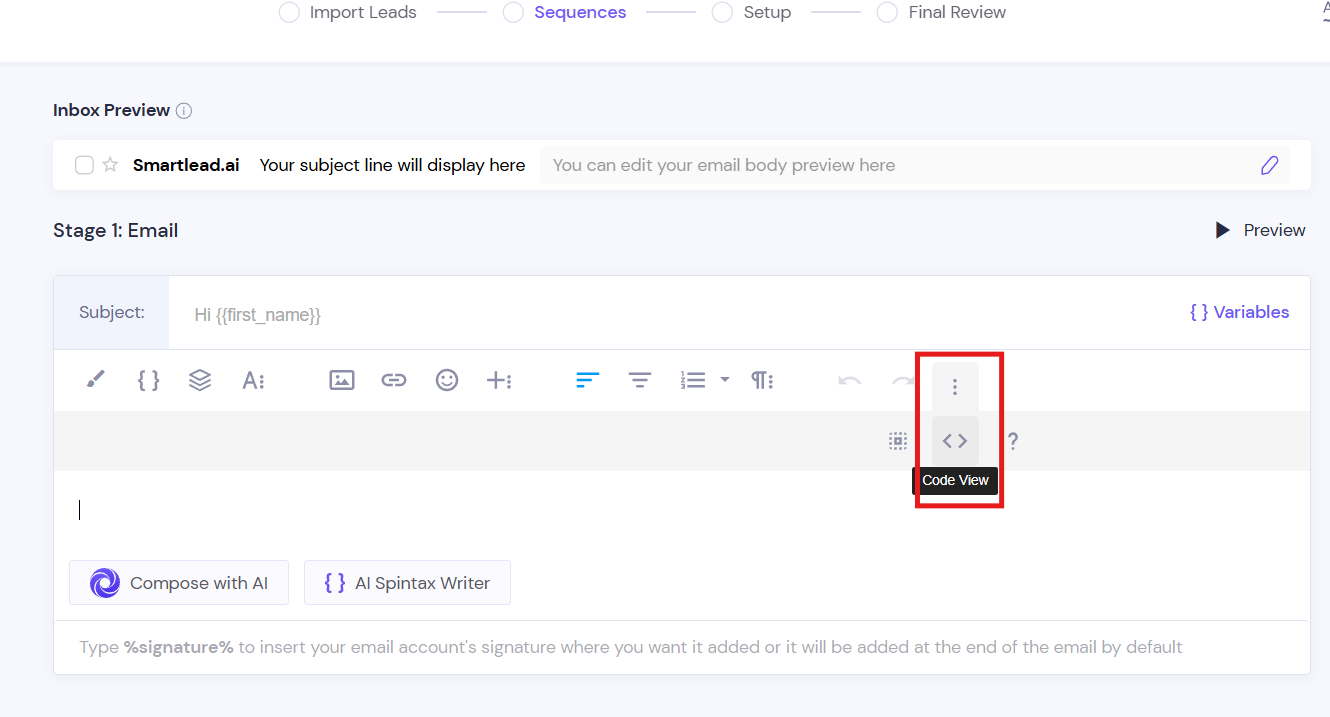
Step 1: Access the Code Editor In the Smartlead editor, click on the three dots (...) at the top right corner of the screen and select the "<>" option from the drop-down menu.
Step 2: Paste the Image Code Once in the code editor mode, you can paste the following code snippet:
htmlCopy code<img src="https://yourimageurl.com?{{first_name}}" style="width: 300px; display: block; vertical-align: top; margin: 5px auto 5px 0px; text-align: left;">In this code, replace "https://yourimageurl.com" with the URL of your image. The "{{first_name}}" part represents a mapped field from your CSV. You can use any of your mapped fields in place of "first_name". To find a list of all your mapped fields, click on the "+" icon in the text editor.
Step 3: Customize Image Properties You can customize the properties of the image, such as width, display, vertical alignment, margin, and text alignment, according to your preferences. Once you are done editing the code, you can leave the code editor mode.
Step 4: Drag and Edit Image After leaving the code editor mode, you can adjust the image by dragging and editing it directly in the Smartlead editor. You can resize the image, align it, and further customize it to fit your email template.
That's it! Now you have successfully added an image with variables using the code editor in Smartlead. Your personalized image will be rendered with the corresponding variable values from your CSV when you send your emails.
