SmartAgents are AI-powered assistants inside Smartlead that help automate go-to-market (GTM) tasks such as data collection, reporting, notifications, and workflow execution across Smartlead and connected tools like Slack and Google Sheets.
This guide covers:
Where to find SmartAgents
How to create your first agent
How to connect required integrations
How to test and deploy an agent
Before creating a SmartAgent, ensure the required third-party apps are connected.
Connect Your Tools
Go to SmartAgents → Integrations.
Click Connect next to the tool (Slack, Google Sheets, Airtable, etc.).
Authorize access when prompted.
Confirm the status shows as Connected.

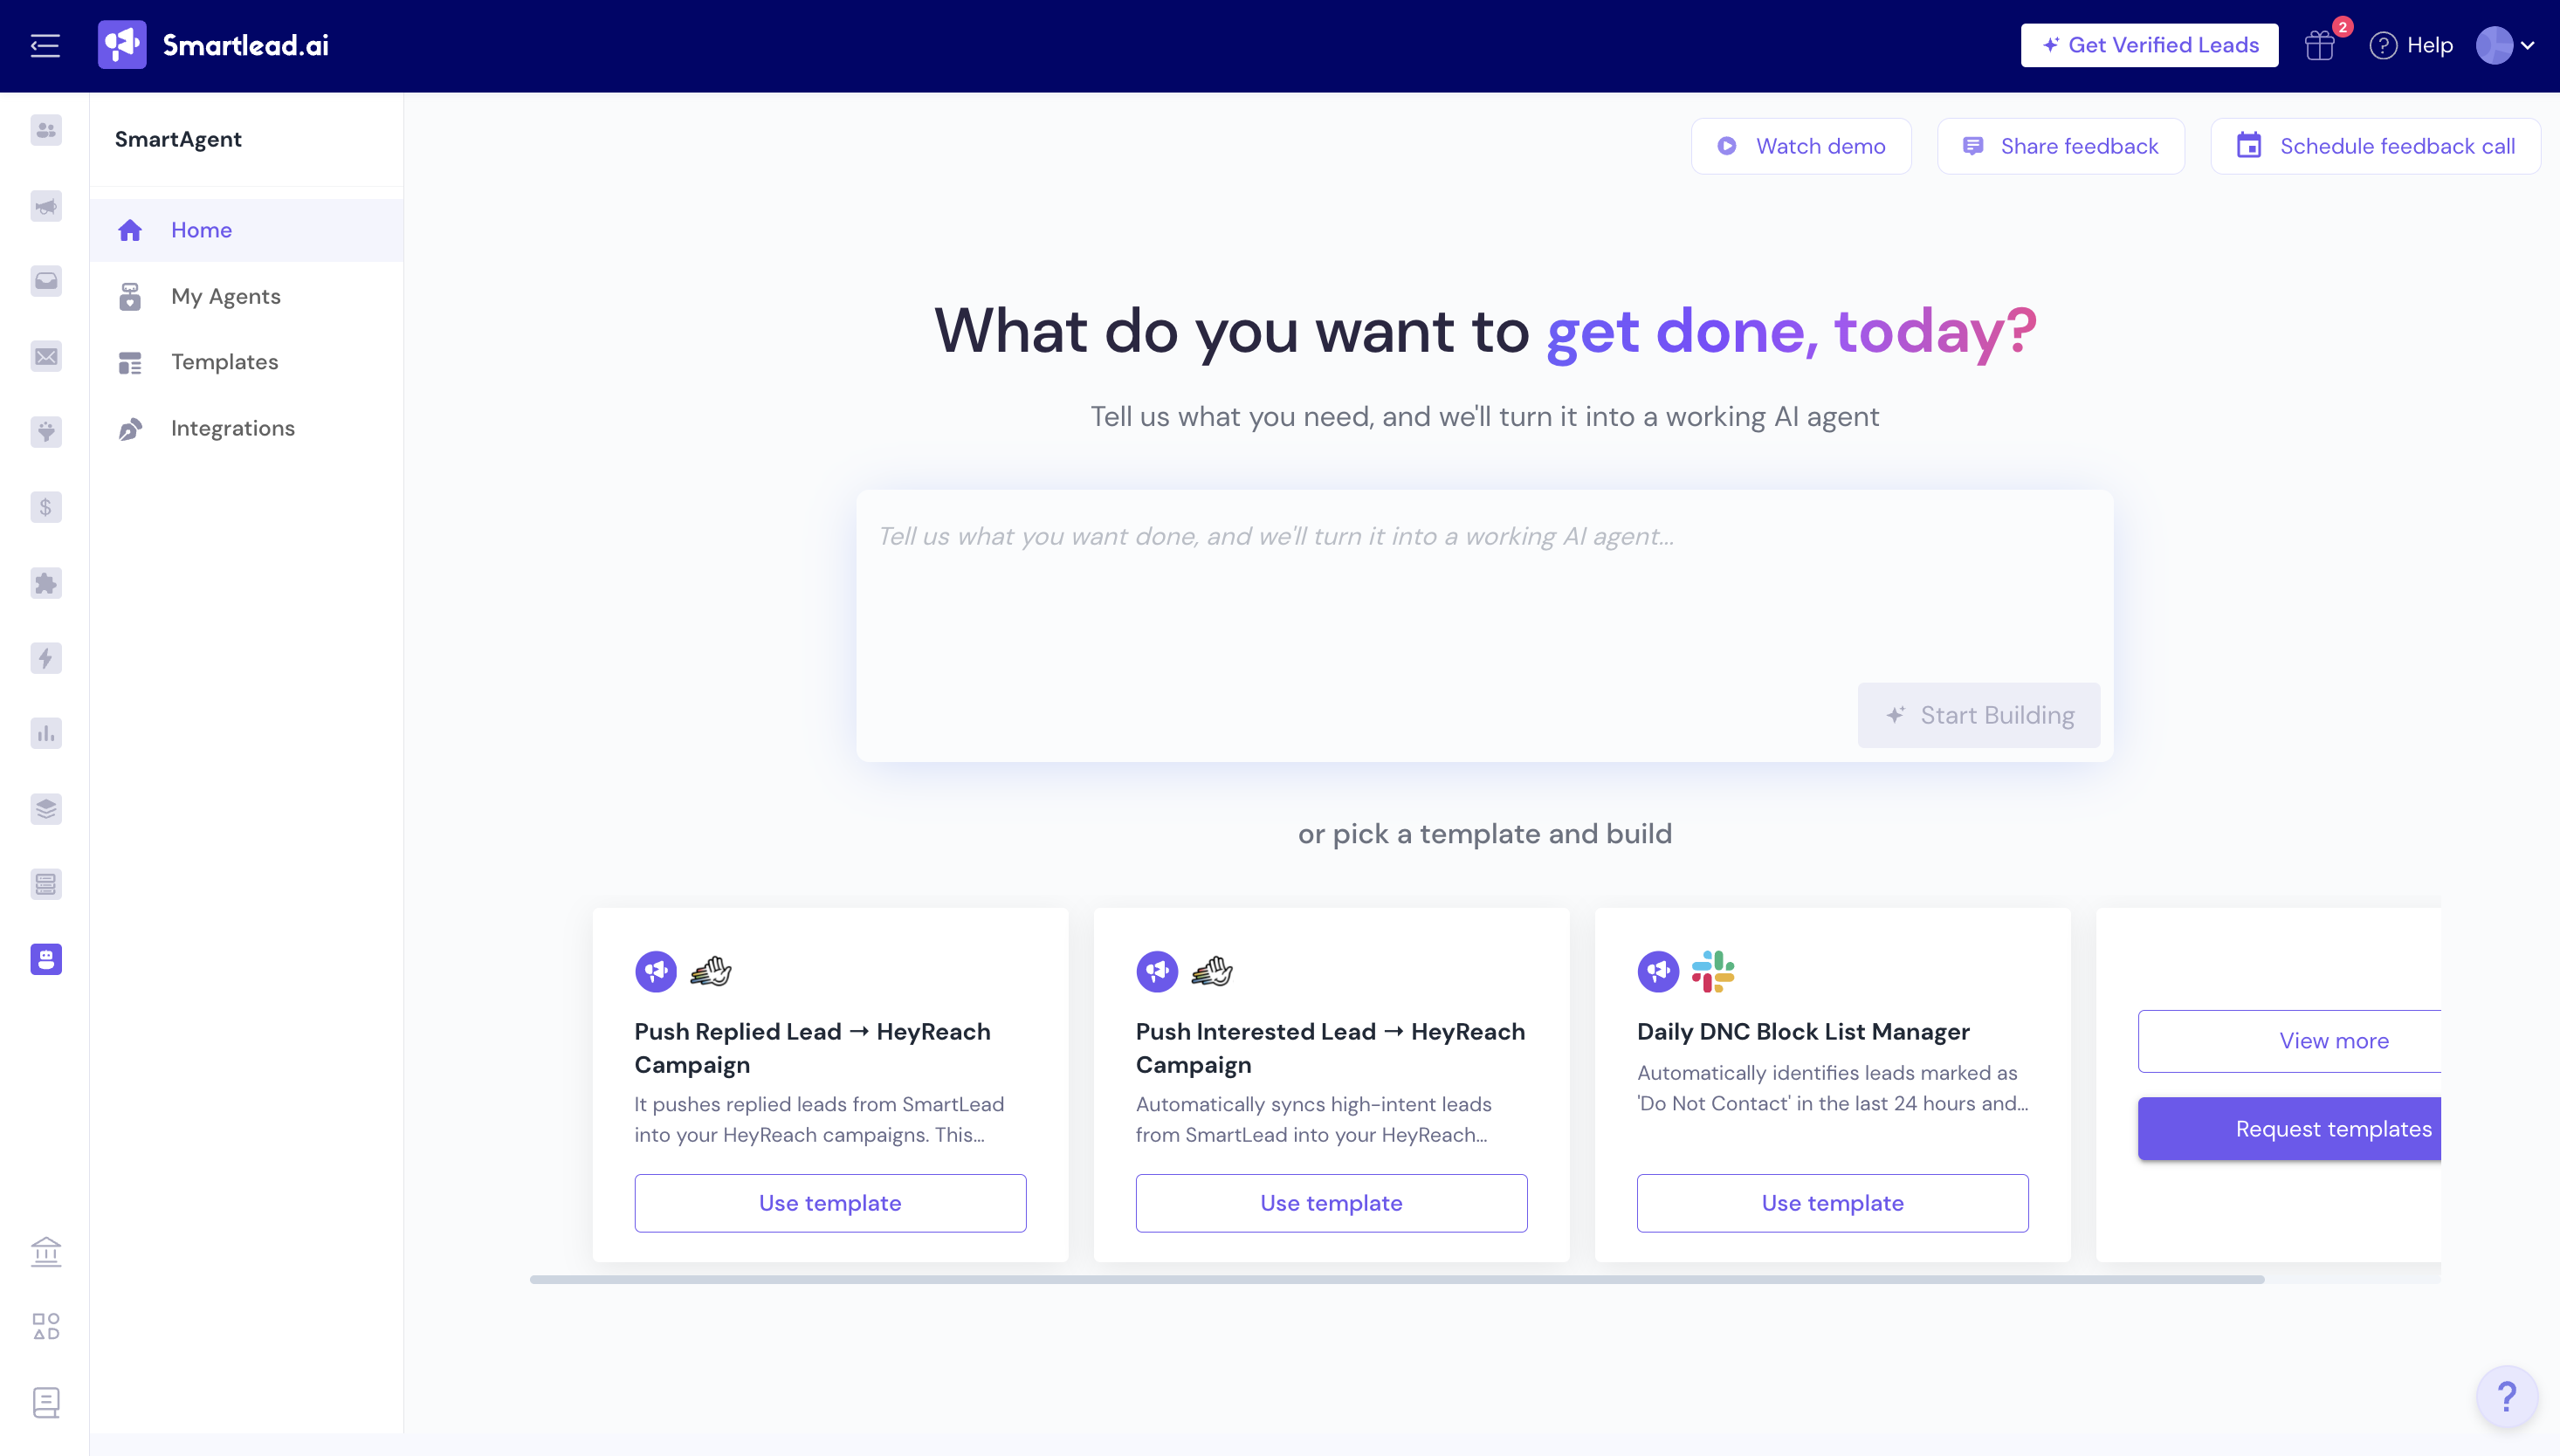
From the left sidebar in Smartlead, click SmartAgents.
You will see three tabs:
Home – Create agents using prompts
My Agents – View and manage existing agents
Templates - Create agents from pre-built templates
Integrations – Connect third-party tools
You can create a SmartAgent in one of few ways, depending on how much setup you want to do upfront.
Regardless of the option you choose, editing, testing, and deployment work the same way after the agent is created.
Option A: Write Your Own Prompt (From Scratch)
Use this option if you want full control over what the agent does.
Go to SmartAgents → Home.
Describe the task you want the agent to perform using plain language.
Example: “Get the latest four active campaigns and send their names”
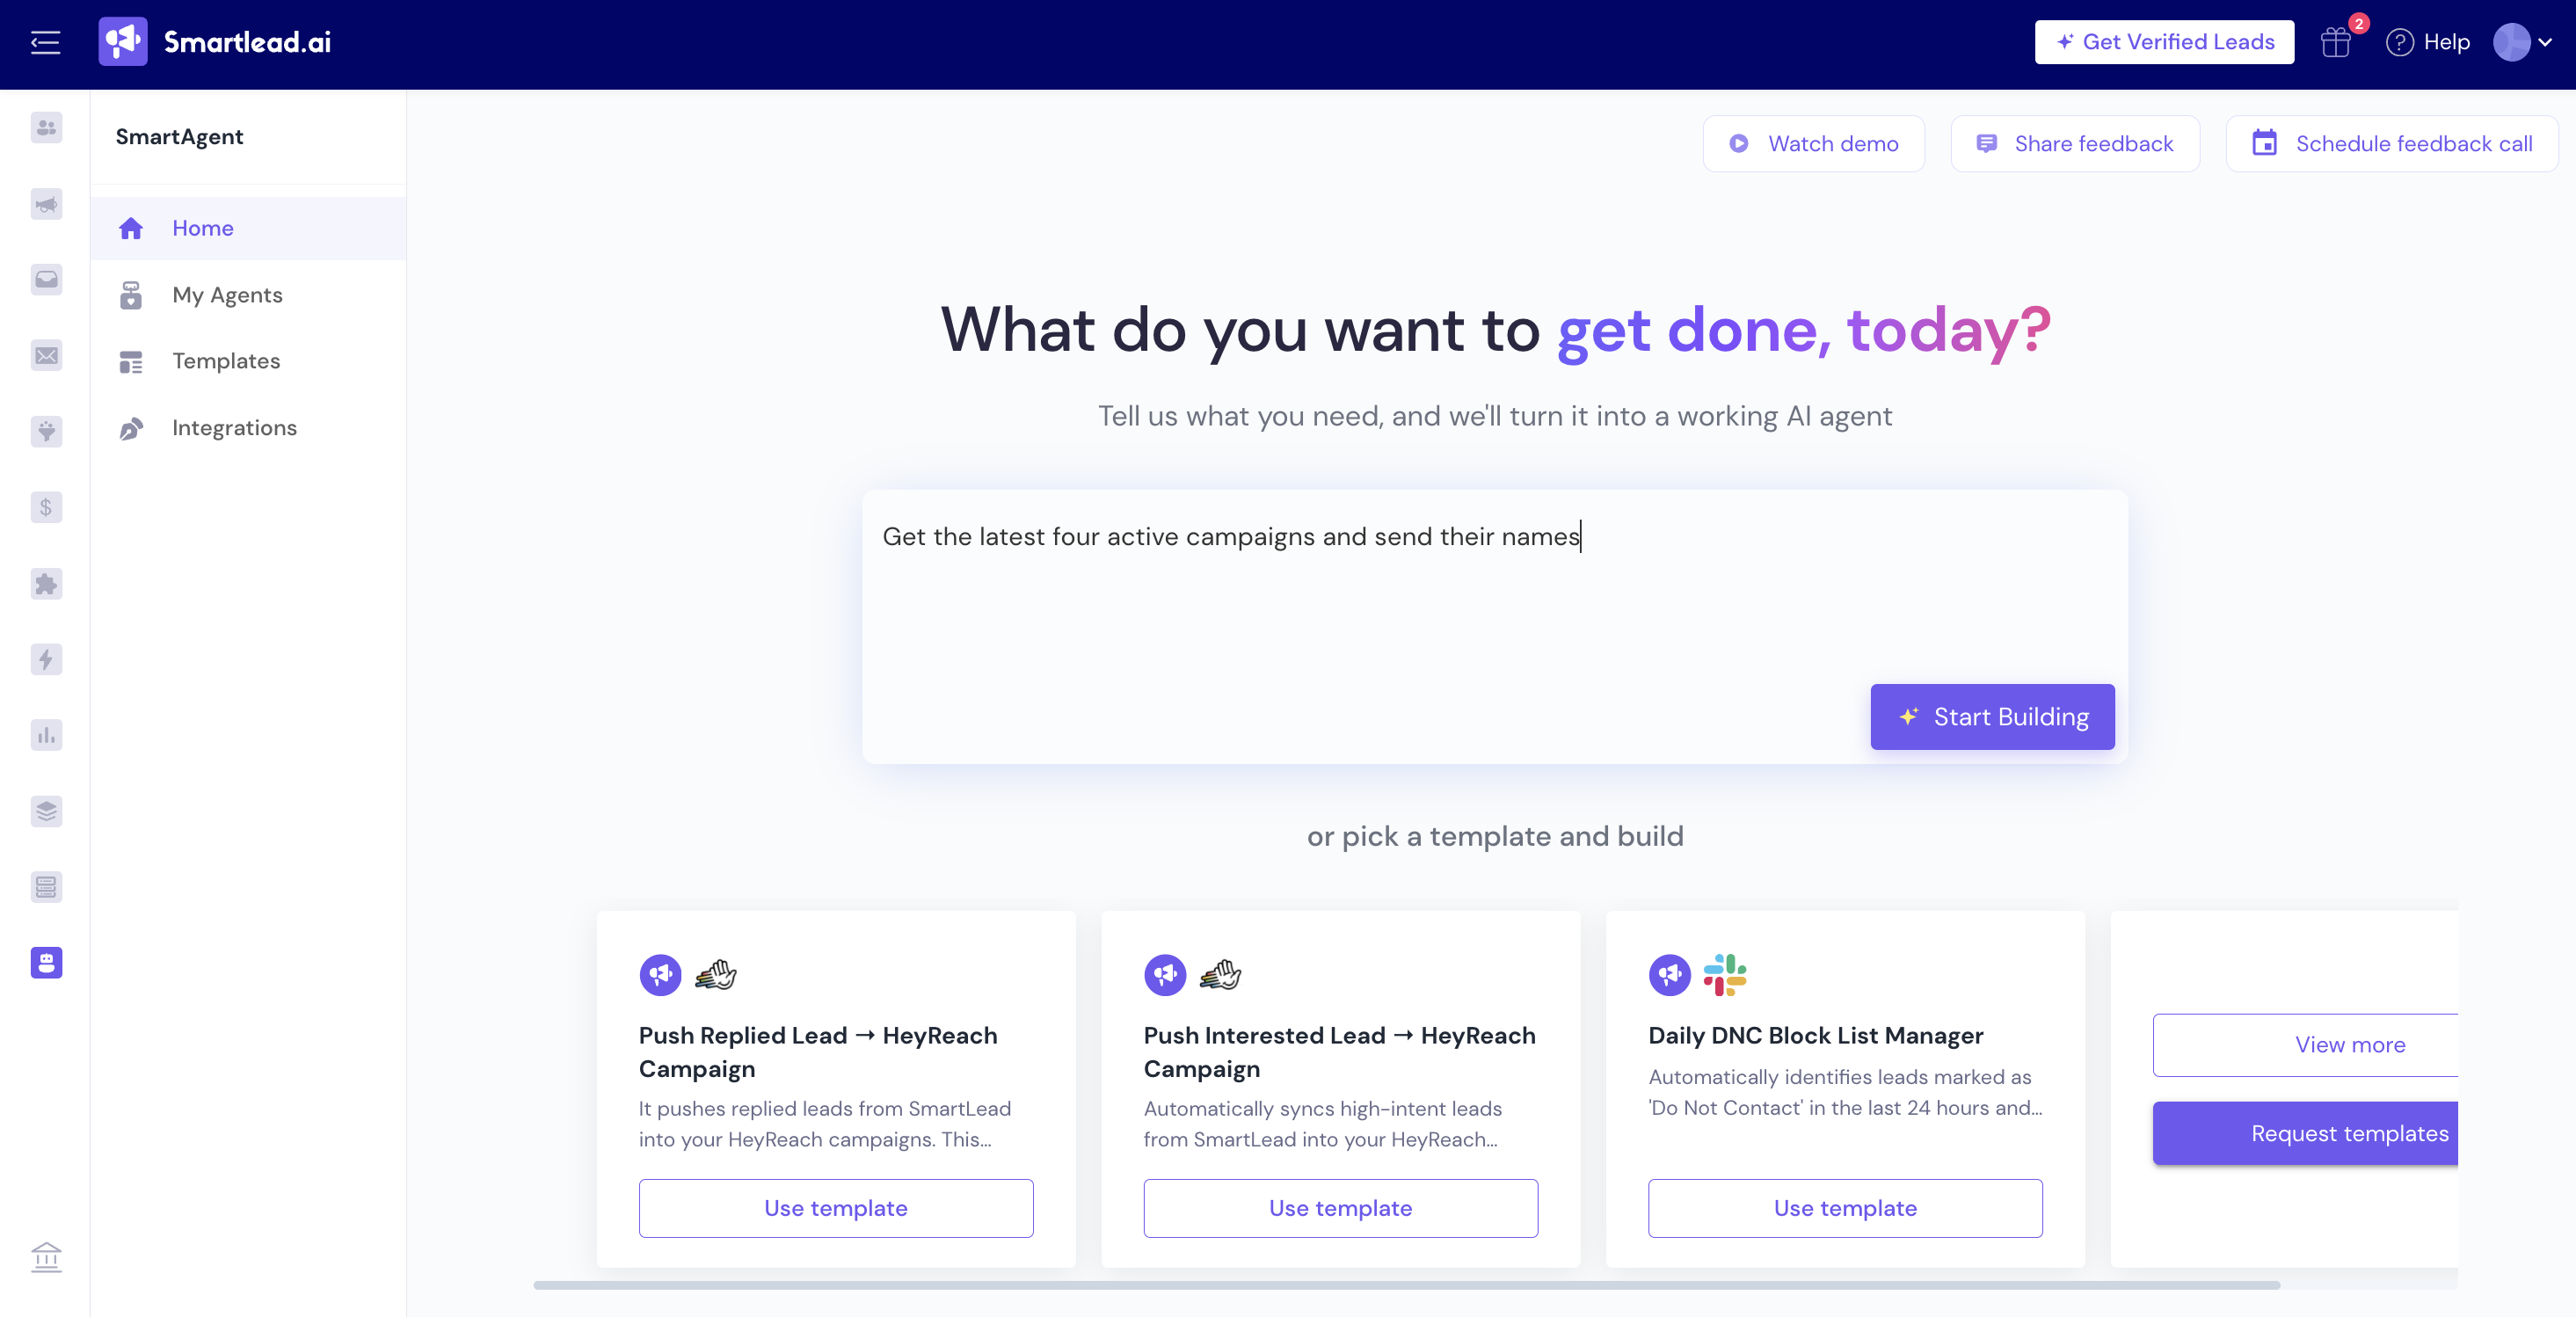
Click Start Building.
You’ll now be asked to configure triggers before the agent is built.
Option B: Start from a pre-built template
Alternatively, you can also start from a template.
Select a template. (check the previous screenshot)
Templates already include a structured workflow, but you still need to review triggers and connect required apps before using them.
Before your SmartAgent can be built, you must set up how and when it should run.
Choose a Trigger Type
Schedule-based
Run the agent at a fixed time (daily, weekly, etc.)
Event-based
Run the agent when a specific event occurs (for example, a lead replies)
For Schedule-based Triggers

Configure the following:
Timezone
Start time
Frequency (daily, weekly, etc.)
Skip weekends (optional)
Once all required fields are filled, click Proceed.
For Event-based Triggers
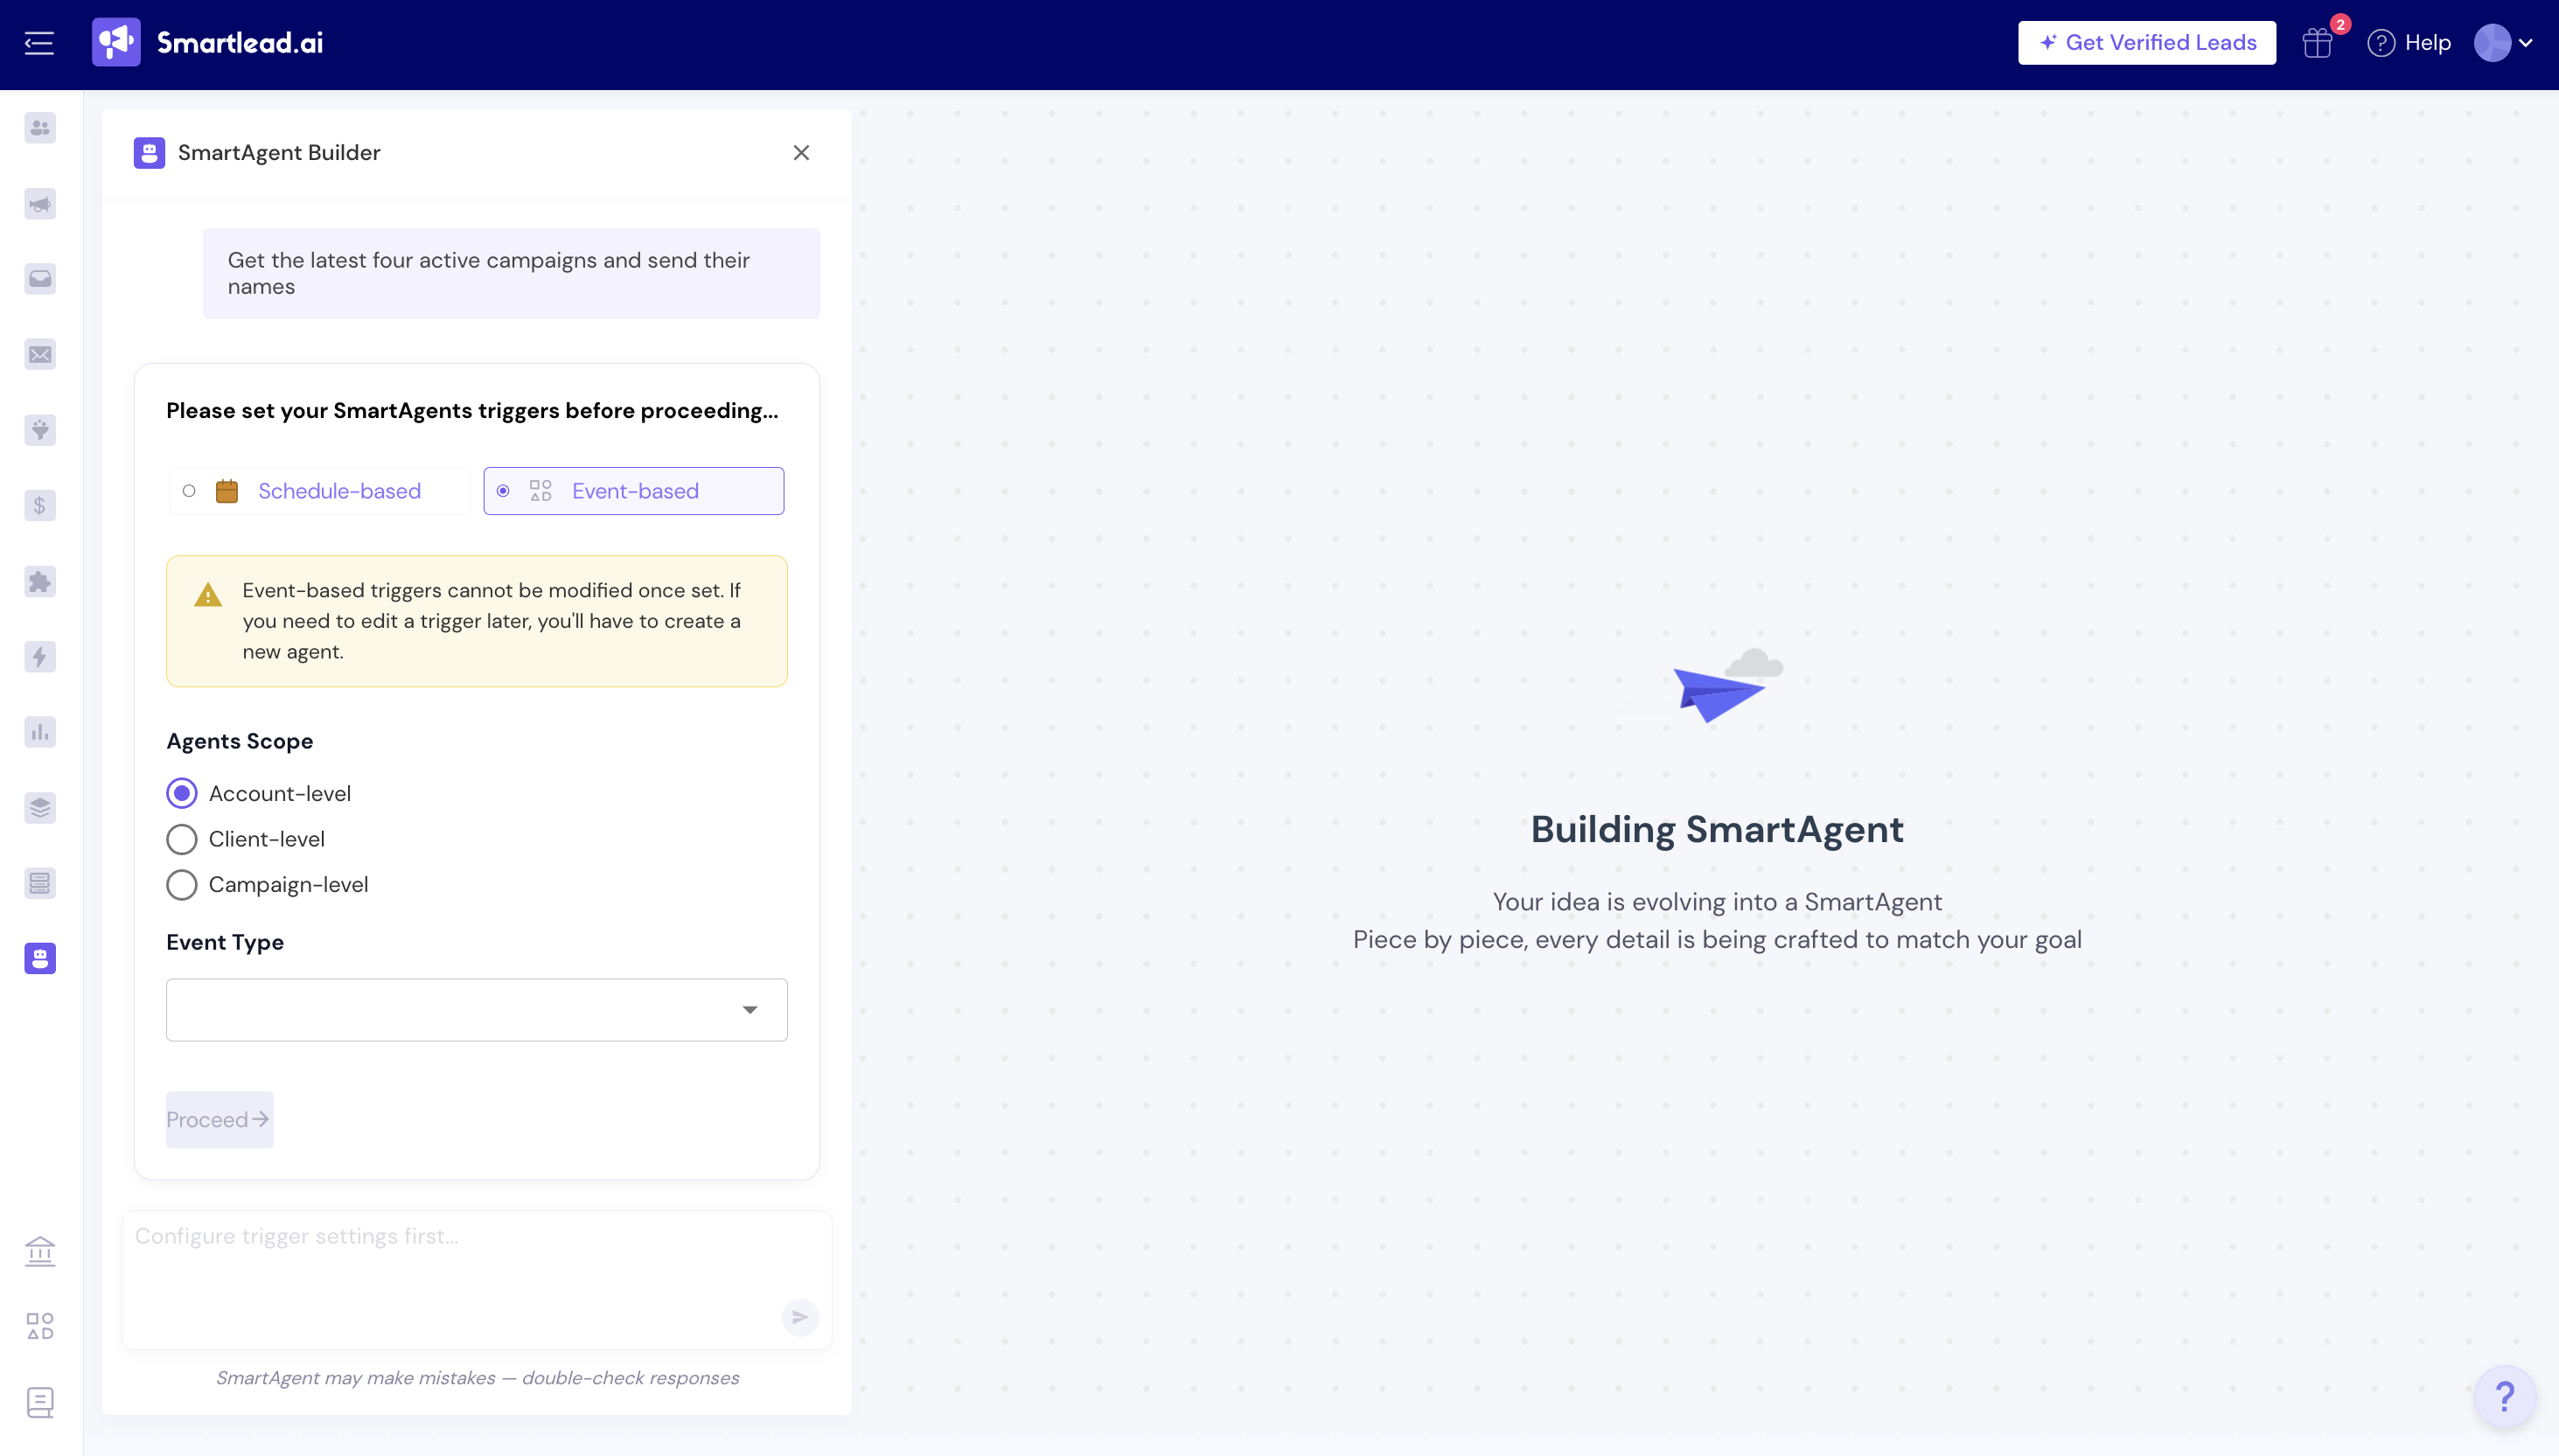
Select the relevant event. Confirm any event-specific conditions. You can select Account-Level, Client-level, or Campaign-Level scope.
Next, choose the event type you want to trigger this workflow - for example, Email Reply, Email Open, or Email Link Click.
Smartlead will confirm the trigger and open the workflow canvas.
Click Proceed.

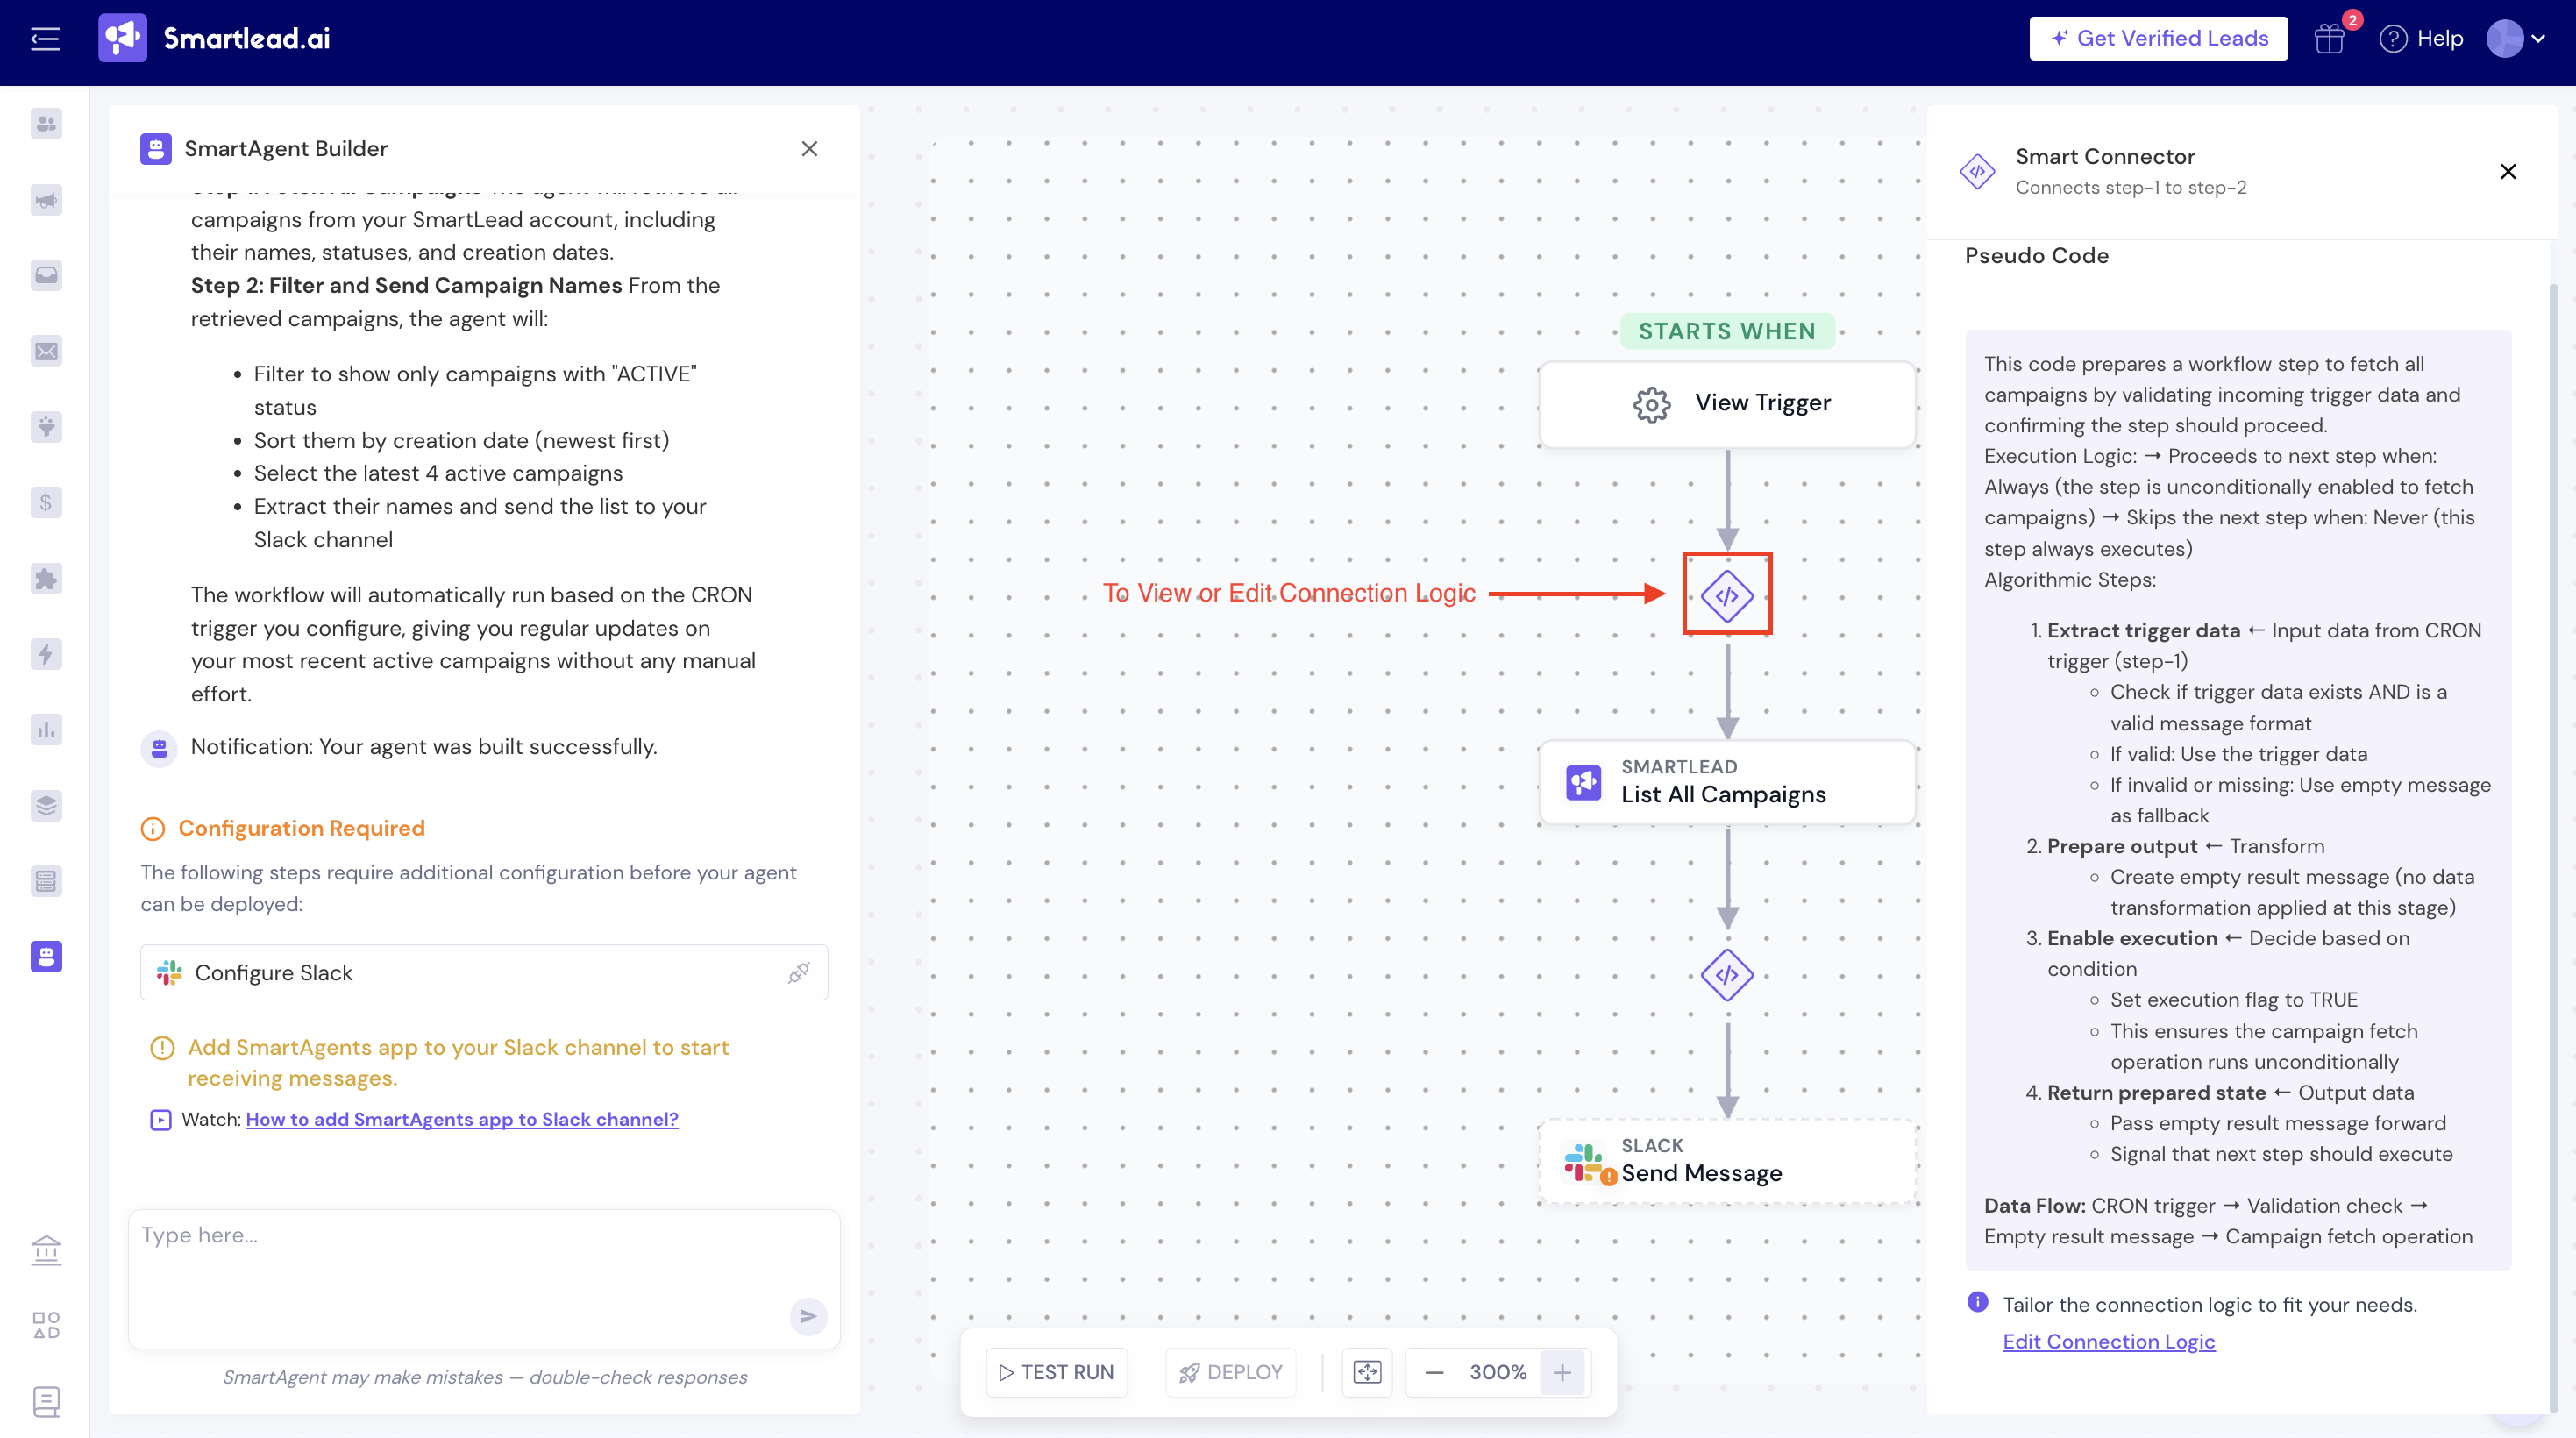
Once you click Build Agent, Smartlead generates the complete SmartAgent workflow based on your prompt and trigger configuration.
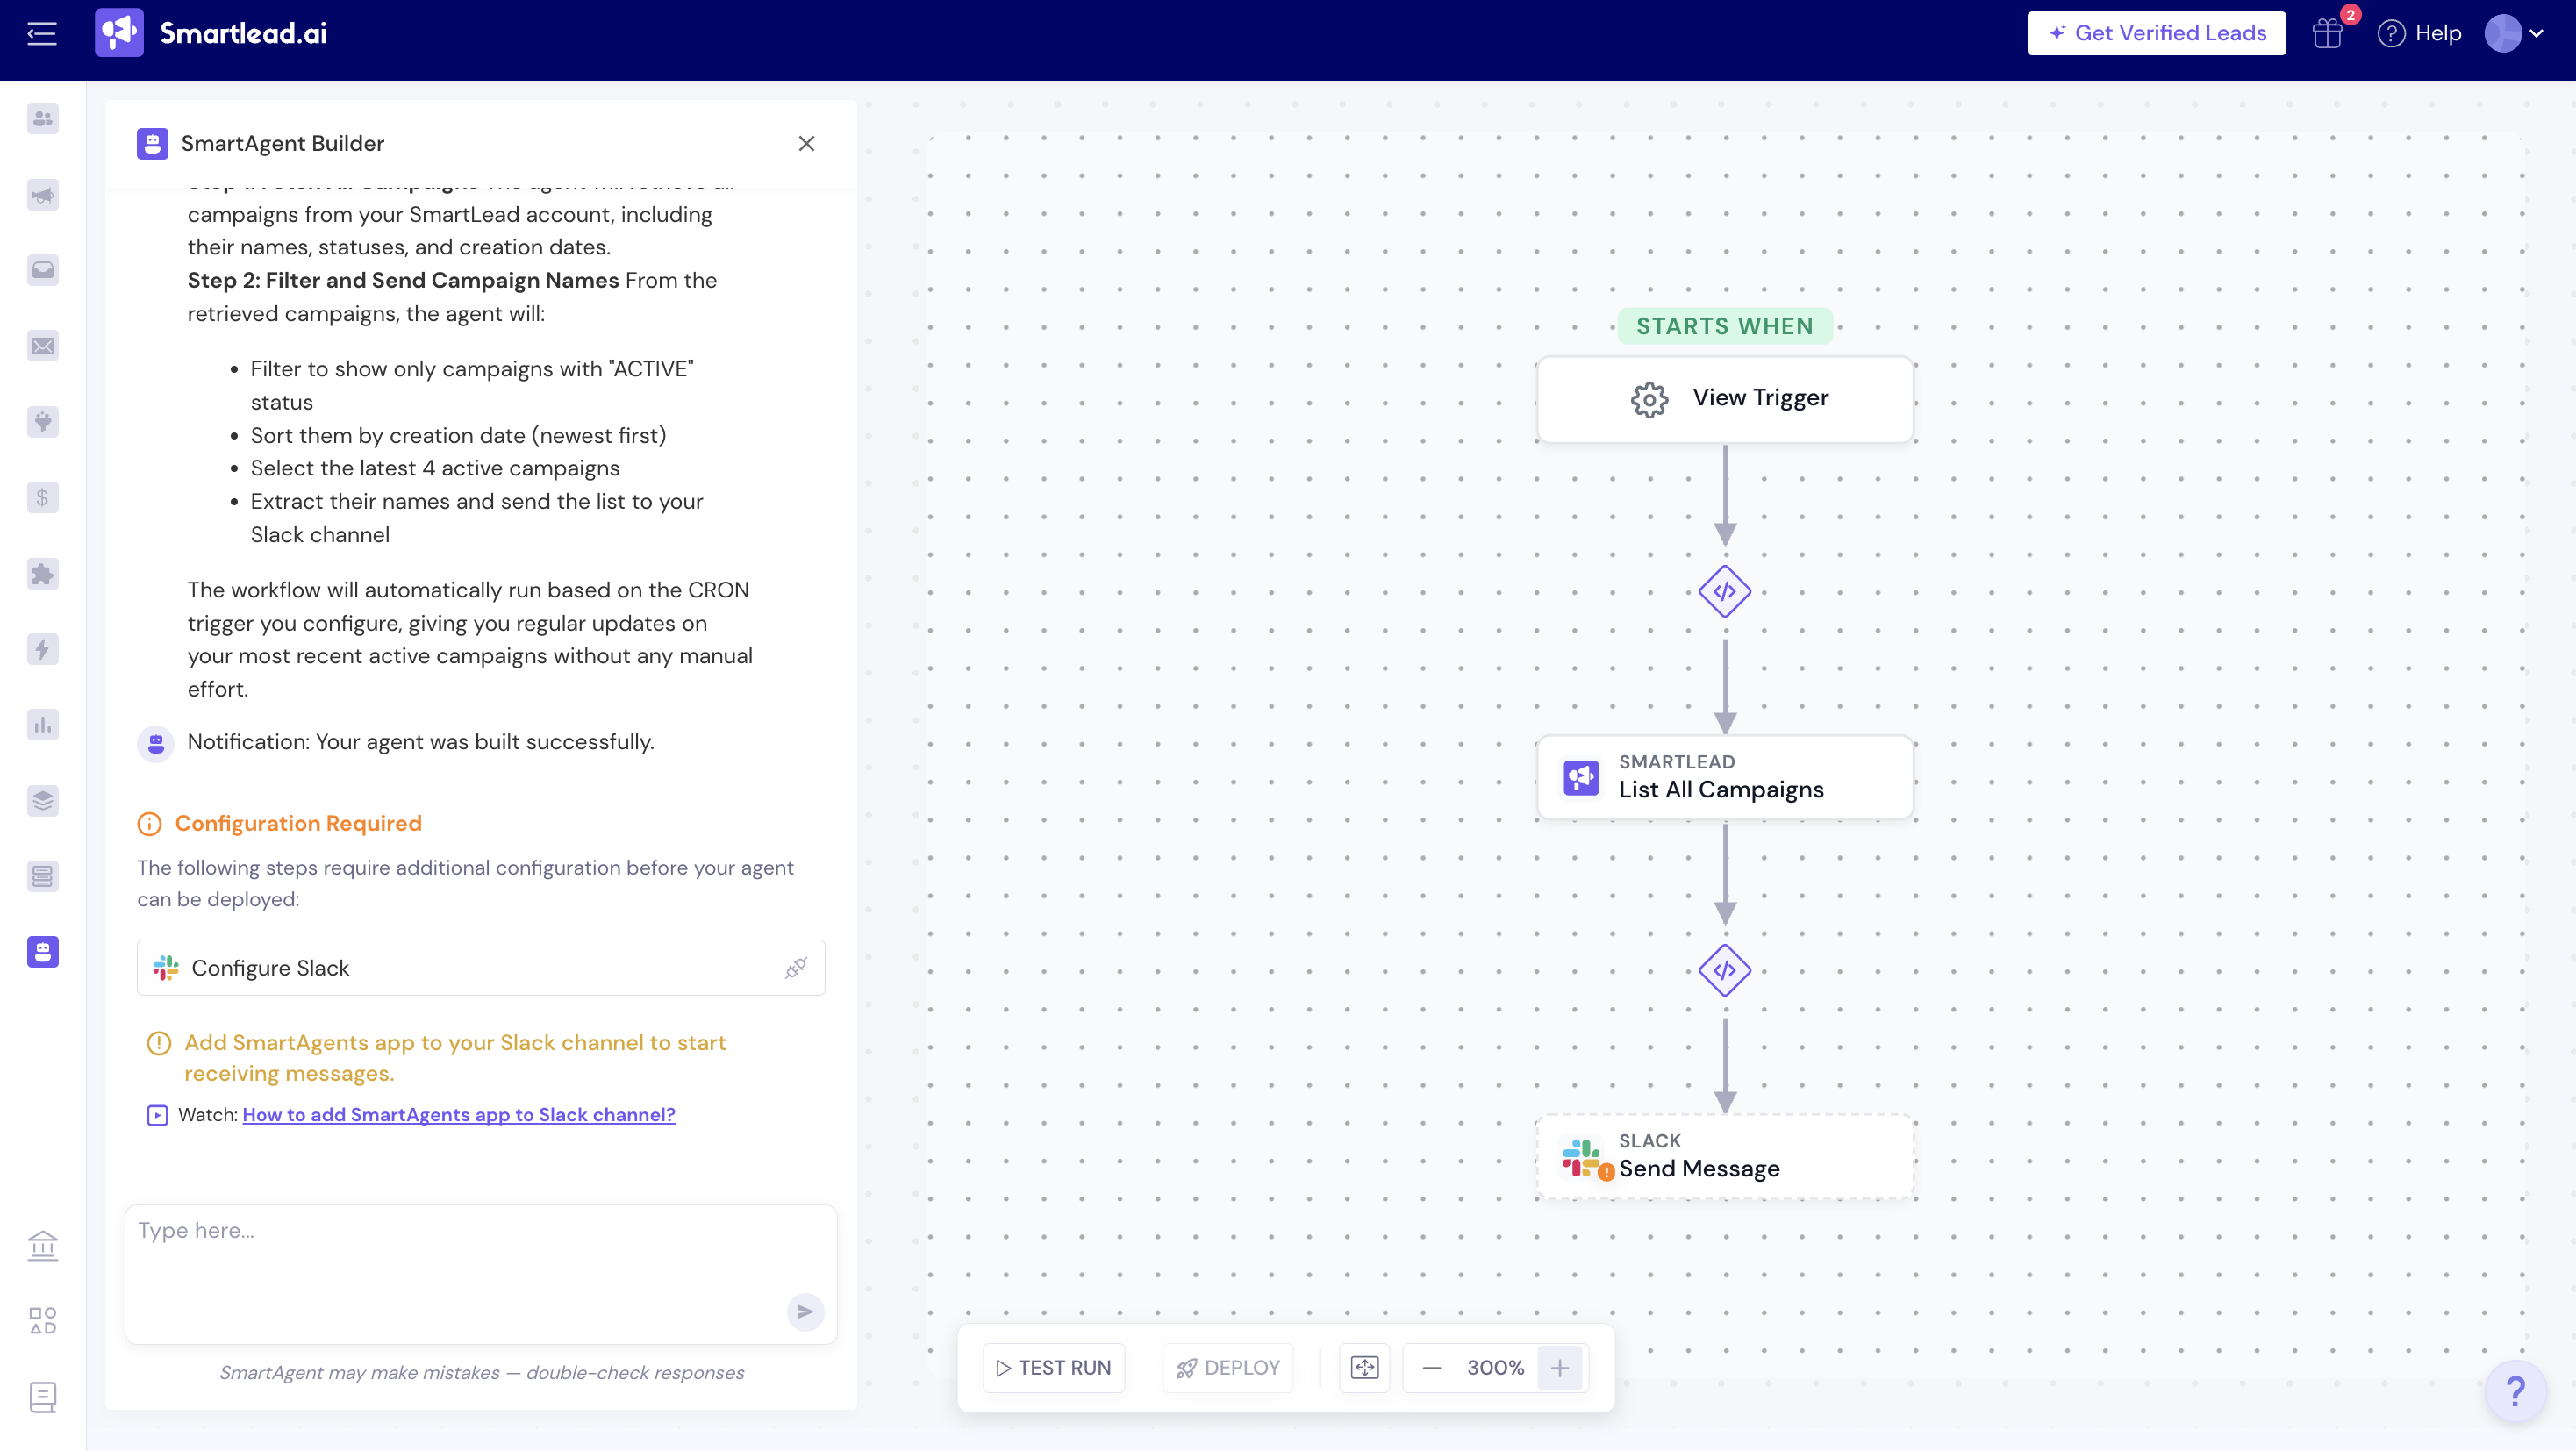
On this screen, you can review:
When the agent runs (trigger)
What data it pulls from Smartlead
What actions it performs
Any configurations that are still required before deployment
If you want to change anything, you can continue typing in to fine-tune your agent.
If any step needs additional setup, you’ll see a Configuration Required notice.
For example (in the previous screenshot):
Configure Slack
The Slack step requires you to connect Slack or select a channel.
You may also see a reminder to:
Add the SmartAgents app to the Slack channel to start receiving messages. Learn more on how to add the SmartAgents app to Slack.
Until these configurations are completed, the agent cannot be deployed.
After reviewing the workflow and completing any required configurations:
Run a Test Run to validate the output
Then Deploy the agent to make it live
Between each action, you’ll see connection steps that define how data moves through the workflow.
These connections show:
How the agent processes data step by step
How it iterates over multiple records (for example, campaigns)
The order in which actions are executed
For example:
One step may retrieve campaign data from Smartlead
The next step formats that data and sends it to Slack
Each step in the workflow is logically linked to the next. To view the connection logic, simply click on connector block between each step. (check the below screen)
Modify a Step’s Configuration
You can review or change how any step behaves.
Click on the step you want to modify.
Select Edit Connection Logic. (see the button provided in the bottom of the connection logic in the previous screenshot)
Describe the changes you want to make.
Save the configuration.
If you want to undo your changes, click Reset to Default to restore the original setup.
All updates are reflected immediately in the workflow preview.
Run a simulation to see exactly how the SmartAgents will behave.
If results aren’t as expected, refine prompts, logic, or settings.
Test until you are confident in the output.
If you’re not satisfied with the test run results, provide appropriate feedback, and the simulation will rerun with the provided inputs.
Set triggers (schedule, timezone, whether you want to skip weekends, or event-based triggers) for the SmartAgents to perform the action.
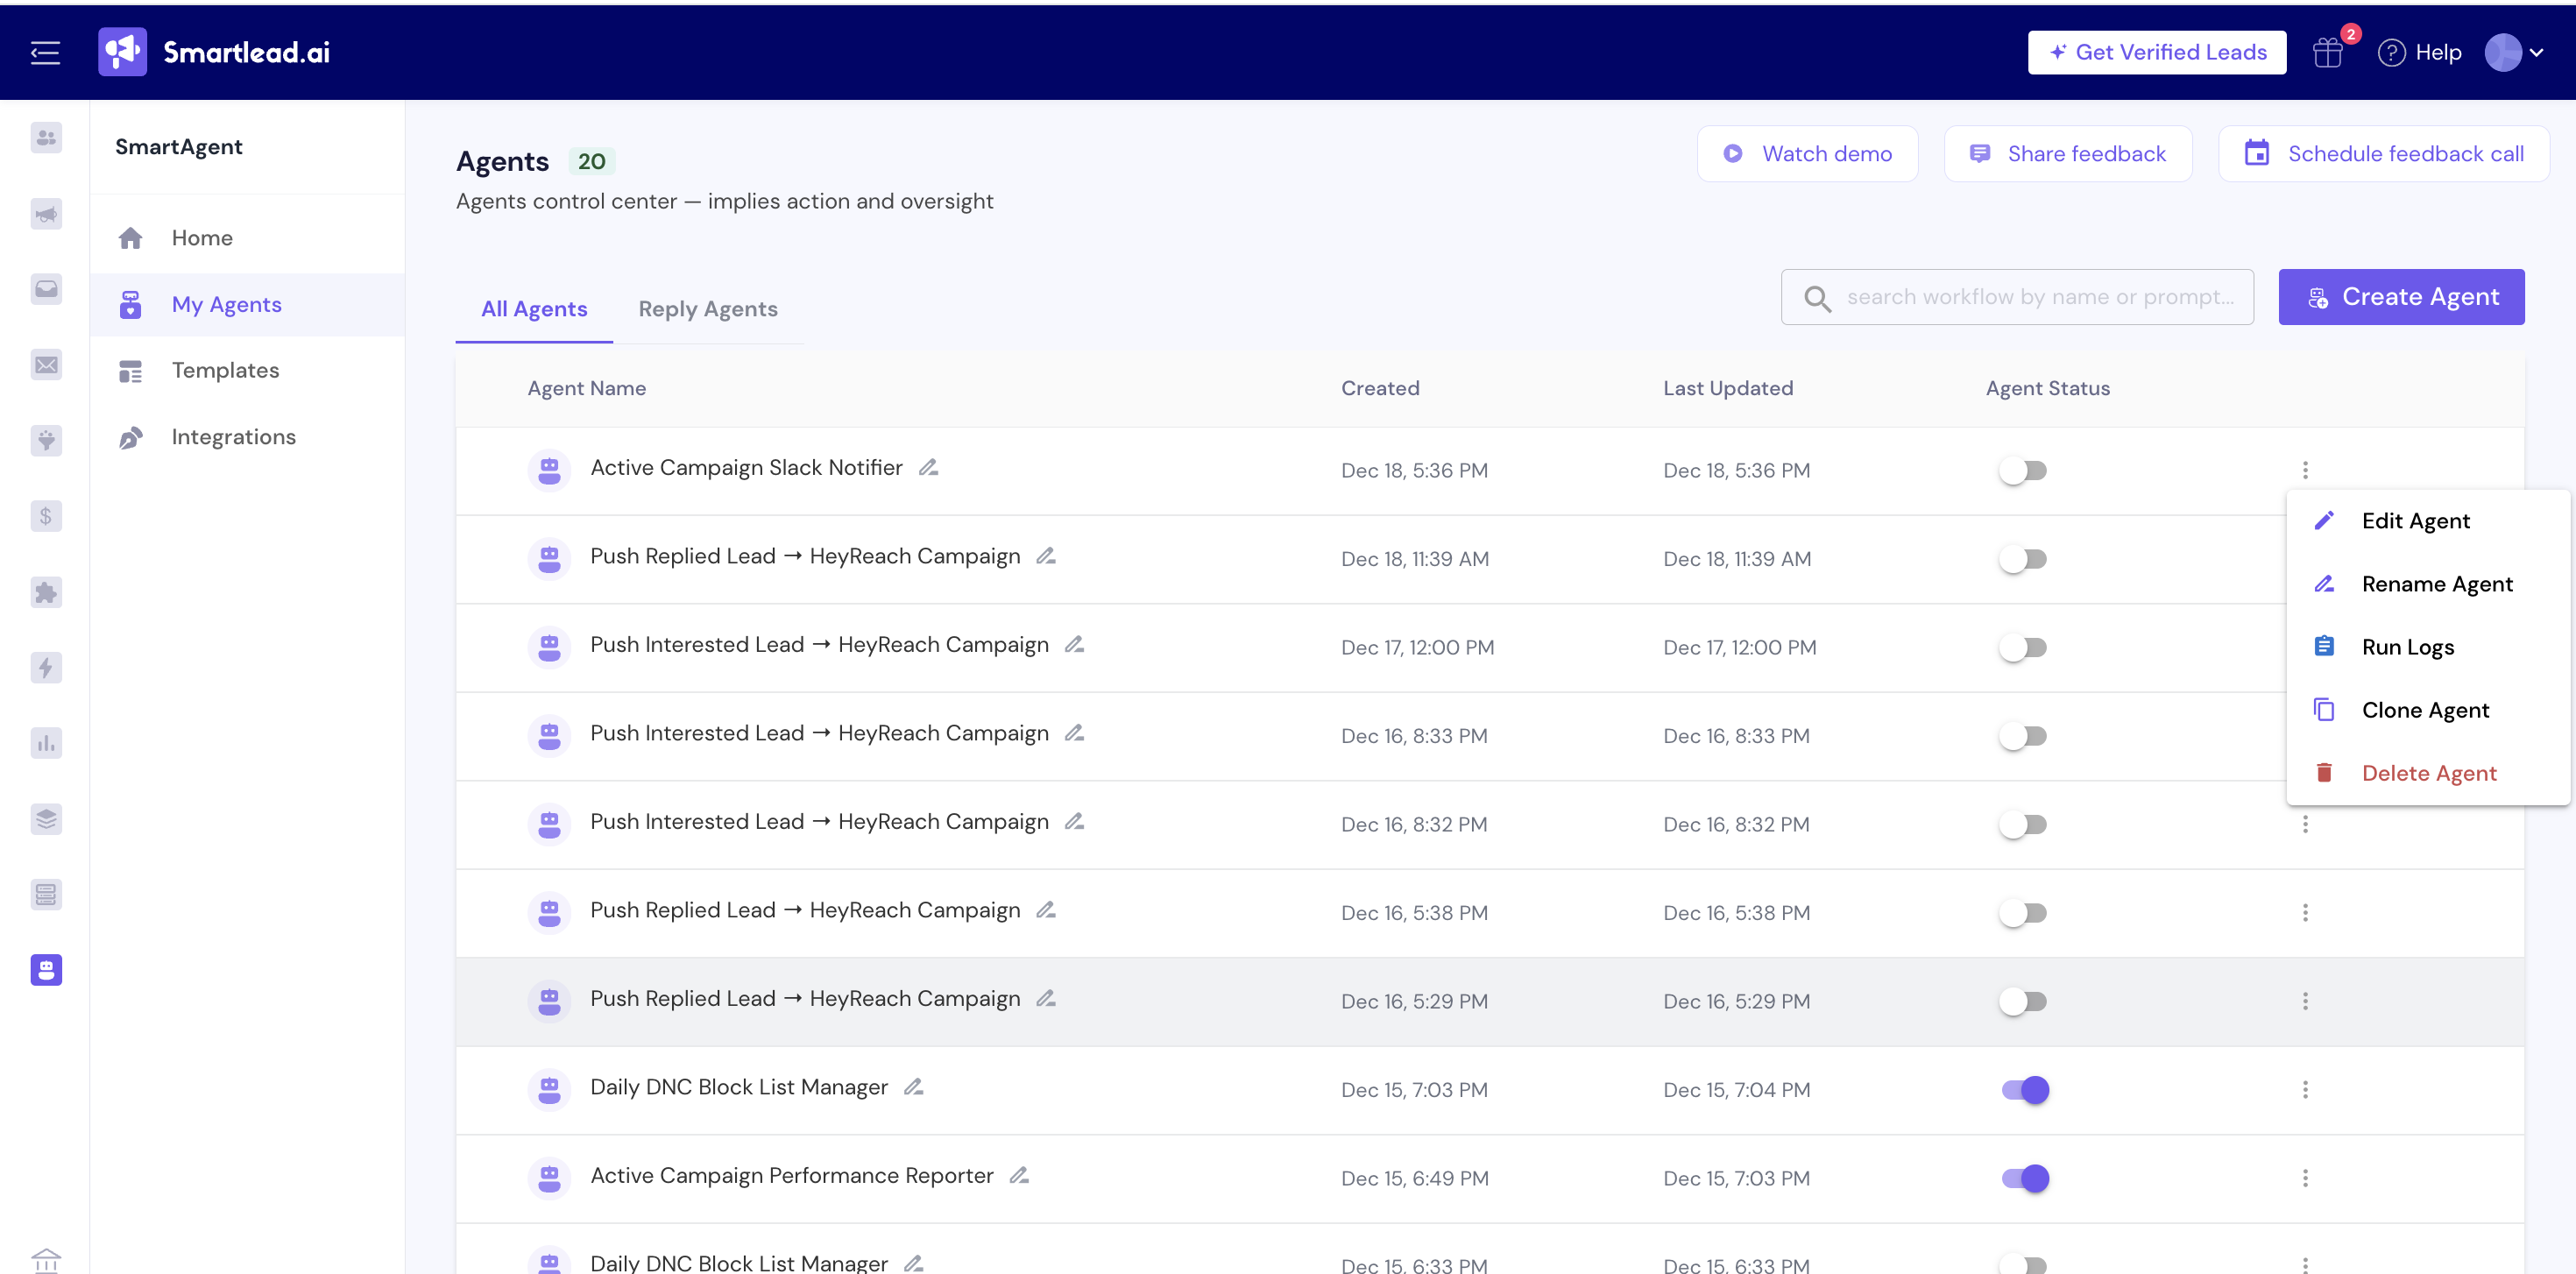
Once deployed, you will be redirected “My Agents List page. You will see all of the agents inside it and also you have an ability to disable and enable it anytime.
You can click on the three dots icon to view more actions you can perform here like - edit agent, rename agent, run logs, or clone or delete any agent.
Here are some best practices to follow for using SmartAgents to make it work perfectly:
Be precise: Be as detailed and comprehensive as you can be; vague prompts create vague actions
Start small: At first, start with automating one high-impact process first and scale from there
Review logs: Regularly check run history for accuracy
Automate alerts: Have SmartAgents notify you of discrepancies or anomalies across your Smartlead workflow
Chain workflows: Use multiple SmartAgents for full-funnel automation
