Secure your Smartlead webhooks with JWT.
With JWT authentication, Smartlead adds a signed token to every webhook request. Your server checks the token with the webhook's public key to confirm the request came from Smartlead and that the body wasn't changed on the way.
JWT is one of two ways to authenticate webhook requests. The other is a signing secret (HMAC). Only one can be on for a webhook at a time. JWT is off by default, and webhooks you don't change keep working as before.
What you store on your server
Signing secret (HMAC): a shared secret (whsec_…). Keep it private.
JWT: a public key (JWK). Safe to share; it can only verify, not sign.
Headers Smartlead adds
Signing secret (HMAC): webhook-id, webhook-timestamp, webhook-signature
JWT: Authorization: Bearer <jwt> and webhook-id
Algorithm
Signing secret (HMAC): Standard Webhooks (HMAC-SHA256)
JWT: ES256 (ECDSA P-256 with SHA-256)
Good fit when
Signing secret (HMAC): your tool supports Standard Webhooks
JWT: your stack already checks bearer tokens (API gateways, identity middleware), or you don't want a shared secret on the receiving side
The webhook must be saved. The Security tab appears only when you edit a saved webhook, so add the webhook first, then reopen it.
JWT works for webhooks that send to your own URL (custom endpoints, Zapier, Make, n8n and similar). Slack webhooks can't use JWT.
If your webhook URL contains a username and password (https://user:[email protected]/…), those already use the Authorization header, so Smartlead doesn't add a JWT. Remove the credentials from the URL to use JWT.
Any team member who can open the webhook can view and copy the public key. To turn JWT on or off, or rotate the key, you need to be the account owner, a team member with Admin or Full Member access, or a client with full access.
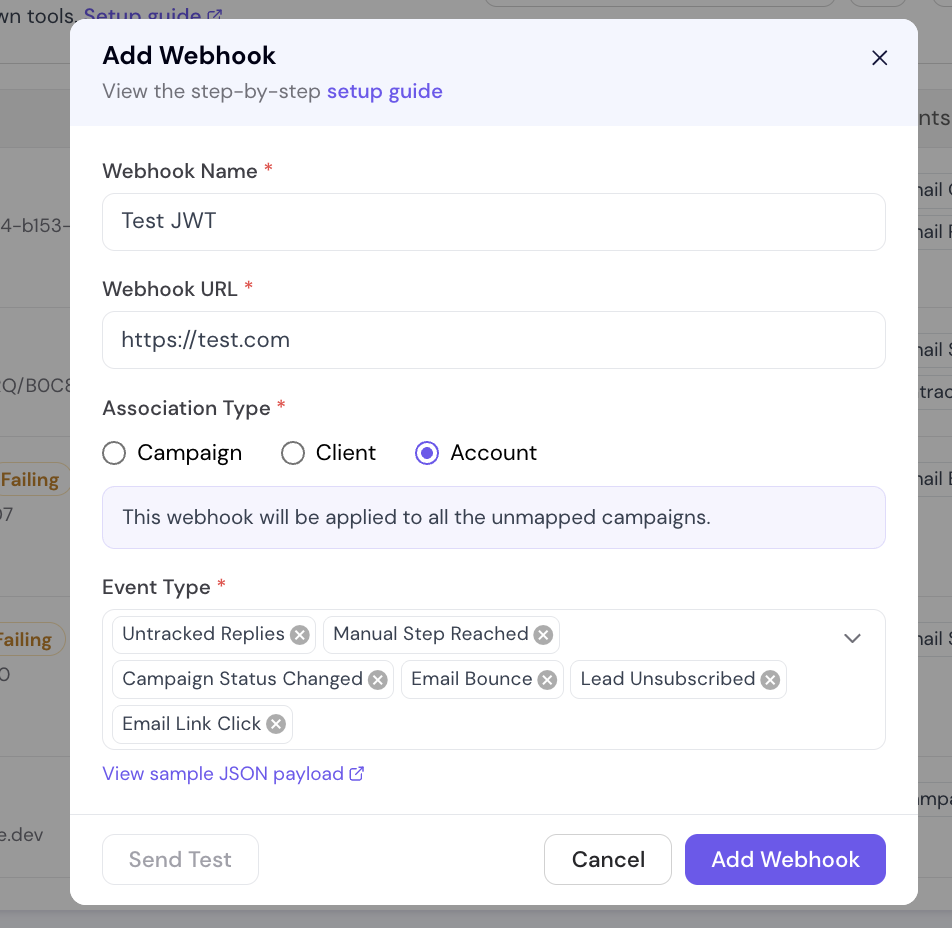
Go to Settings → Webhooks. For a campaign webhook, you can also open the campaign and go to its Settings → Webhooks tab.
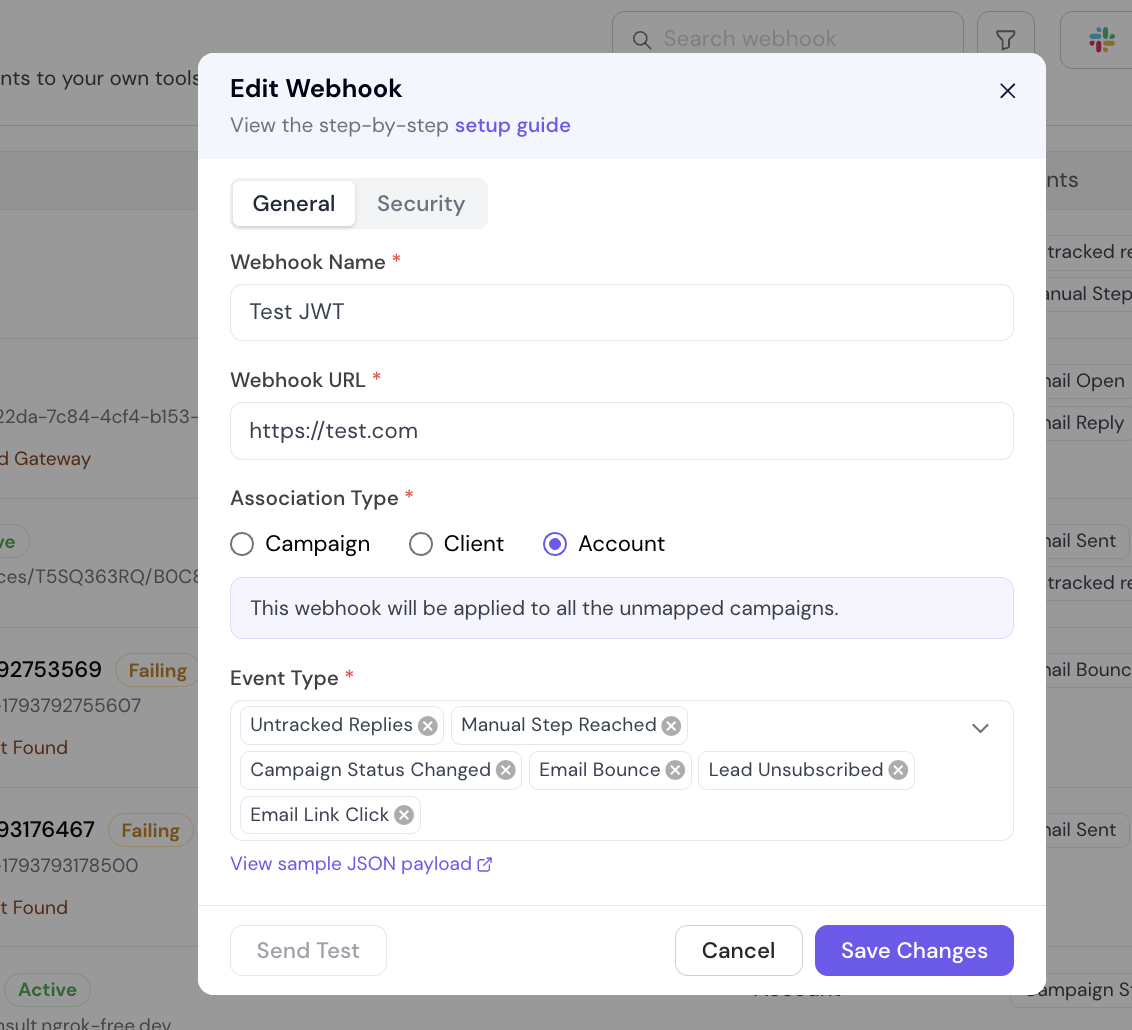
Click the pencil icon on the webhook. The Edit Webhook dialog opens.
Click the Security tab at the top of the dialog, next to General.
Under the three options, pick JWT.
Click Enable JWT.
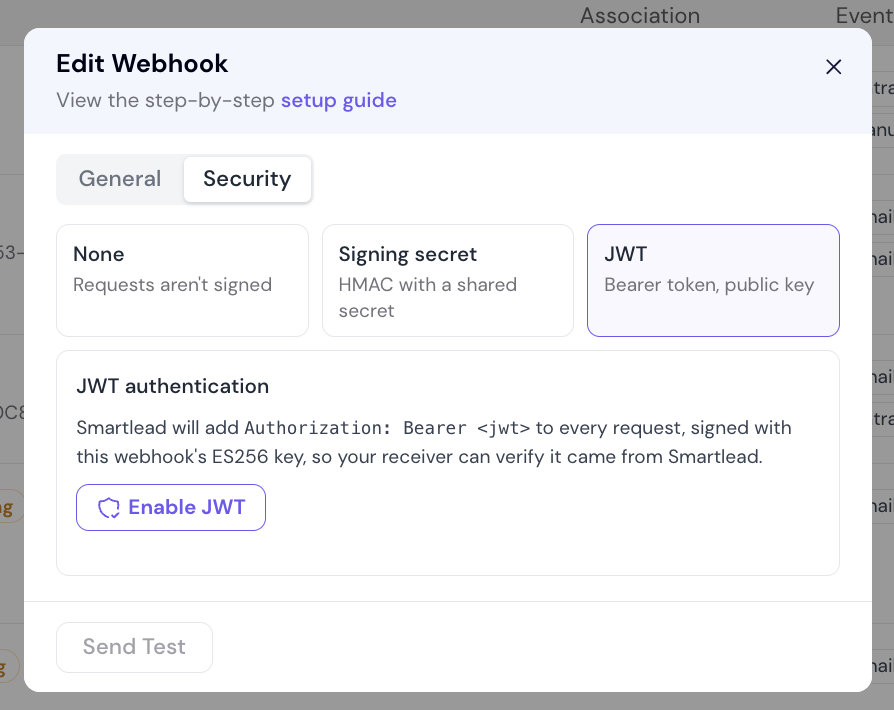
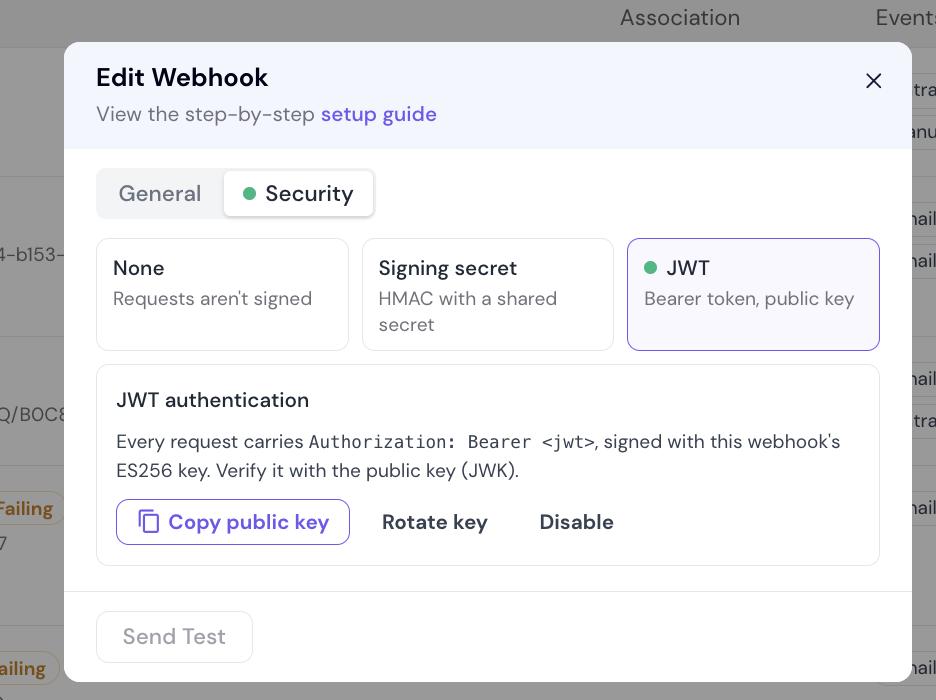
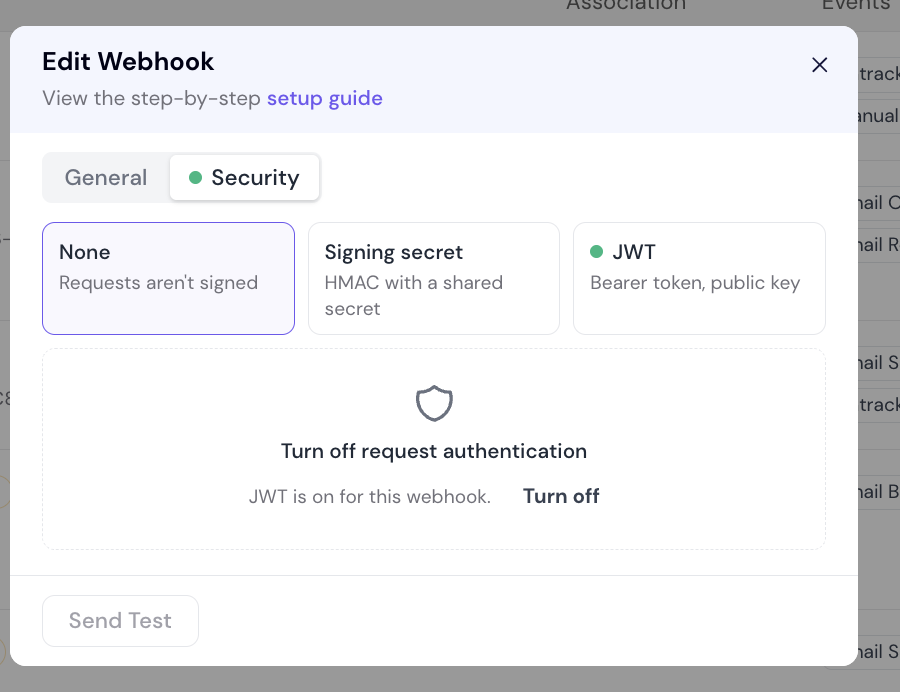
JWT takes effect right away. You don't need to click Save, and the Save and Cancel buttons aren't shown on the Security tab. A green dot on the Security tab and on the JWT option shows that JWT is on.
Using a signing secret already? Smartlead asks you to confirm with Switch to JWT?. The signing secret turns off as soon as you confirm, so update your receiver to check the JWT before switching.
Click Copy public key. This copies the webhook's public key as a JSON Web Key (JWK), for example:
{
  "kty": "EC",
  "crv": "P-256",
  "x": "5R5yoPKw…",
  "y": "93XqNZah…",
  "kid": "ForfK0…",
  "alg": "ES256",
  "use": "sig"
}
Add the key to your receiver's settings, for example as an environment variable. The public key can't be used to sign requests, so it's fine to keep it in config files or share it with whoever runs your receiver. Each webhook has its own key. You can copy it again any time by editing the webhook.
If you changed anything on the General tab, click Save Changes first.
Click Send Test at the bottom of the dialog. Smartlead sends a test request with a JWT to your URL.
Check that your server accepted it.
Test requests are signed only when the URL in the form matches the saved URL. Test bodies include "is_test": true, are sent once and are not retried.
Each request with JWT on carries these headers:
Authorization: Bearer <jwt>. A new token is created for every attempt, including retries.
webhook-id: unique event ID. Stays the same across retries, so use it to skip events you already processed.
Content-Type: application/json
The token header is {"alg": "ES256", "typ": "JWT", "kid": "<key id>"}. The kid matches the kid in the public key you copied. The token carries these claims:
iss: https://smartlead.ai. Check that it equals this value.
aud: smartlead:webhook:<webhook id>. Optional to check.
sub: the webhook ID as a string. Optional to check.
iat: issued at, Unix seconds. Optional to check.
exp: iat + 300 (5 minutes). Check that it's not in the past. Allow up to 30 seconds of clock skew.
jti: random UUID, new for each token. Optional: reject a jti you've already seen within 5 minutes.
body_sha256: lowercase hex SHA-256 of the exact request body bytes. Check that it equals the hash of the raw body you received.
Read the token from Authorization: Bearer …. If it's missing, reject the request.
Verify the signature with the public key, and accept only ES256. Never accept none or HMAC algorithms.
Check iss and exp as shown above.
Hash the raw request body with SHA-256 and compare it to body_sha256. Use the raw bytes, before any JSON parsing.
If any check fails, reply with 401. Otherwise process the event and reply 2xx.
Node.js
// npm install express jose
import express from 'express';
import crypto from 'node:crypto';
import { createLocalJWKSet, jwtVerify } from 'jose';

const publicKey = JSON.parse(process.env.SMARTLEAD_WEBHOOK_JWK);  // the key you copied
const keys = createLocalJWKSet({ keys: [publicKey] });           // picks the key by kid

const app = express();

// Raw body: the token covers the exact bytes Smartlead sent
app.post('/smartlead', express.raw({ type: 'application/json' }), async (req, res) => {
  const auth = req.get('authorization') || '';
  if (!auth.startsWith('Bearer ')) return res.status(401).send('missing token');

  try {
    const { payload } = await jwtVerify(auth.slice(7), keys, {
      algorithms: ['ES256'],
      issuer: 'https://smartlead.ai',
      clockTolerance: 30,
    });
    const bodyHash = crypto.createHash('sha256').update(req.body).digest('hex');
    if (payload.body_sha256 !== bodyHash) return res.status(401).send('body mismatch');
  } catch {
    return res.status(401).send('invalid token');
  }

  const event = JSON.parse(req.body.toString('utf8'));
  // Skip if req.get('webhook-id') was already processed, then handle the event
  res.sendStatus(200);
});

app.listen(3000);
Python
# pip install flask "pyjwt[crypto]"
import hashlib, os
import jwt
from flask import Flask, request, abort

PUBLIC_KEY = jwt.PyJWK.from_json(os.environ["SMARTLEAD_WEBHOOK_JWK"])  # the key you copied

app = Flask(__name__)

@app.post("/smartlead")
def smartlead():
    auth = request.headers.get("Authorization", "")
    if not auth.startswith("Bearer "):
        abort(401)
    raw = request.get_data()  # raw bytes, before JSON parsing
    try:
        claims = jwt.decode(
            auth[7:],
            PUBLIC_KEY.key,
            algorithms=["ES256"],
            issuer="https://smartlead.ai",
            leeway=30,
            options={"verify_aud": False},  # PyJWT rejects a token with aud unless told to skip it
        )
    except jwt.InvalidTokenError:
        abort(401)
    if claims.get("body_sha256") != hashlib.sha256(raw).hexdigest():
        abort(401)

    event = request.get_json()
    # Skip if request.headers["webhook-id"] was already processed, then handle the event
    return "", 200
Tips for your developer
Use a maintained JWT library rather than writing the checks yourself.
Reply 401 (not 400) when a check fails. 401 is retried, 400 is not.
Use webhook-id to skip duplicates. Retries send the same webhook-id with a new token.
Reply 2xx within 60 seconds and do heavy work afterwards.
Keep the server clock in sync (NTP). Tokens are valid for 5 minutes.
Rotate the key if you think it's been exposed, or as routine practice.
On the Security tab, click Rotate key, then confirm with Rotate key.
Click Copy public key and update your receiver straight away. The new key has a new kid.
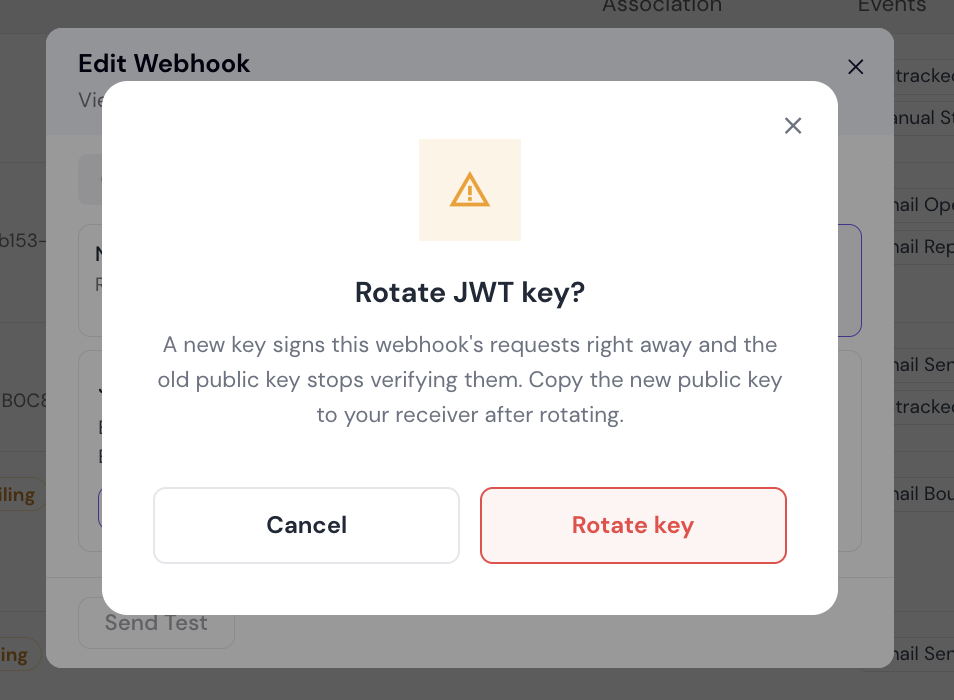
The old key stops working immediately. Requests are signed with the new key from the moment you rotate. Rotate at a quiet time and update your receiver right after. Requests your server rejects with 401 in the meantime are retried automatically and will pass once the new key is in place.
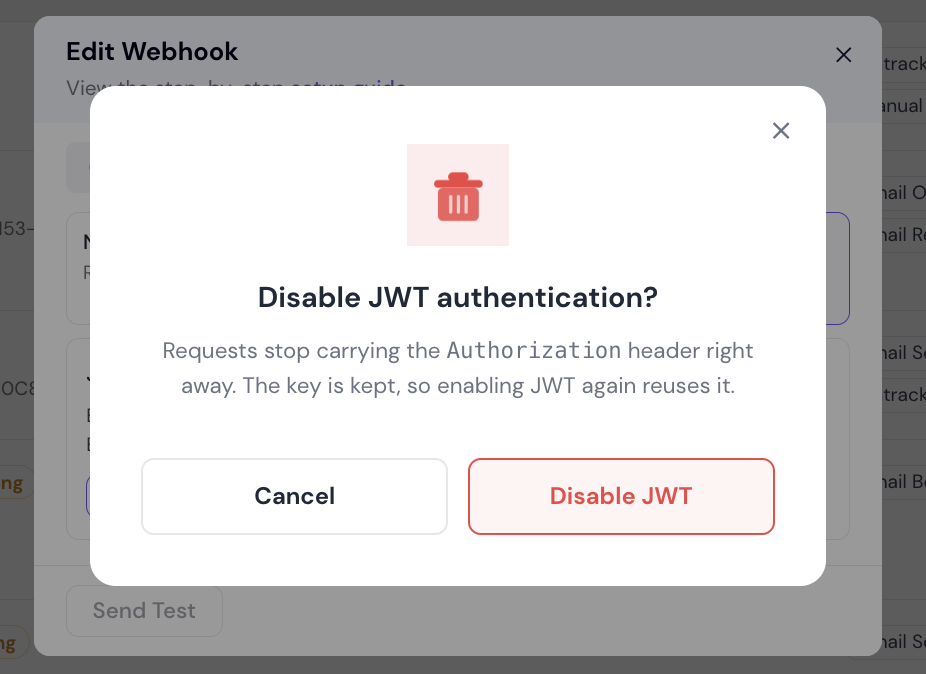
On the Security tab, click Disable in the JWT card, then confirm with Disable JWT. You can also pick None and click Turn off.
Requests stop carrying the Authorization header right away. The key is kept, so if you turn JWT on again later, the same public key keeps working.
If your server doesn't reply with 2xx, Smartlead retries up to 8 times over about 28 hours. Each retry gets a fresh token signed with the webhook's current key. Smartlead doesn't retry 400, 413 or 422 responses. Each request times out after 60 seconds.
Check that the webhook is saved (not new) and isn't a Slack webhook.
Your role can view the public key but not change JWT settings. Ask the account owner or an Admin.
No. Only one method is on at a time. Turning one on turns the other off after you confirm.
It still has the old public key. Copy the new one from the Security tab. Rejected requests are retried automatically.
Save your changes on the General tab first. Tests are signed only when the URL matches the saved URL. If the webhook URL has a username and password in it, no token is added.
The requests carry the token, but these tools don't check it by default. To check it there, add a code step that verifies the token with your public key.