Creating a cold email campaign in Smartlead is simple and efficient.
With our intuitive interface, you can set up, manage, and optimize your campaigns seamlessly. From uploading your lead list to automating follow-ups, Smartlead provides all the necessary tools to increase engagement and drive conversions. Follow this guide to get started.
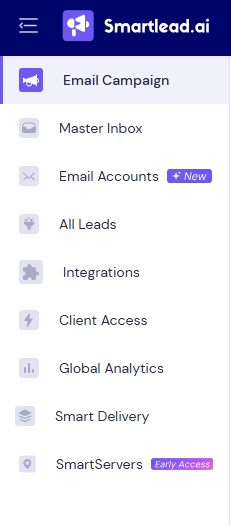
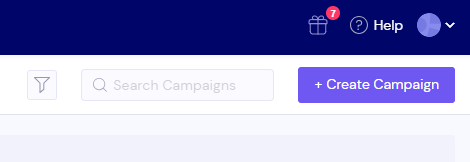
Navigate to the Email Campaign tab from the left hand navigation and click on “Create Campaign”
You’ll be prompted to upload a CSV containing your lead list and their data. You can also drag and drop the CSV.
At the same time you can also name your campaign to make it easy for you to identify. I’ve named mine Startup founders Canada, <subniche> <niche> <location>. This helps with management, you soon won’t need to worry about that, with the ability to filter by “tags” (The campaign name is just for example, you can keep any, as per your requirement)
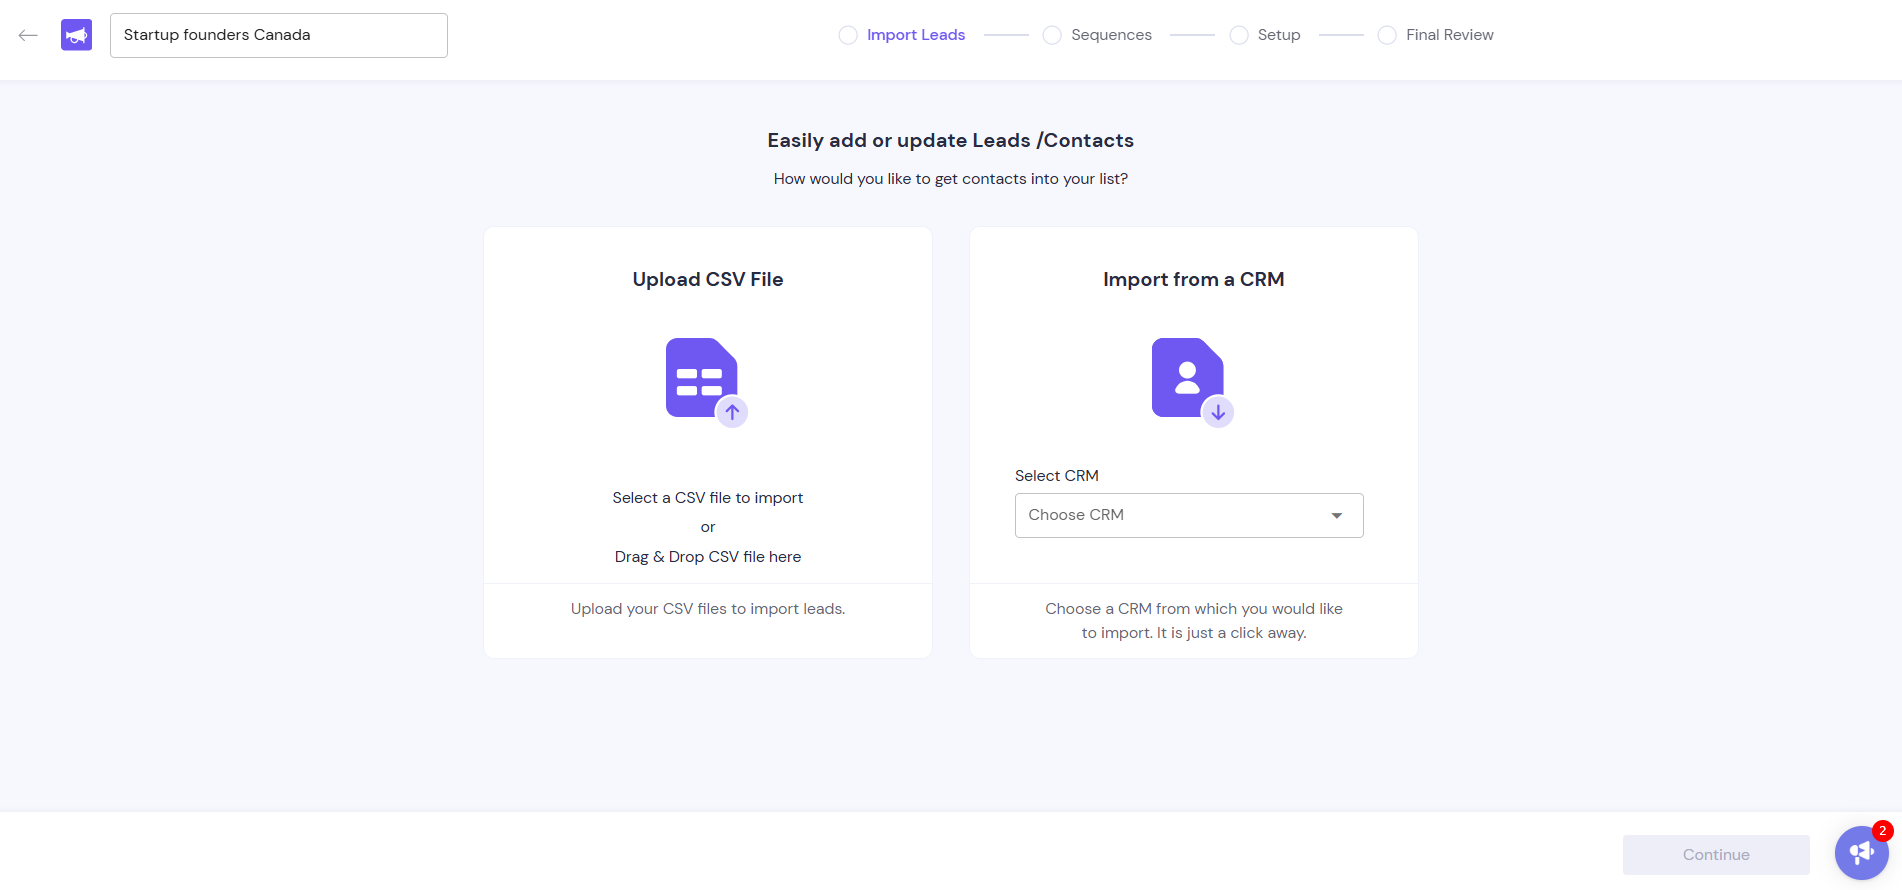
You can also directly import leads from your CRM (customer relationship management) tool, for example, HubSpot. (However, do note that your CRM needs to be connected with Smartlead in order to directly import leads)
As soon as you upload leads, you will get the option to manage import settings as shown below:
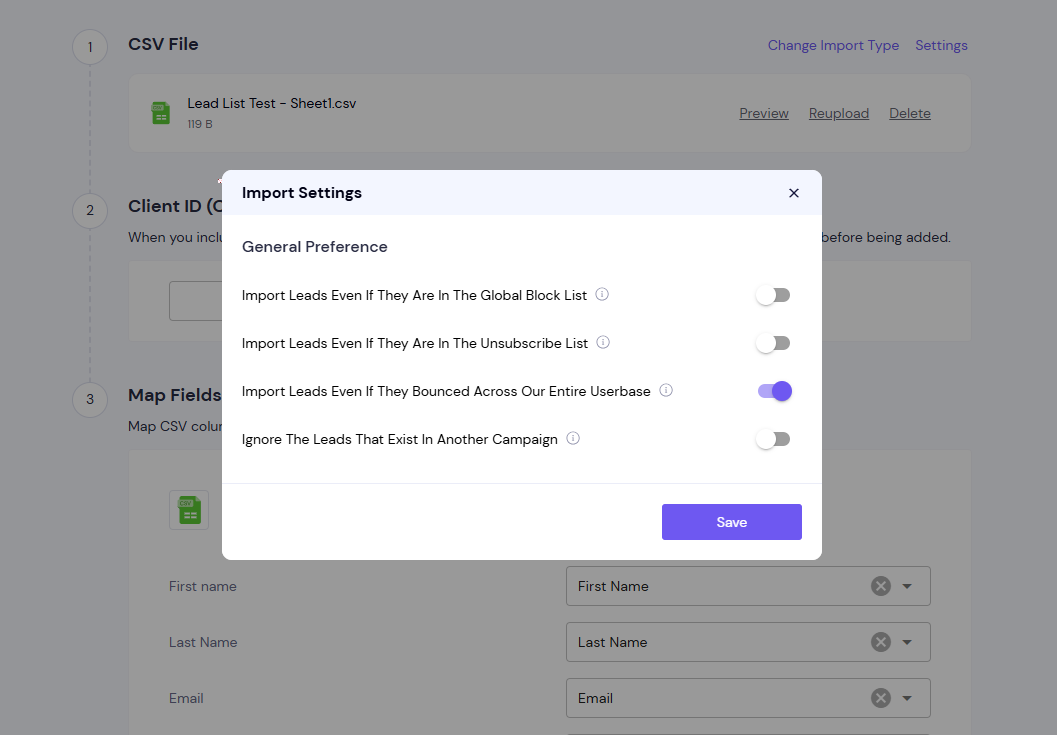
You can enable/disable the following options on the screen as per your preference. A short explanation of each is given below.
Import leads even if they are in the global block list: Allows uploading leads that are globally blocked.
Import leads even if they are in the unsubscribe list: Lets you include leads who have unsubscribed. (Enable it
Import leads even if they bounced across our entire database: Uploads leads that have bounced in past campaigns.
Ignore the leads that exist in another campaign: Prevents duplicate leads from being added across different campaigns.
Once done, click on Save and move on the rest of the settings as shown below:
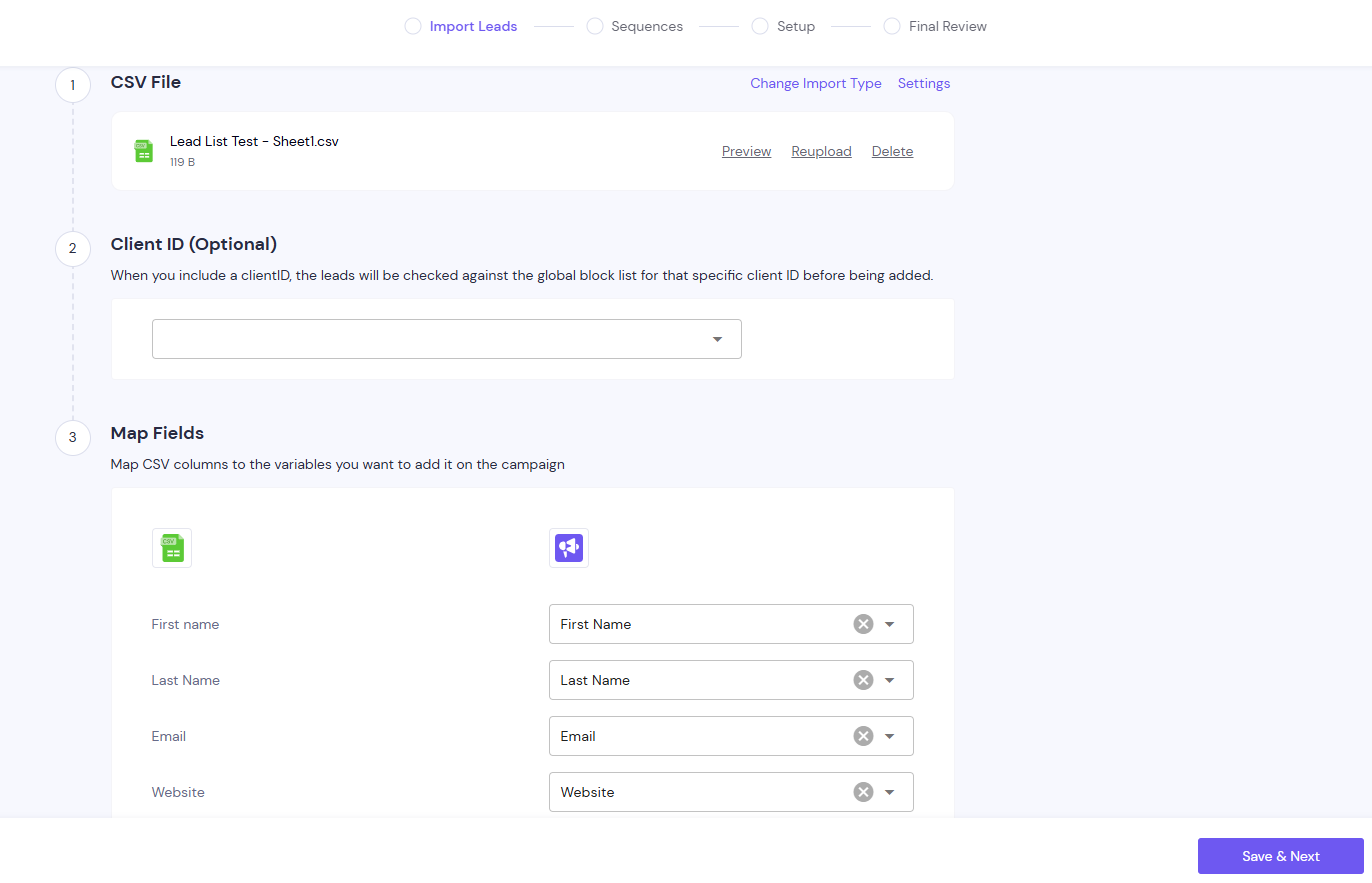
As shown in the previous screenshot, you get the option to map each column in your CSV to the relevant columns from the drop down.
In some cases you’ll want to add additional fields than the ones available in the dropdown e.g. “Custom First Line”, this can be added by mapping that field to the Custom field option in the dropdown.

Once done, you can proceed with Save & Next. Once the leads are uploaded you will find the summary report on the screen, like shown below:
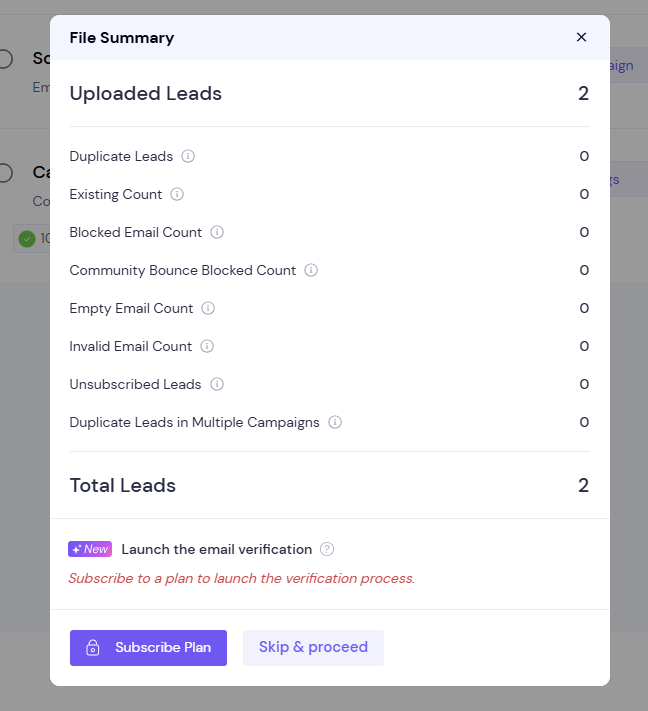
You have the option to verify the uploaded leads using Smartlead’s email verification add-on. Learn more here. We highly recommend to proceed only with verified leads to avoid email bounce errors that can seriously harm your reputation.
On the Mail sequence stage, you can start writing your eye grabbing subject line.
Starting with the subject line, you can inject your variables into it by simply typing {{ and using the dropdown options made available. For example, Hi {{first_name}}
Plop in your juicy high converting copy next, using the editor, that lets you get the full power of a rich text editor.
You have access to all your (custom) variables in the main text editor as well.
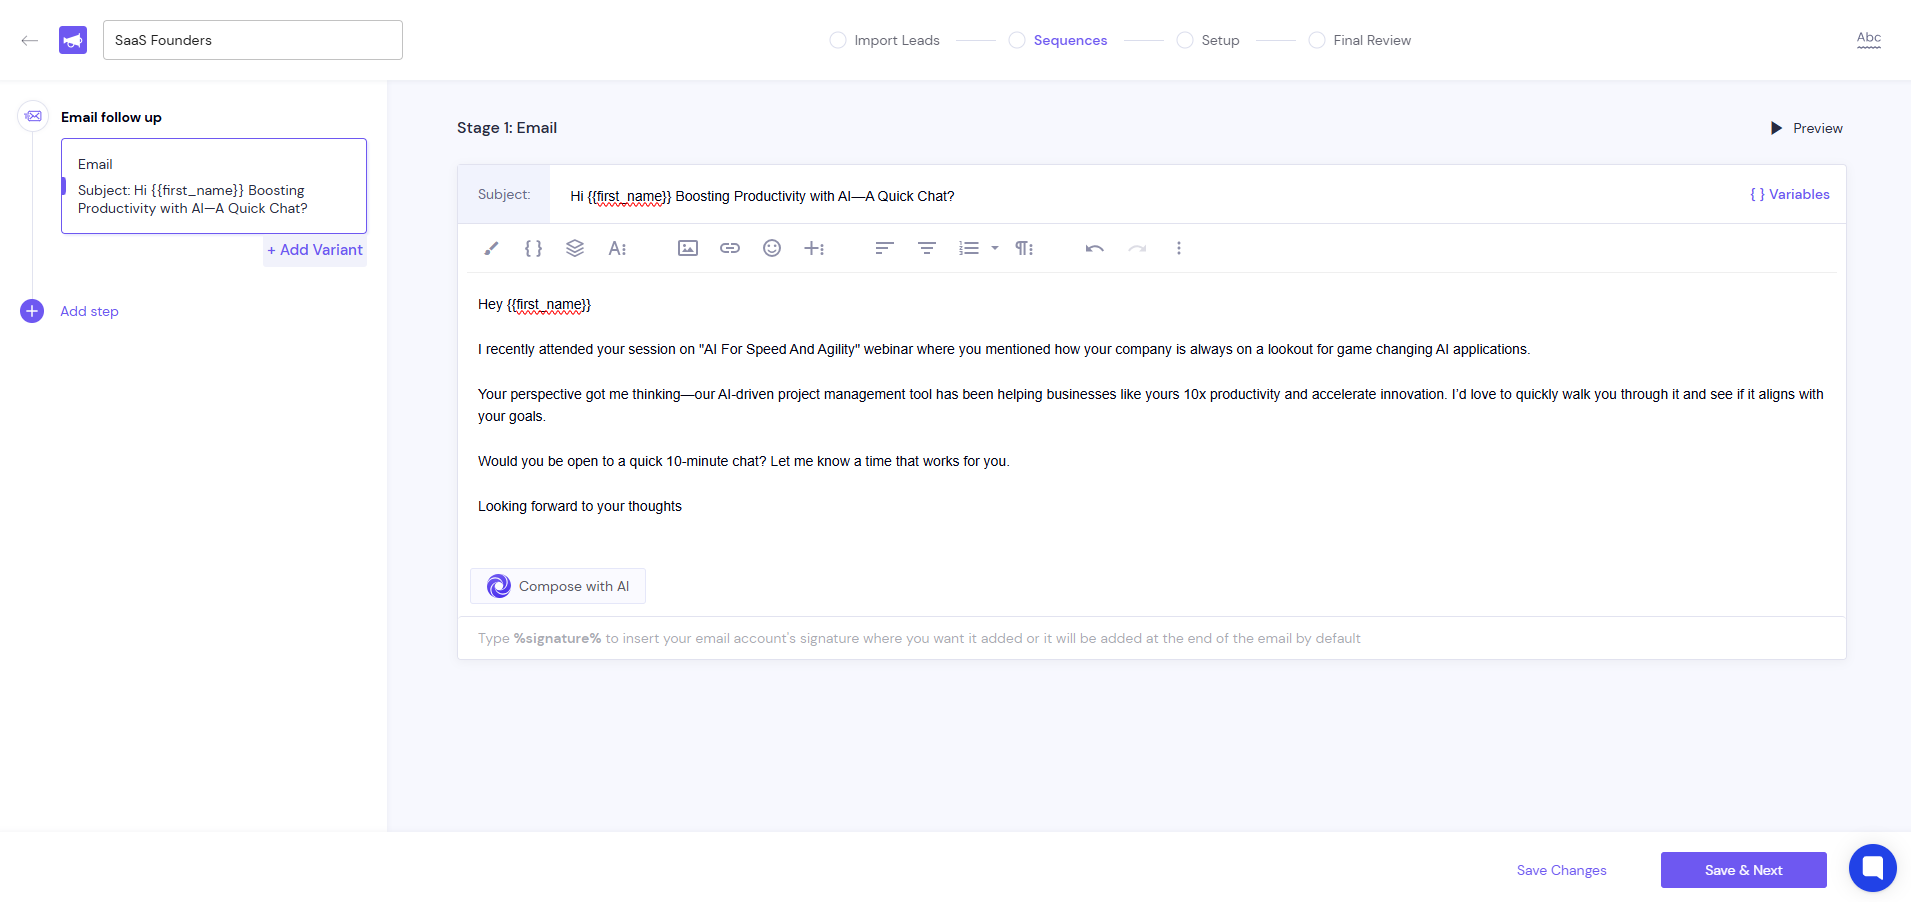
On top of the screen (refer the above screenshot) you will find the ABC option that basically allows you to make use of the readability engine which guides you to improve your copy writing and readability score.
For example:
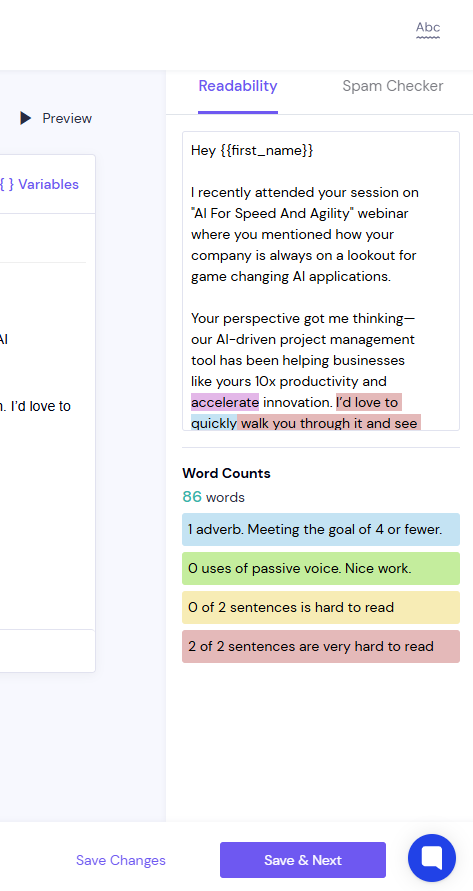
You also get a spam checker to check if your copy consists of any spam words.
You can also see a preview of your email from this section. Simply click on the Preview button on the top. Select a lead or enter an email address to see the variables in action.
You can send a test email too from here.
You can add a follow up step in your cold email sequence.
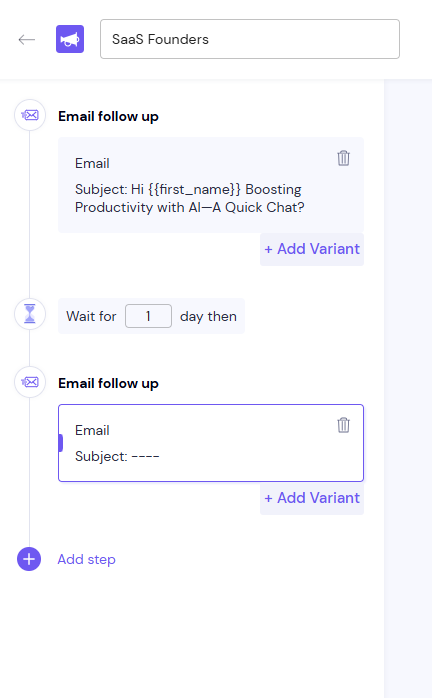
Define the delay in the ‘Wait for ___ day then’ section and add as many follow up emails you want.
However industry practice is to limit it to 4-5 emails.
If you’d like to remove a step in the sequence, click on the bin icon.
Important Note: If you do not add a subject line to a follow up email, it will show up as a reply to the same email thread as the previous email. If you do add a subject line, it will be sent as a new email.
So, if you want the follow-up emails to be sent in the same thread as email 1, leave the subject line empty for the follow-up step.
Once you save the email sequence settings, next, you can schedule various settings related to your email campaign.
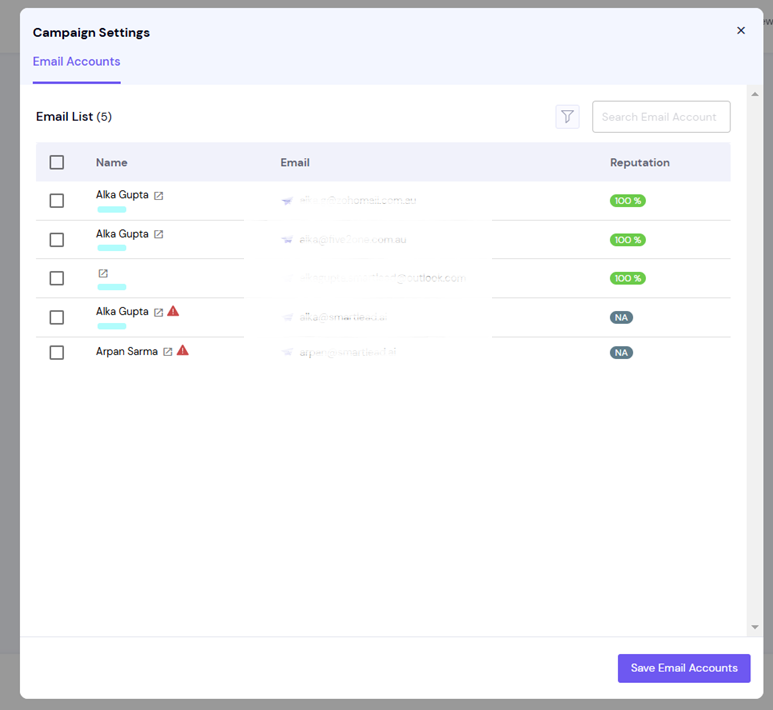
A) Select Sender Accounts
The first setting is related to sender accounts. Here you have to select the sender accounts through which you will send the campaign.
Simply click on Sender Accounts and select the accounts you want to proceed with.
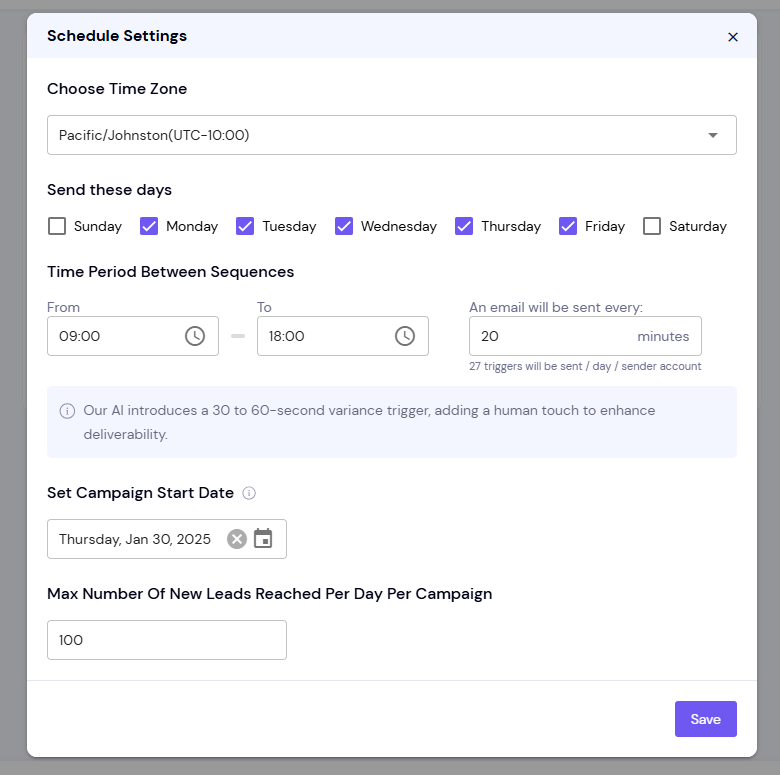
B) Schedule Settings
Set up a schedule to instruct Smartlead’s smart sending algorithm on when to send emails to your leads.
You can decide the time zone, the time period during the day, as well as the time gap between sending emails.
Smartlead uses reactive sending algorithms that emulate “human” sending patterns to boost deliverability.
c) Campaign Settings
Lastly, you can modify your campaign settings from here.
You get multiple settings here, which we will check one-by-one.
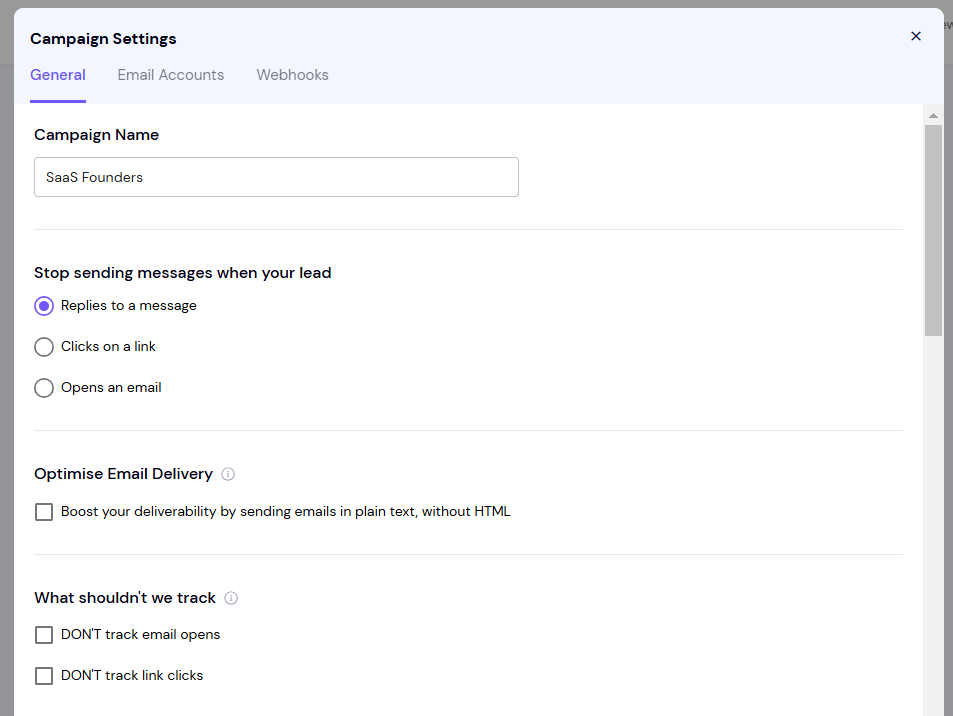
At the beginning is your campaign name which you can cross-check or modify as needed.
Next, you have the ability to stop sending messages when your lead:
Replies to a message
Clicks on a link
Opens an email
You can set this up as per your preference.
Optimize Email Delivery
Next, you get the option to send emails in plain text without HTML. When you select this option, your open rate, click tracking, unsubscribe links will all be disabled. You can opt for this if you want to enforce plain text delivery and optimize for email deliverability.
Tracking Settings
Next you can select if you want to disable tracking email opens and link clicks. Do note that disabling tracking will not restrict sending HTML in the email.
Next you can assign a SmartServer to your campaign from here. Learn more.
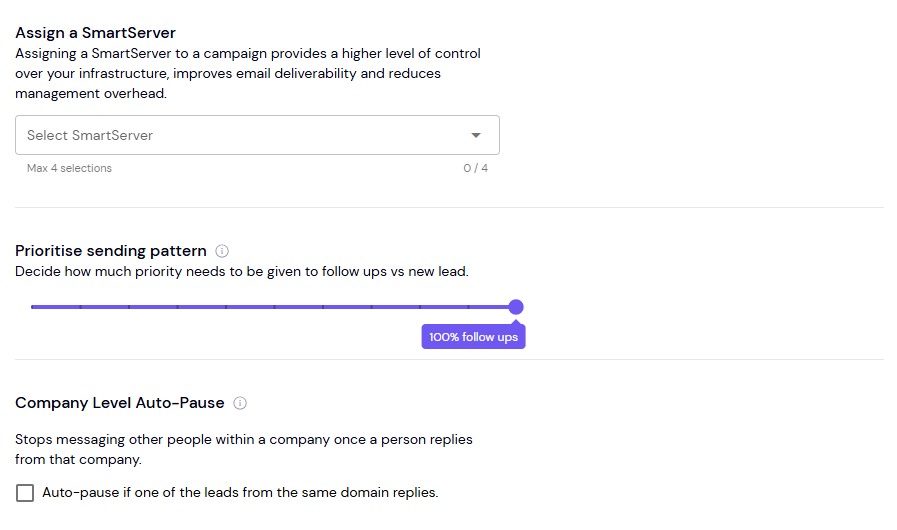
You can also prioritize sending pattern from this section to decide how much priority needs to be given to follow ups vs new lead.
Company Level Auto-Pause
The company level auto-pause gives you the ability to stop messaging other people within a company once a person replies from that company.
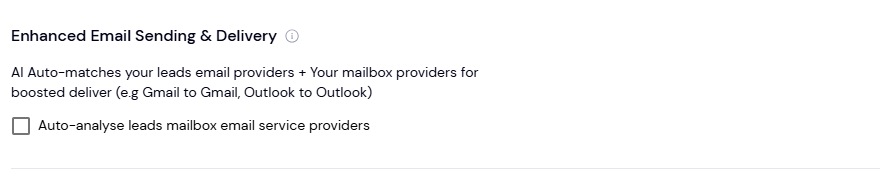
ESP Matching
You can also set up ESP matching in Smartlead through the option ‘Enhanced Email Sending & Delivery’.
Once enabled it will analyze your leads’ as well as your mailboxes for ESP matching meaning leads using Outlook will receive from your Outlook email accounts connected to Smartlead.
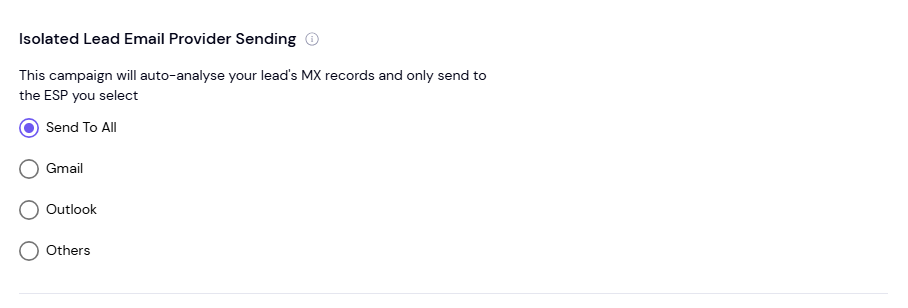
Isolated Lead Email Provider Sending
This setting allows you send emails to lead using specific ESPs like only send to Gmail.
However, you should not enable both ESP Matching and Isolated Lead Email Provider Sending setting together else your campaigns may stay in active state forever due to mixture of leads. So, use this option cautiously.
Intelligent AI Lead Categorization
You can set up AI lead categorization from this section. Learn more about this feature here.

High Bounce Rate Auto-Protection
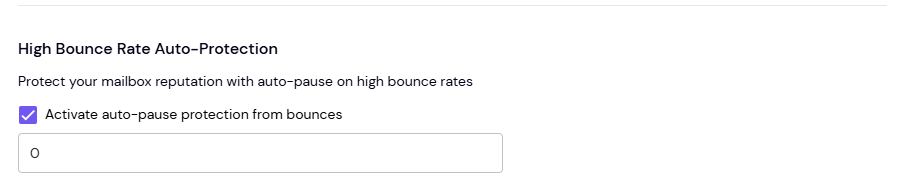
If enabled, this feature allows you to auto pause your campaign if it hits a defined bounce rate. You can mention a figure here as per your requirement. The industry standard is usually less than 5%.
Unsubscribe Link Setting
If it’s part of your email choice, you can add an unsubscribe link with a custom unsubscribe text message which will show up at the end of your emails.
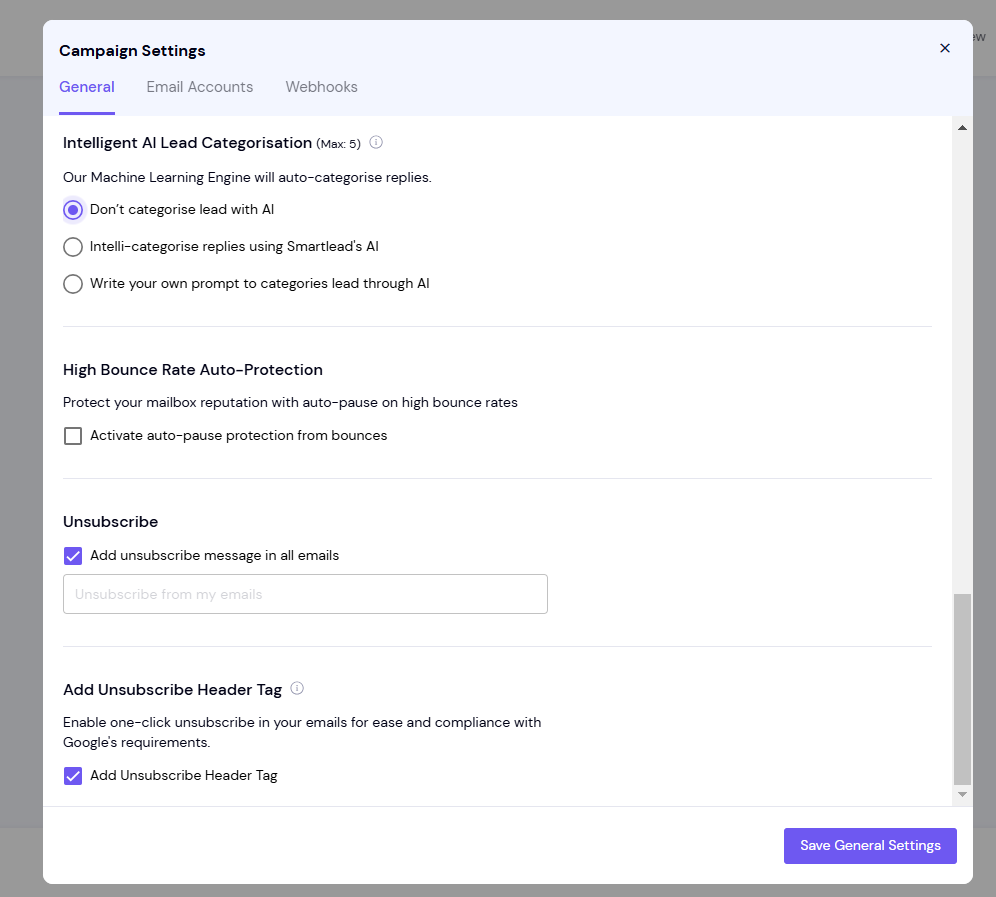
You can also enable the Add Unsubscribe Header Tag to add one-click unsubscribe in your emails in line with Google’s requirements.
Once you have set your campaign settings, you can proceed to the next step of reviewing your emails.
Review your email copy to ensure it matches your exact needs. The variable data will be injected at this point, so this is exactly how your lead will read the email too.
If you’re not happy with one person’s copy, you can individually edit just that person’s copy, click save. This won’t effect the copy of all your other leads but just that one person.
Take advantage of the Mobile preview to see how your leads will view your email. 68% of emails are opened on mobile view, this is a good opportunity to reformat any “walls of text”.
Also use this chance to ensure your subject line copy is visible
Once you cross-verify everything, you can click on Schedule Campaign.
Please note that you also get the option to Run A Spam Test via SmartDelivery and Send A Test Email from this section.
